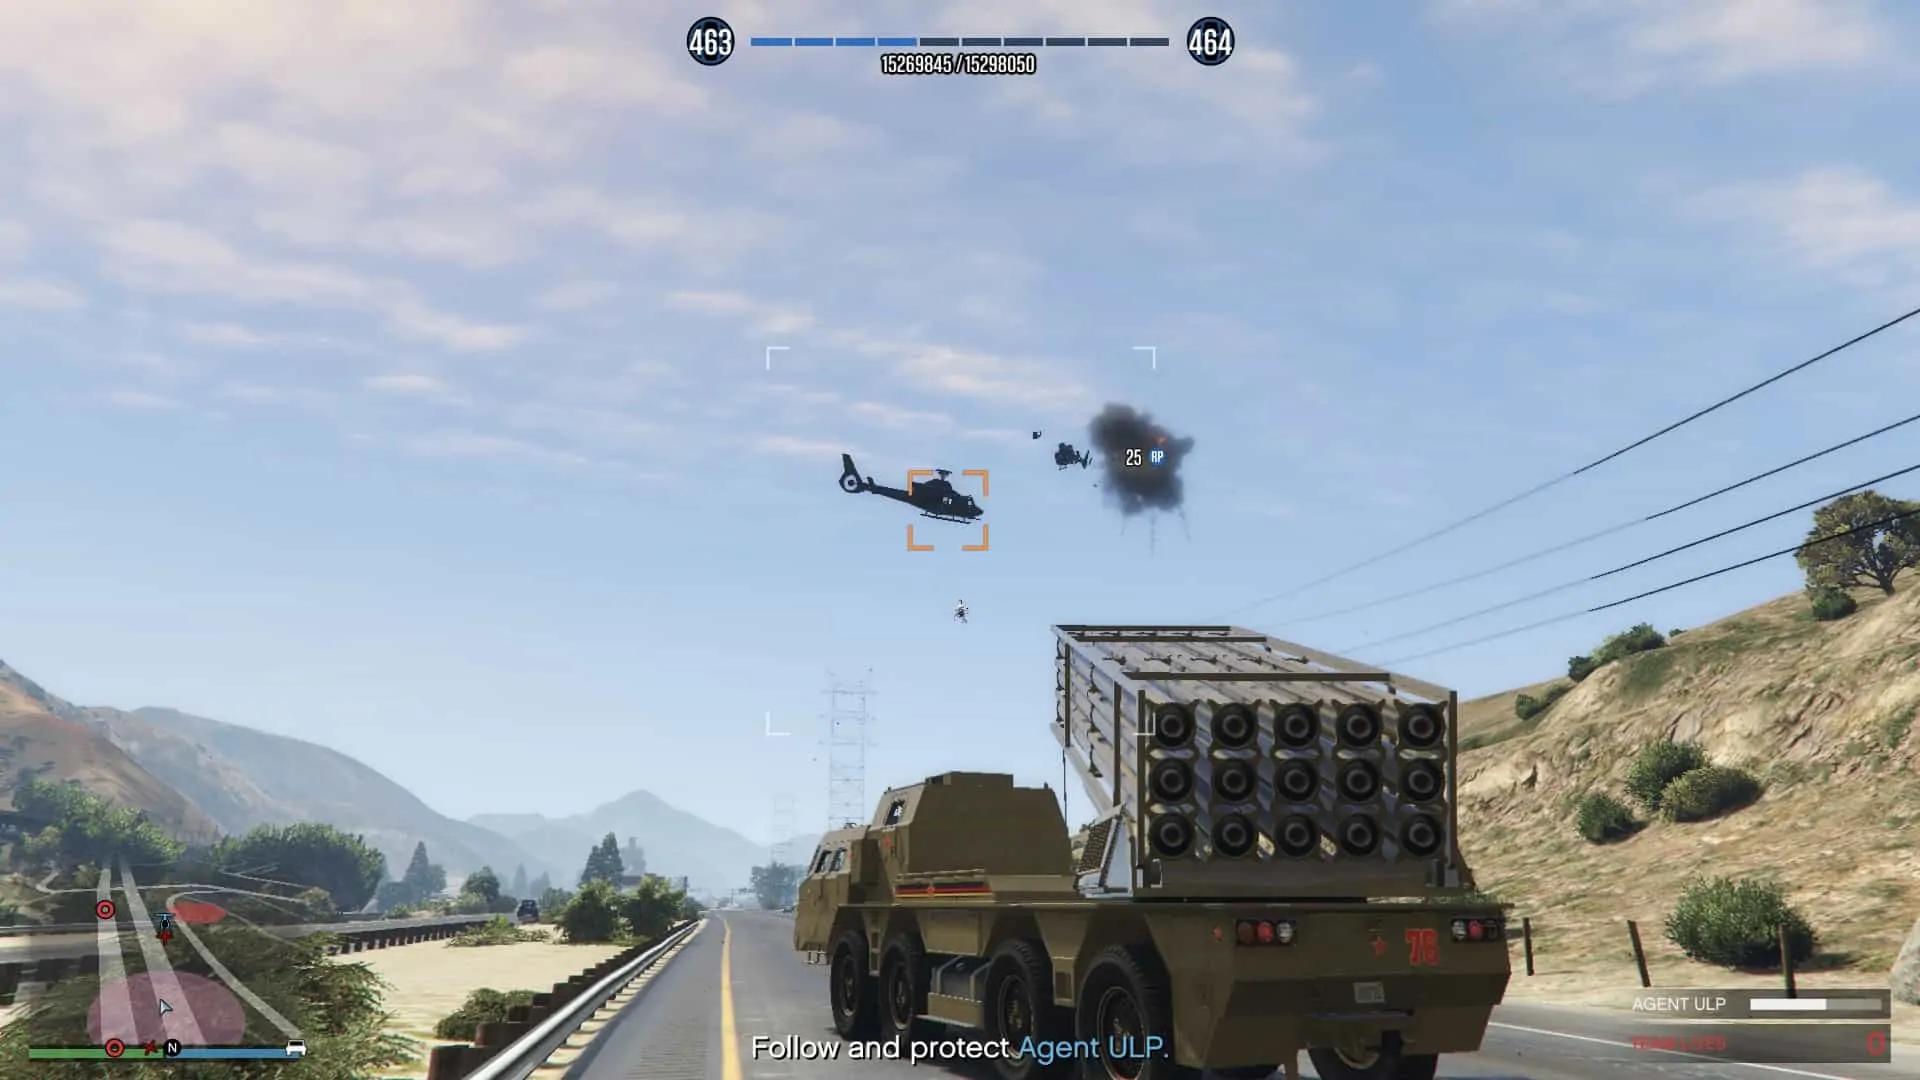
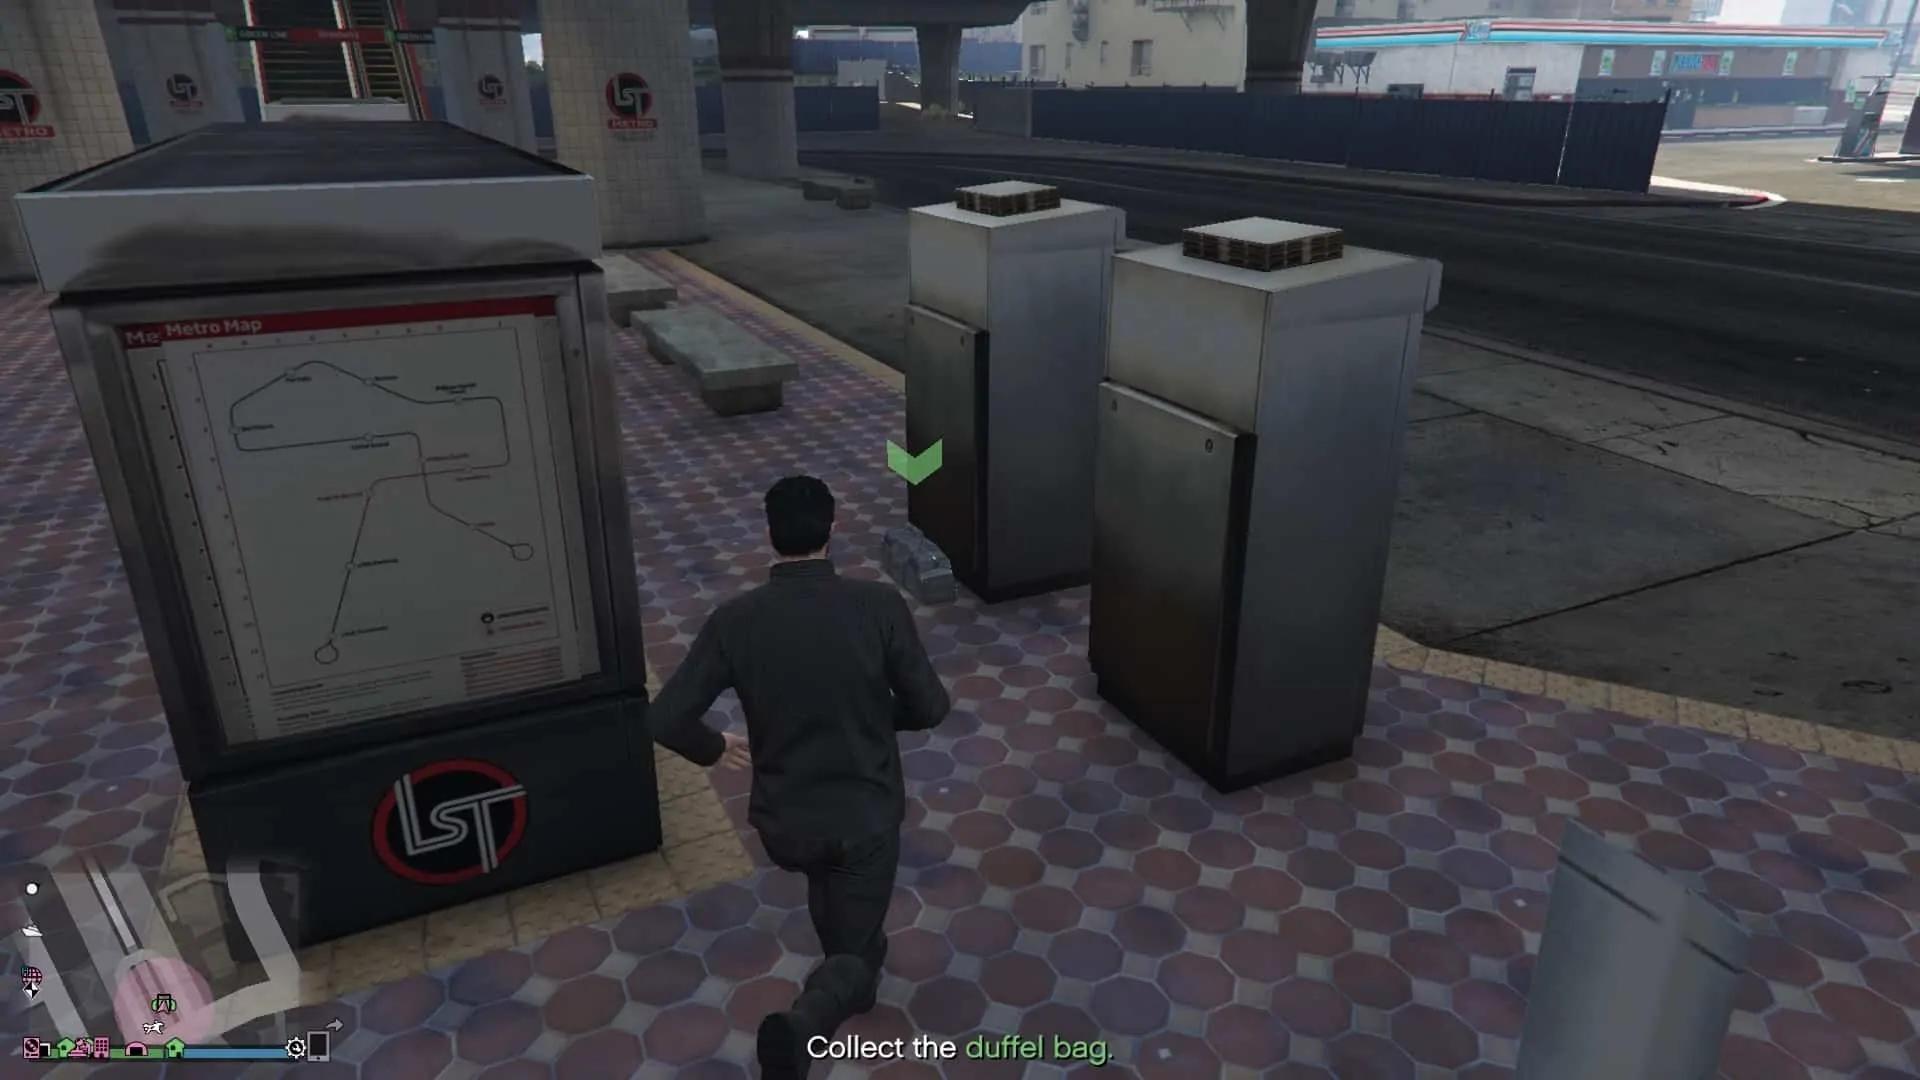
The "Barrage" setup mission in Act 3 of the Doomsday Heist is a multi-part mission involves intercepting a Cargobob carrying an ATV, utilizing the ATV to reach and destroy an enemy operation at Sandy Shores Airfield, and then delivering the ATV.
Another very important aspect of this mission is to make sure you take an Armored Kumara as your choice of vehicle when going to the Observatory, as this will set the Kumara as your personal vehicle (see further below). Also, ensure you are fully stocked up on snacks and armor, you're going to need them.
First you will need to go to the Observatory and destroy the Cargobob and the guarding helicopters. You will be given a sniper rifle with explosive ammunition so two shots to the guarding helicopters would take them down. As for the Cargobob, you will be able to see the health of the Cargobob at the bottom right corner of the screen. Wait for it to get closer to you before finally taking it down. This will save you the hassle of going to the ATV resting far away from you. It will instead fall closer to you.
Once you get the ATV, you are going to be swarmed by enemies from all angles. Quickly get into the ATV and whoever is using the turret on the ATV, make sure they use the front mounted gun as it doesn't restrict where to aim, as opposed to the one mounted at the back.
Rush to the Sandy Shores Airfield in your ATV and try to destroy the incoming enemies from a distance because as soon as they are beside you, they do a lot of damage. When you are driving to the airfield there will be a lot of road blocks as well. The best way to pass them safely is to open up your inventory menu and hover over the snacks/armour as you are driving through them. If you get stuck and the enemies shoot at you, you can quickly eat the snacks or put on the armor to avoid death.
Once you reach the airfield, this is where your personal vehicle the Armored Kumara comes in. You need to quickly destroy the plane which is about to take off first, and at the same time request your personal vehicle from the interaction menu. Your Armored Kumara will be delivered. The reason for this is because the enemies in this mission are outrageously strong and they can easily kill you. When you have the Kumara you and your friend can hop into it and kill everyone at the airfield. After eliminating everyone head back inside the ATV and continue forward.
After the airfield there is another major road block ahead, where you can easily die. In order to avoid it, simply take a left and drive off road. Keep driving until you pass the road block and also remember to keep your inventory menu opened up. Either snacks/armour depending on what's low for you. Once you've passed this road block, you can safely deliver the ATV to the drop off without any more enemies spawning.
Successfully delivering the ATV completes the "Barrage" setup. Your next objective is Prep 4 – Test Site Intel. Alternatively, head to the main Act 3 Hub page.
