The grand finale of the Doomsday Heist Act 3: "The Doomsday Scenario" is notoriously difficult and will test your team's skill and coordination through several intense phases, including a heavily armed approach to a fortified base, intense interior combat against numerous enemies and Juggernauts, a critical server hacking sequence, and a final jetpack pursuit to eliminate the primary antagonist. Ensure you are fully stocked on snacks and armor.
This finale is the most difficult out of all the other missions you've done so far in this Act. It's also much harder than the finales of Act 1 and 2. Be sure to buy the maximum number of snacks and armor you can.
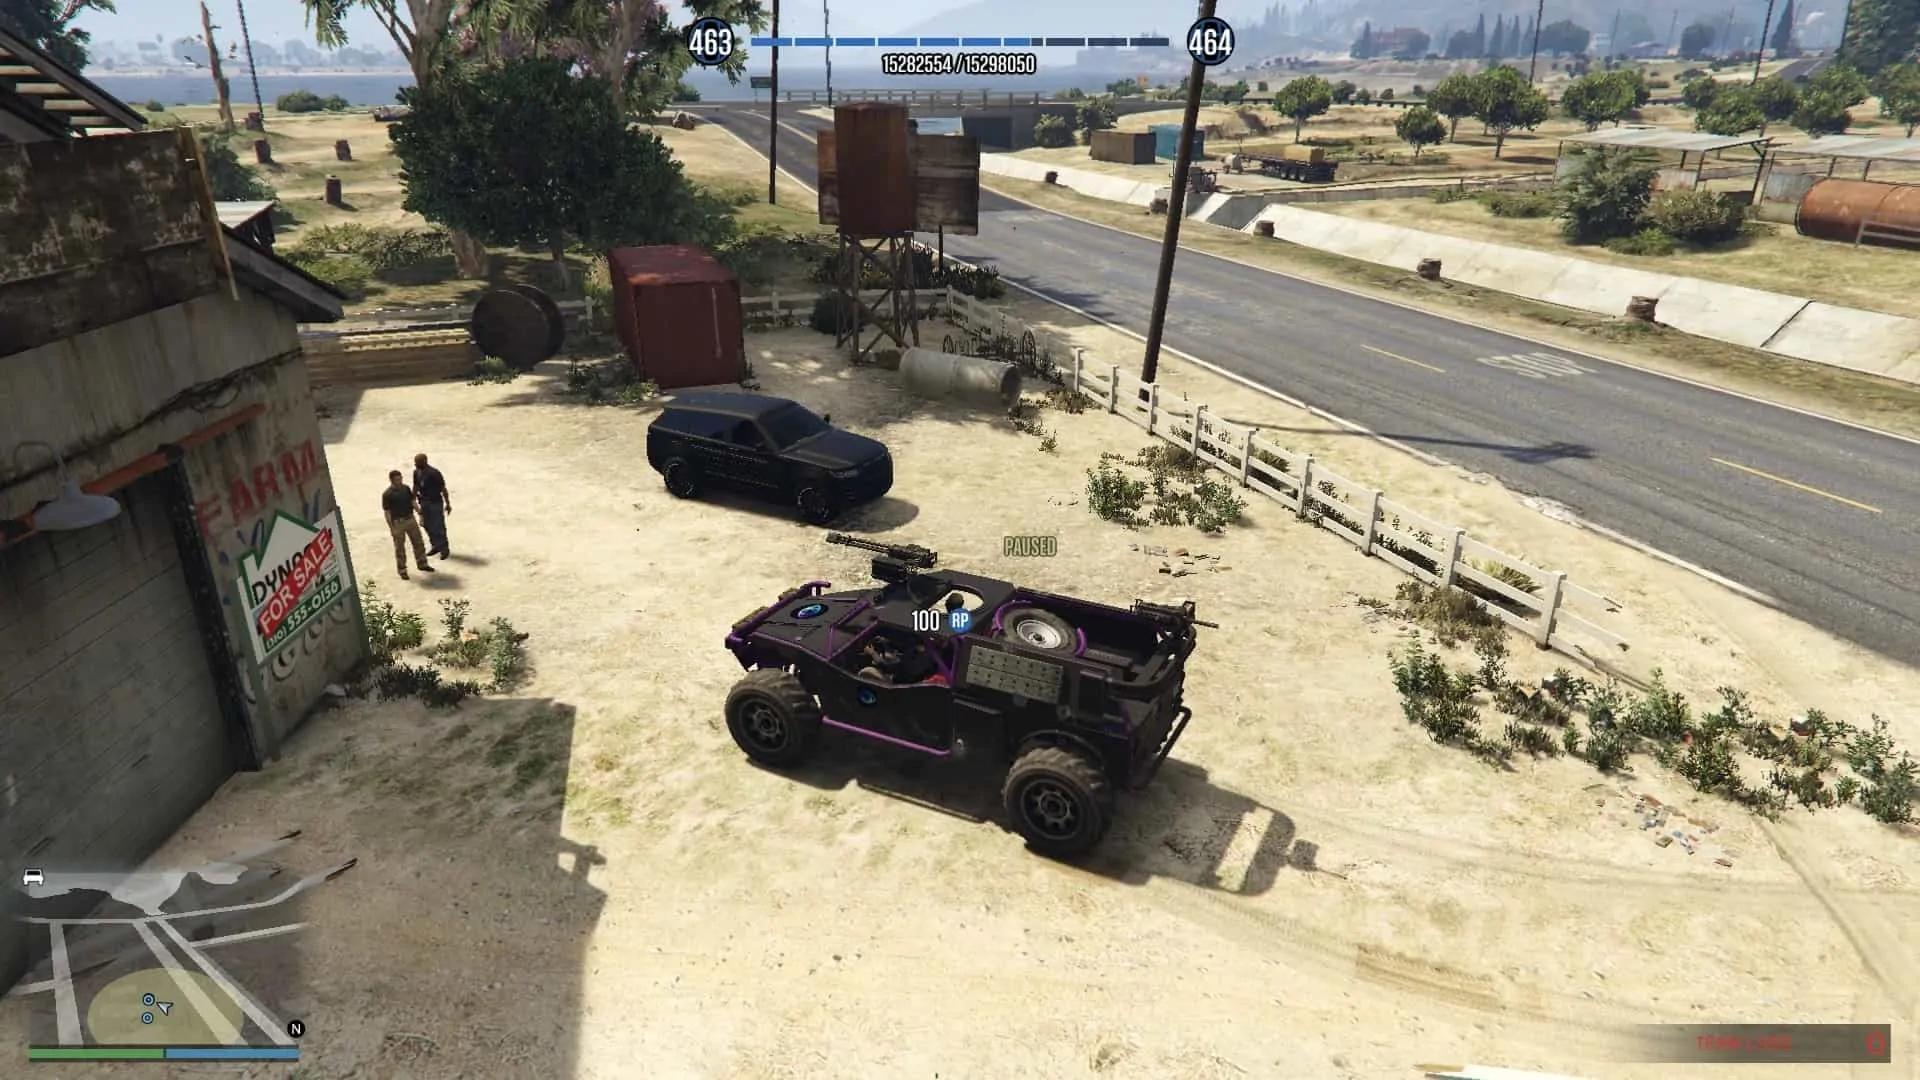
First, you and your team mates need to go to Grapeseed and choose either the Khanjali tank or the ATV. We recommend you choose the Khanjali, since it will provide more protection when going inside. It is slower to ride in, but you will thank us when you get inside the base.
After getting the Khanjali drive to the tunnel entrance, once you get inside the tunnel you will need to fight your way to the end of it. Since you're inside of a tank nothing will cause you harm. Keep destroying the blockages and reach the end of the tunnel.
When you reach the end, do not get out of the tank just yet as some good old AI Juggernauts will spawn, and not just one, but four of them! You can use the rail gun on your tank to kill them instantly. After killing the Juggernauts, proceed forward through the base. You will come across many enemies, take cover by the wall and take them out before proceeding forward.
As you reach a little open doorway, another AI Juggernaut will spawn. So before passing through that opening, switch to your mini-gun and pre-aim as you move forward. As soon as you see the Juggernaut, start shooting. Take it out, as well as the rest of the guys in that passage way, using your mini-gun.
As you move forward, you will come across an intersection where you can go either right or left. First go right, but not all the way. Just half way through the passage and on the right hand side you will see a small room with the first supply box. Destroy it by shooting at it. After destroying the first supply box go back to the intersection and take the left.
Go straight through this passage and keep an eye ahead of you, as some guys might come at you. Once again to your right you will see another small room with a supply box. Destroy this box and continue forward.
As you reach the end of this passage you will turn right and come across a lot more guys to kill, all along the passage. Keep eliminating them and moving forward. At the very end there is another supply box, but you don't have to go all the way to the end to destroy it, you can simply shoot from a fair distance and you will see an explosion indicating the destruction of the supply box.
Now keep moving forward and you will see a wide opening to your right, this opening will lead you to the hangars. When you go through the wide opening, immediately take a right towards the hangars where you will find two more boxes on either side of the room by the planes (right and left side). Remember there are many enemies spawning here, so clear them before you proceed towards the hangars and the boxes.
After getting the supply boxes at the hanger, move forward to the next area through the hangars. You will see an opening on the right hand side, at the end of the hangar room. As you go through the opening you will come across two guys. Kill them and move forward where you will find another one in cover by the boxes to your right and a couple more ahead of you.
Be careful here as there are two Juggernauts at the end of this passage way. Take cover by the boxes to your left and then use your mini-gun to take out the Juggernauts. Remember you can take them out standing at the edge of the boxes and shooting at them — you can shoot through the boxes when standing by the edge. Move forward and clear out the remaining enemies. You will also find two on the platform above to your left.
Proceed towards the control center and you will go through a passage way. Here, you will once again encounter 3-4 guys after which a cut scene will play. Upon the completion of the cut scene, you will be in the server area/control center and see red double door in front of you.
Do not rush out through that door just yet as there are a number of guys outside waiting for you. Shoot at the door to partially open it up and you will notice at least three guys on the ground floor and one straight ahead of you, up on the platform. Take them out and then move out.
As you move outside, you will see three more on your right side and three more to your left. You will also see one more guy on the upper floor to your right. After taking them out go upstairs from right side and just rush to the first server.
Be sure to ask your friend to stay with you at all times. As soon as you get to the first server start hacking. When you are hacking, the enemies will not shoot at you. However, as soon as you're done hacking the server, they will instantly start shooting at you.
Ask your friend to take cover at the end of the server and keep killing as many enemies as possible. He should clear as many as possible in order to ensure that you are not swarmed with enemy fire. As soon as you're done hacking the first server, check if the coast is clear then rush to the second server. If it is not clear then you also need to get into cover with your friend and hack the server. The hacking procedure is really simple. You just need to break the blue colored nodes by passing the signal through them, while avoiding the red nodes. If you hit the red node multiple times then you will fail the hack and have to restart.
After hacking all four servers, the enemies will stop spawning and you just need to kill the remaining ones. After killing the remaining enemies, head upstairs and take control of the Orbital Cannon to destroy the four mobile cloud servers. Then go downstairs and make your way to the Silo.
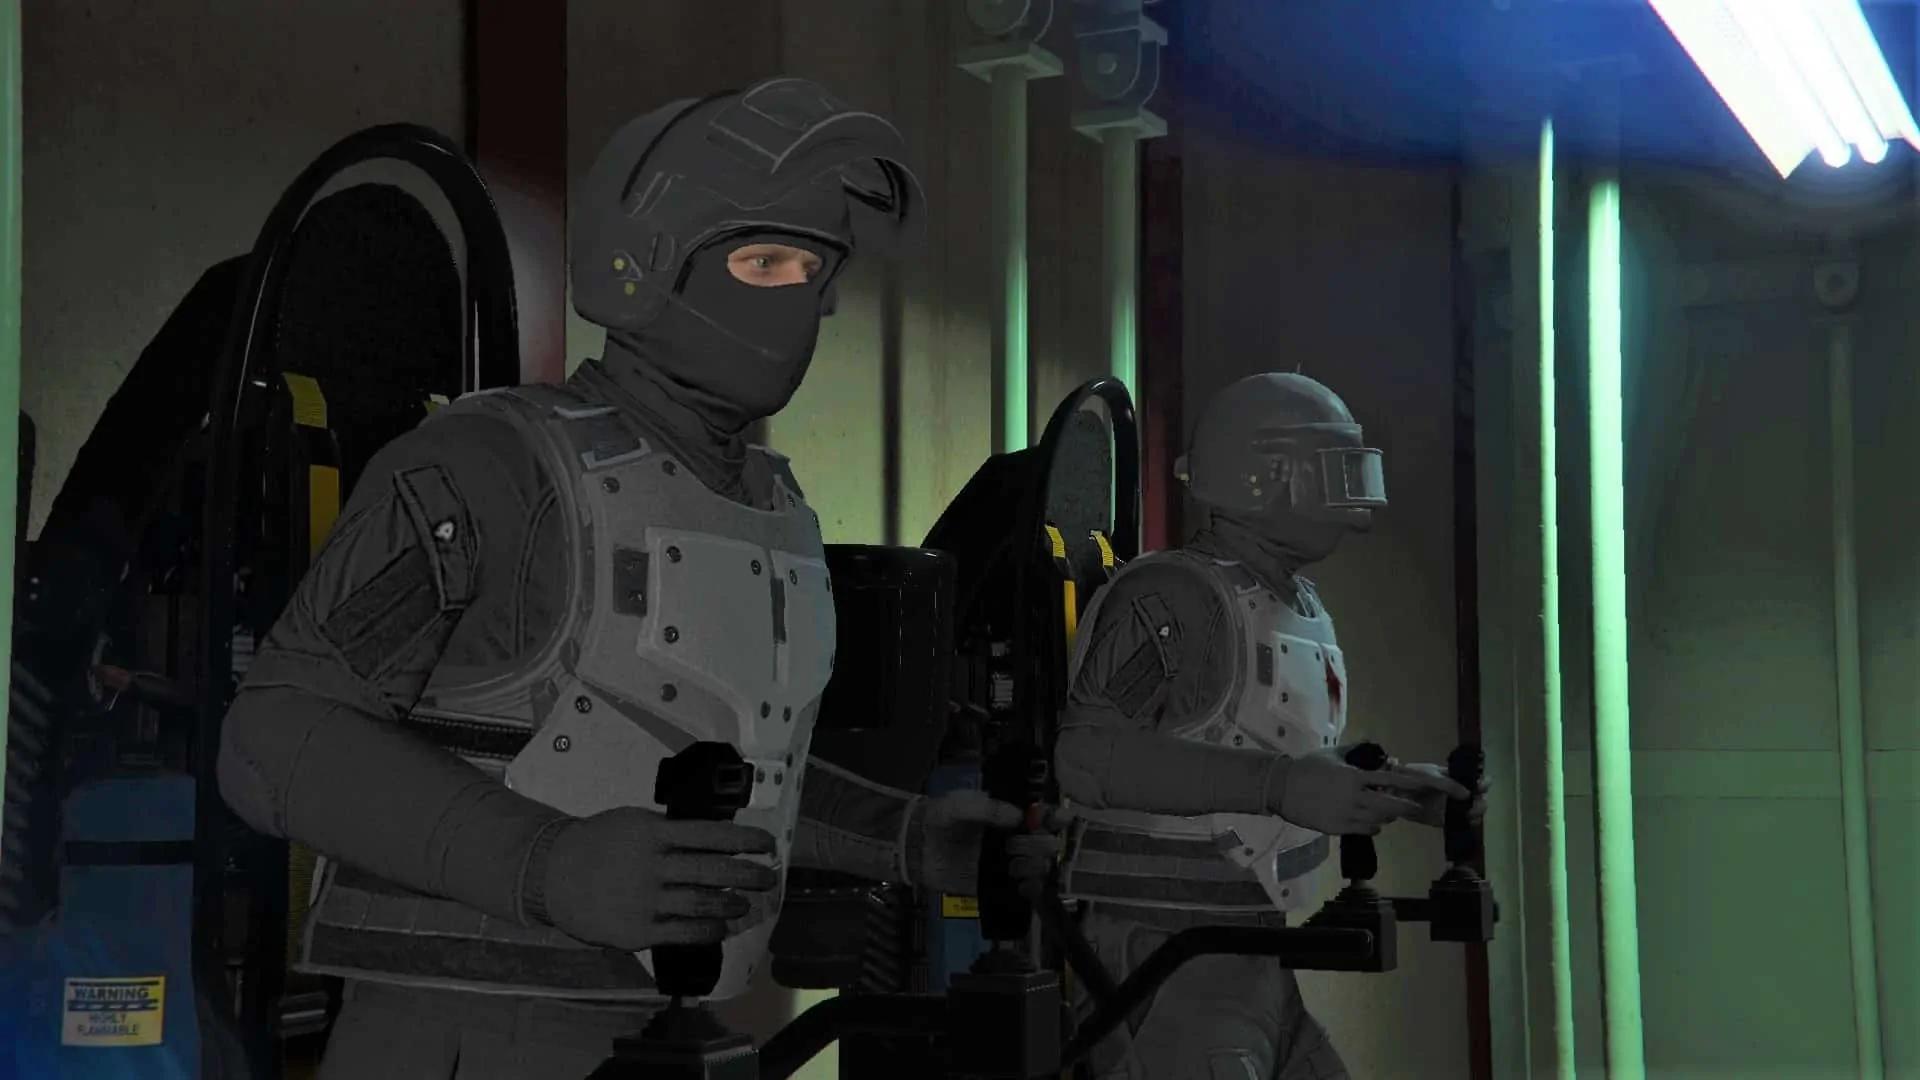
The way to the silo is once again filled with a number of enemies. You need to take your time, kill them and then move forward. Do not rush in. It's a narrow passage and it is easy for you to get trapped and die. Keep going forward until you reach the end where a cut scene will play. In it, Avon will escape the base using his jet pack. You and your friend will need to get on the jet pack and follow Avon and kill him.
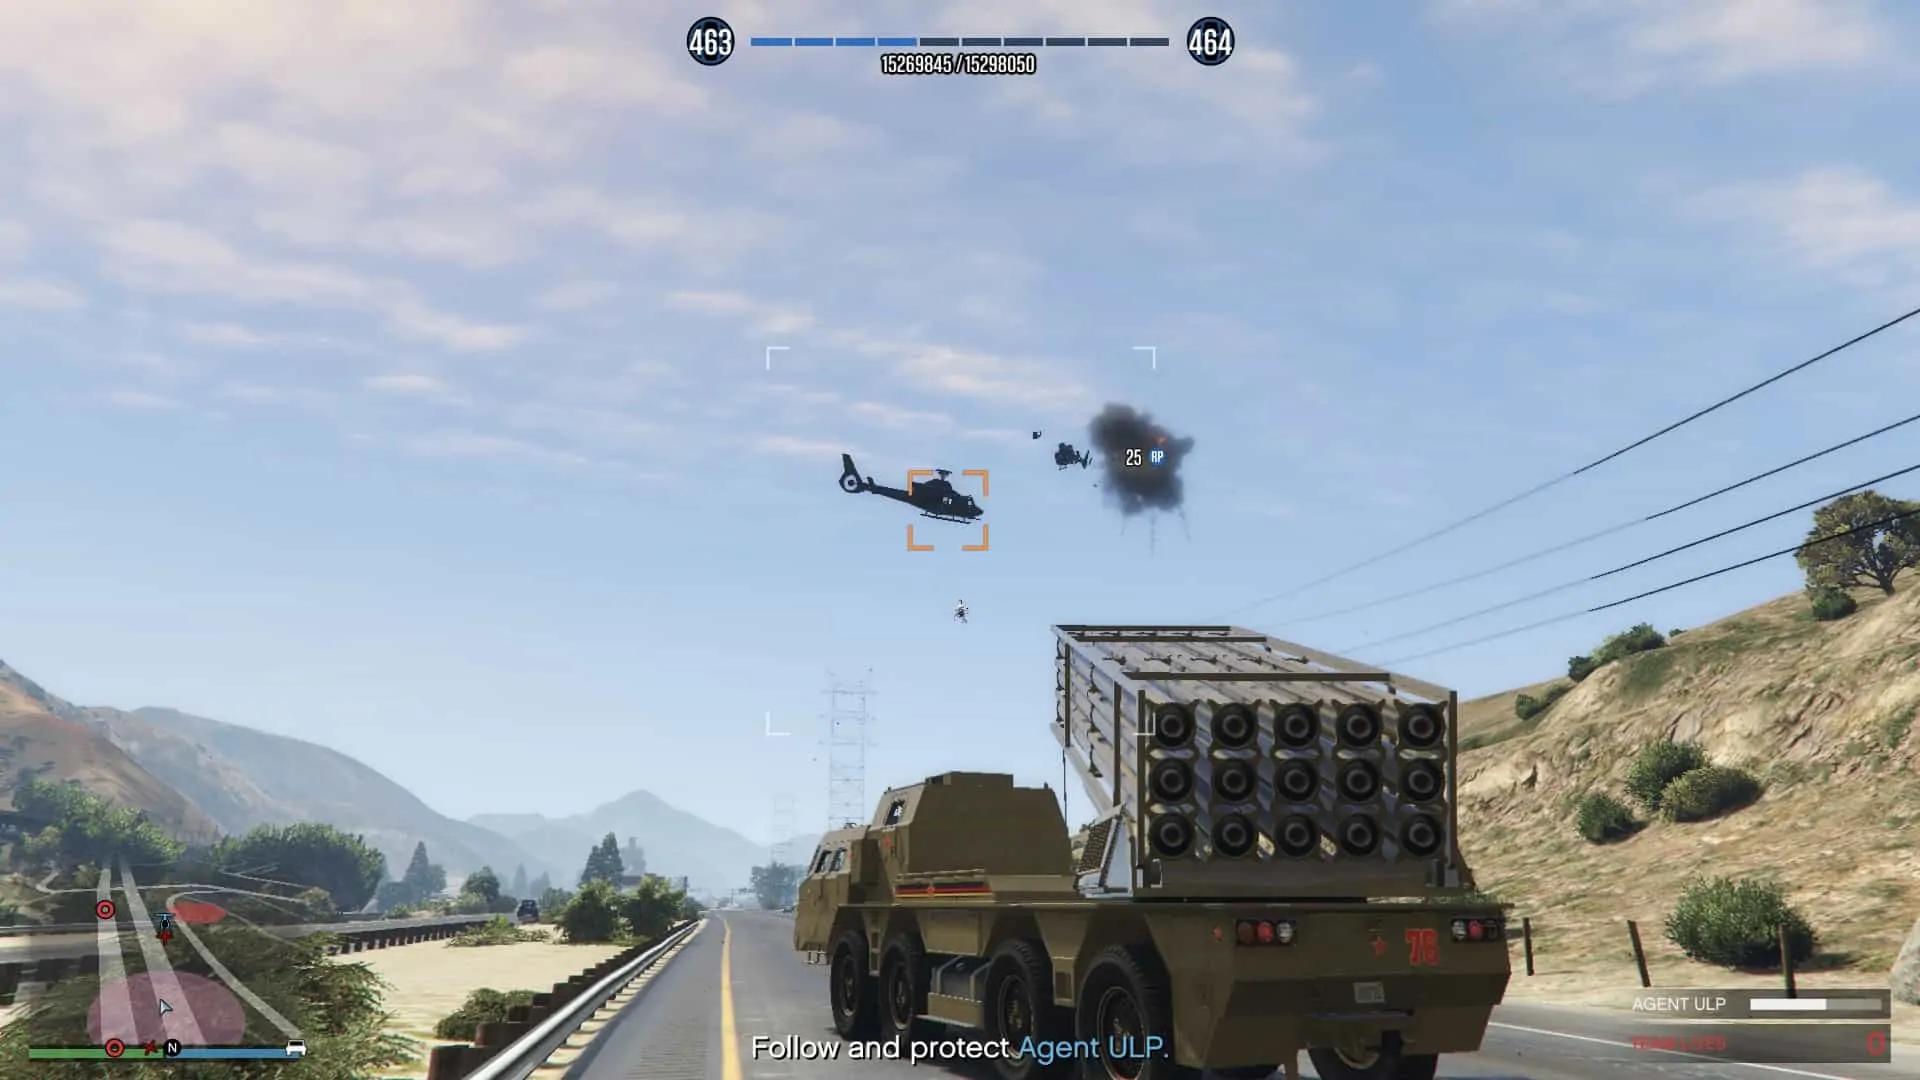
Remember, when you are chasing Avon, you need to focus solely on him. There will be a number of enemy choppers defending Avon and attacking you. Your jet pack will have homing missiles and you can lock on to the targets. Destroy any nearby choppers and then try to focus on Avon, the moment Avon dies, all of the other choppers will go away as well.
After killing Avon, you and your friend need to make your way to the Observatory where one final cut scene will play, concluding our Doomsday Scenario.
Congratulations on completing The Doomsday Scenario! For information on other parts of Act 3, please refer back to our main Act 3 Hub page.
