Guide

Cayo Perico Heist Prep: Approach Vehicle Missions

Detailed walkthroughs for all Cayo Perico Heist approach vehicle setup missions, including the mandatory Kosatka and optional planes and boats.

Choosing your approach vehicle is a key part of planning the Cayo Perico Heist. While the Kosatka (Mandatory)|Kosatka submarine prep] is mandatory, several optional vehicle preps unlock different infiltration methods.

Here are the walkthroughs for all six potential approach vehicle setup missions.

Submarine Kosatka (Mandatory)

The Submarine Kosatka prep mission is a mandatory prep mission, with the sub being used as your main mode of transport to the island if you haven't scoped out other optional locations that give access to other approach vehicle missions.

Once you start the mission, you will be tasked to go to a Merryweather Test Site to acquire a sonar jammer in the middle of the ocean. The sonar jammer will be located inside a submarine at the test site. It would be best if you used either a Buzzard or an Oppressor Mark II to get to the location as you will need to clear out the patrolling attack helicopters and boats.

Also, stock up on the maximum number of armor and snacks as this mission is combat-heavy. You will need to fight your way to the sonar jammer once inside the submarine. When you reach the test site, you will find one attack helicopter and three boats. Take them out and dive into the water.

You will see a huge yellow region on your mini-map. Go to the middle of the yellow circle and you will notice a yellow marker on top of the submerged submarine that will allow you to enter it. When you are inside the submarine, you will find a lot of guards as you proceed forward. The layout of the submarine is similar to the one you own, and the one seen during the Bogdan Problem of the Doomsday Heist.

Keep moving forward as you eliminate the guards, and keep an eye out for a sonar jammer. The jammer will be in a random location every time you do this mission. The good thing about the jammer is that it will instantly appear on your mini-map when you are near the jammer or in its general vicinity. This saves us a great deal of hassle to look for the device specifically.

There are three possible locations. One location is the main control room, the same room where you plan your Cayo Perico heists. It will be on the central table.
Google preferred source badge

Get GTA BOOM in your News Feed!

Star GTA BOOM as a preferred source so our GTA coverage appears more often in Top stories and your sources.

Jammer-1.png

The second location is this separate missile room, where the jammer will be at the end of the room on a green crate.

Jammer-2.png

The third location where we found the jammer was near the stairs leading up to what seems to be the engine room.

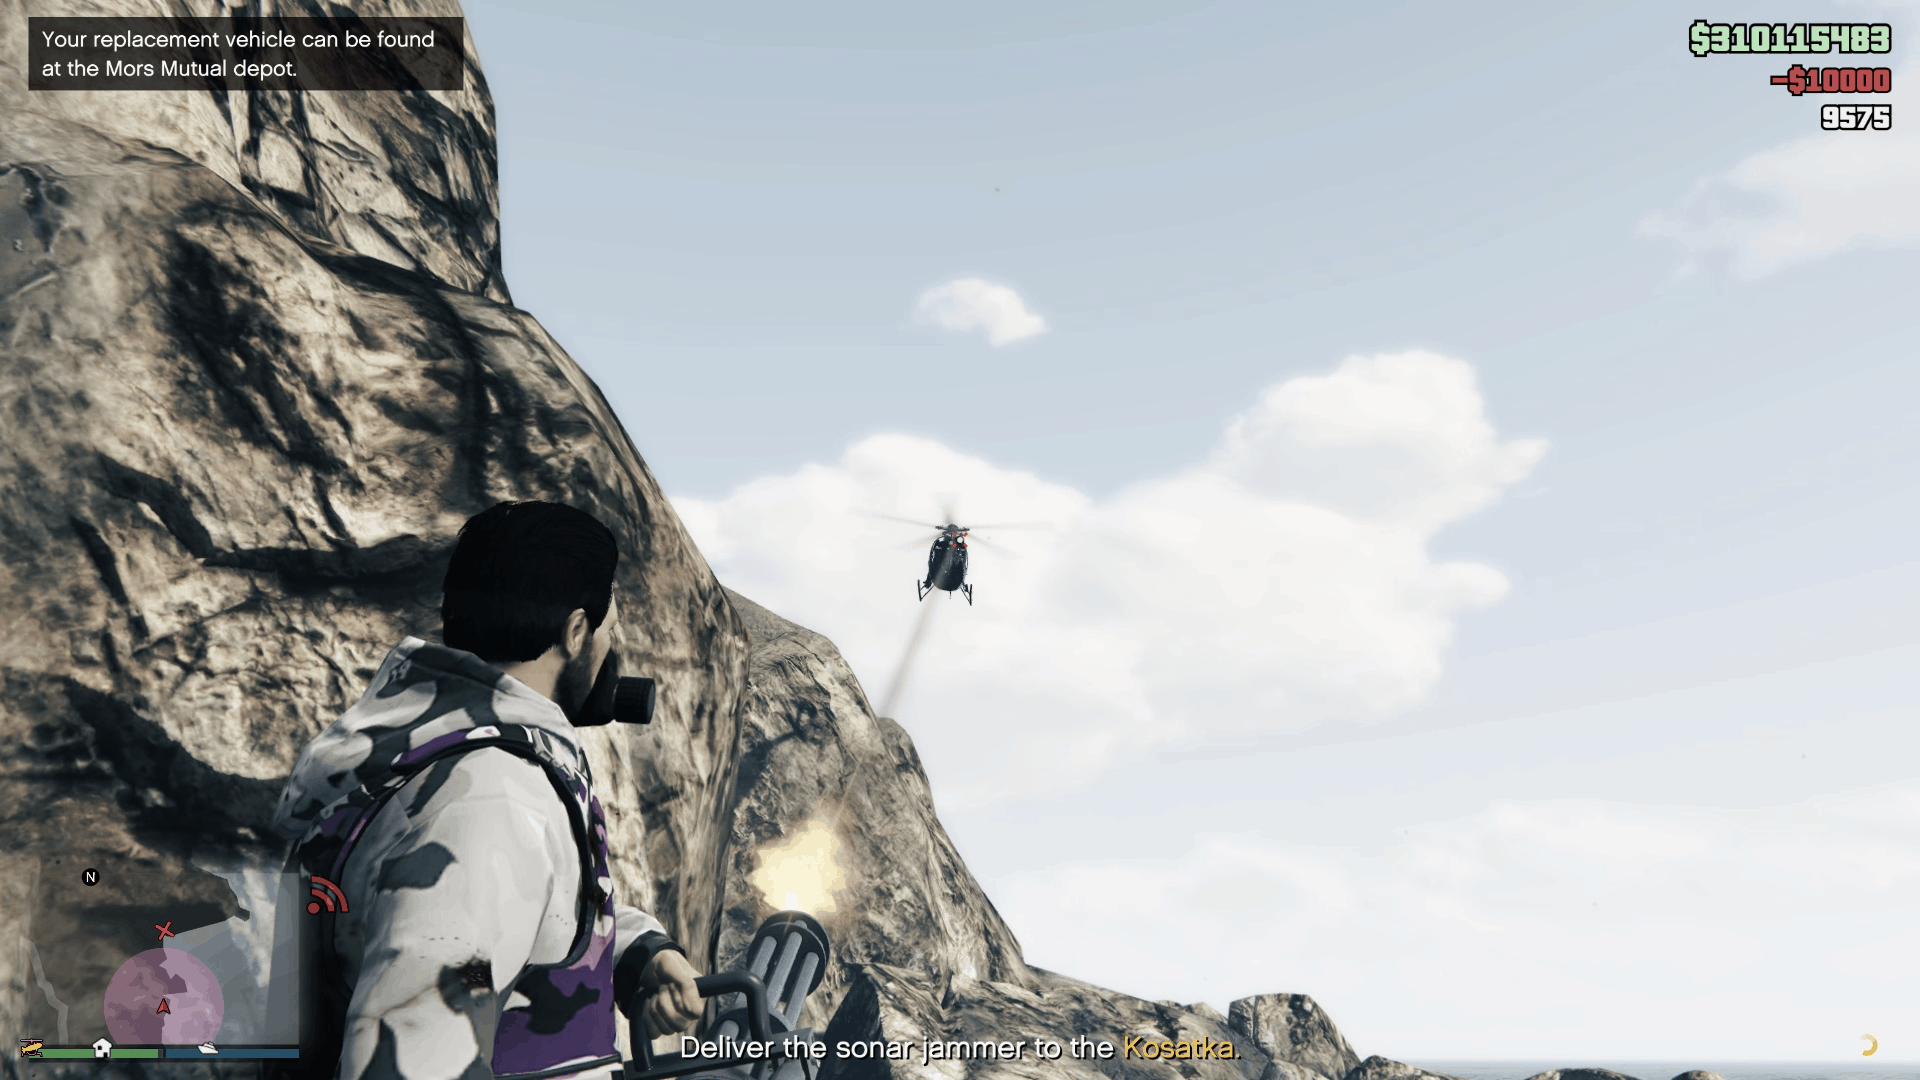
After taking the device, keep going moving forward and do not go back. You will also get a yellow indicator on your mini-map guiding you out of the submarine. On your way back, you can also get a rebreather that will allow you to stay underwater for an extended period of time. This is important as there will be attack helicopters as soon as you are out of the submarine.

Equip-rebreather-jammer.png

You cannot take them out until or unless you reach land. As soon as you reach land, take them out. The attack helicopters will appear three times before finally stopping. Aim for the pilot of the helicopters to get rid of them quickly. After taking care of the attack helicopters, deliver the sonar jammer to your submarine to complete this mission.

Eliminating-attack-helicopter-sonar.png

Plane: Alkonost (Optional)

This optional prep mission has two parts. Part one requires you to steal the Alkonost plane from one of the hangars at Fort Zancudo, and in the second part, we arrange a pilot.

Part 1: Alkonost

Before proceeding with this mission, make sure you have the maximum number of snacks and body armor as you will need it when you are stealing the plane. The hangar is heavily guarded. To make things easier, go to Ammu-Nation and buy Night Vision goggles. Then start this mission.

Night-vision-alkonost.png

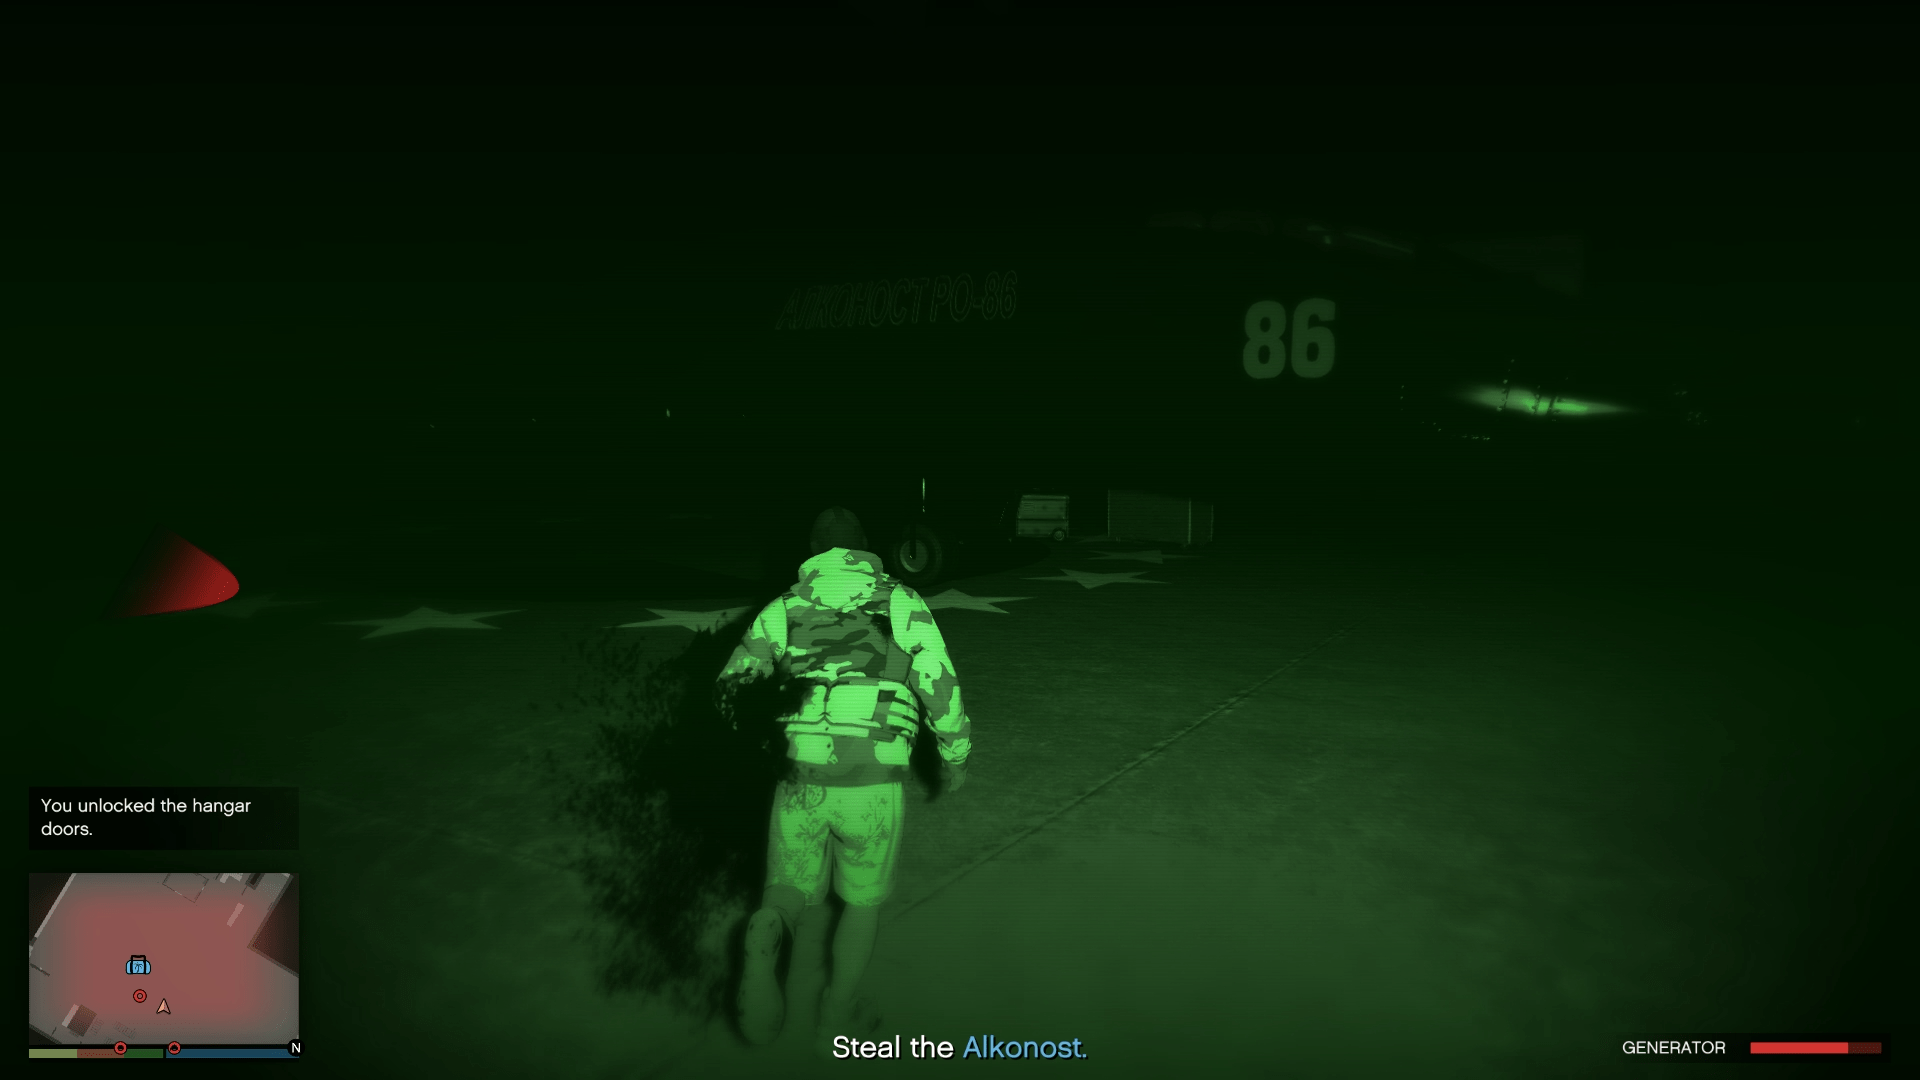
Make your way to the hangar, and before entering, go behind the entrance door. You will notice a circuit breaker. Use that to cut off the lights inside the hangar briefly. Once the lights are out, quickly make your way inside the hangar and activate your night vision goggles.

Hangar-cutting-power-alkonost.png

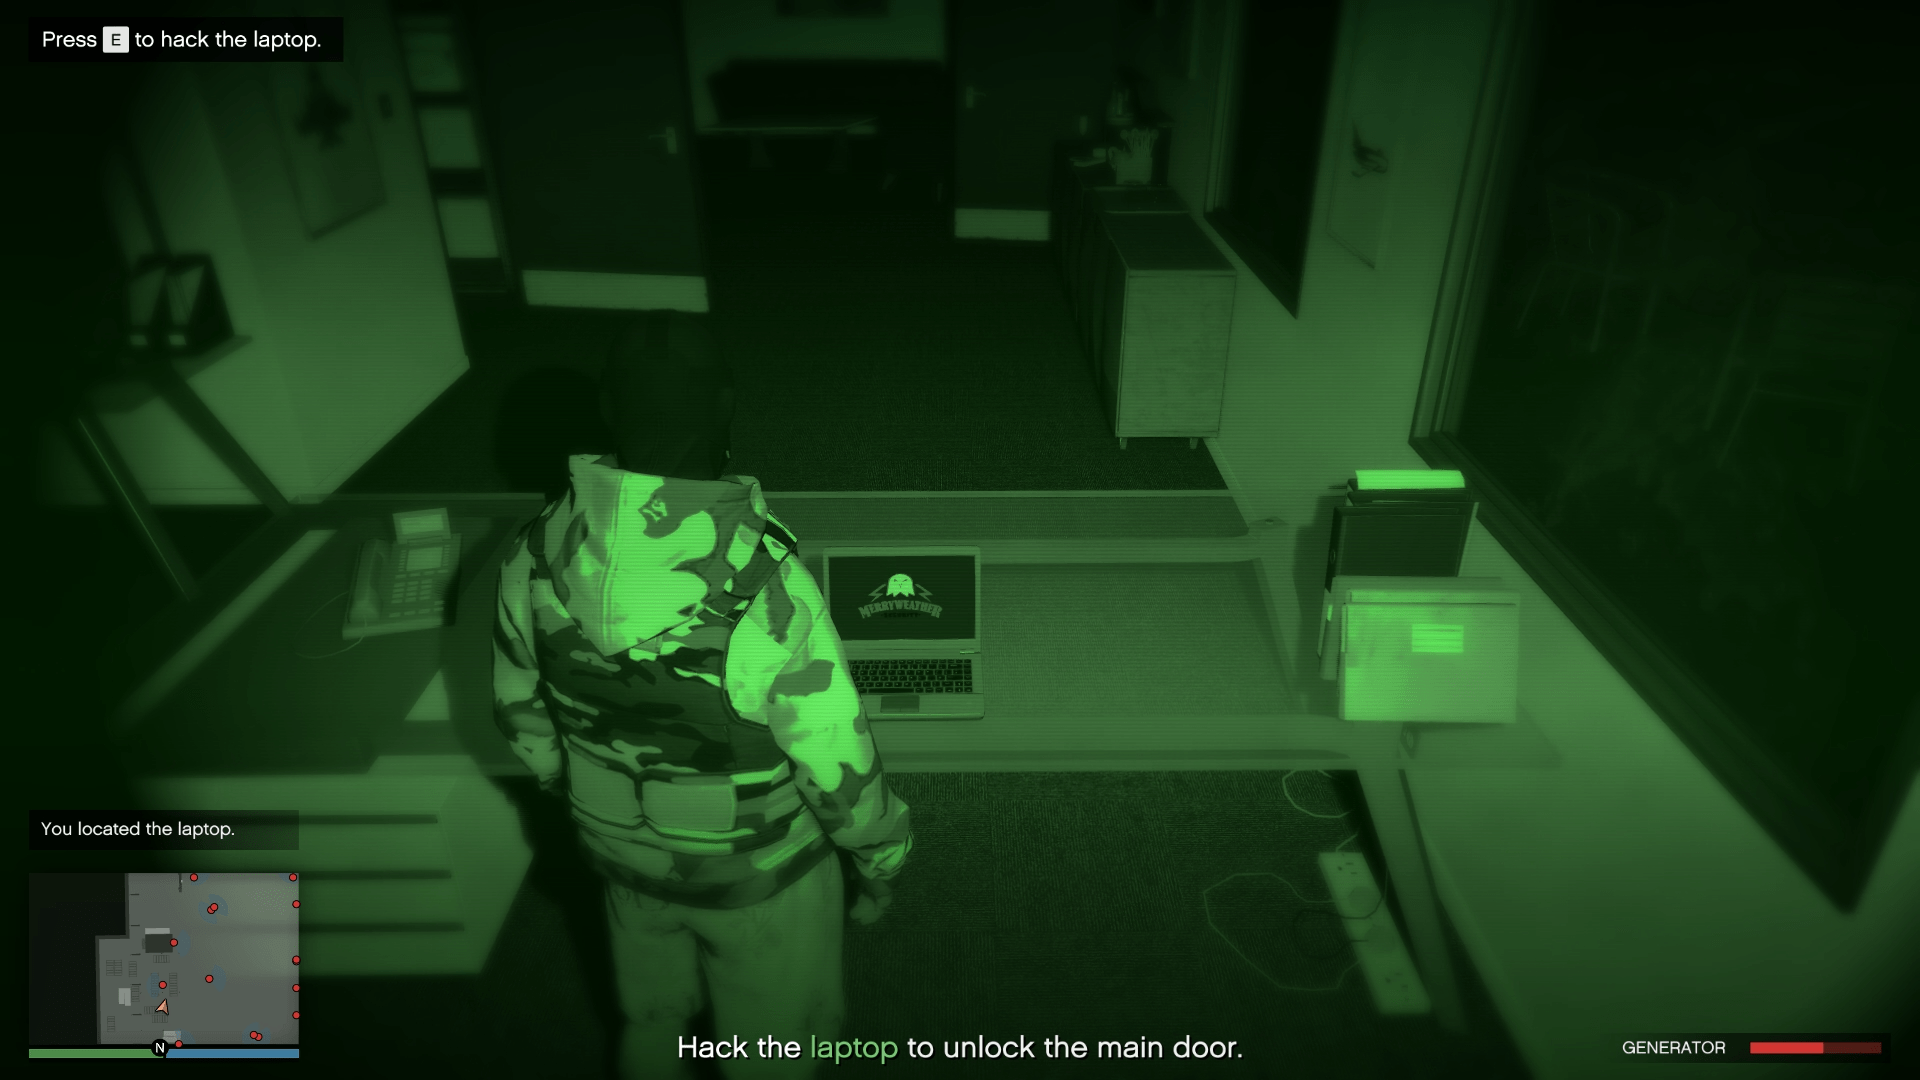
Now, you can easily run around and look for your objective without worrying about the guards seeing you. You need to hurry and find a laptop before the backup generator comes online. The laptop spawns in a random location every time, but it will always be inside one of the cubicles or buildings inside the hangar.

When you are near the laptop, it will be shown on your mini-map, so do not worry a lot and run around in the cubicles. As soon as you find the laptop, use it to unlock the hangar door.

Night-vision-alkonost-2-laptop.png

Note that as soon as you unlock the hangar door, all the guards will be alerted of your presence. You will need to run to the plane and enter it quickly. Thankfully, there won't be any sitting animation. You need to make sure your health and body armor are full while making your way to the plane, as you will get shot at from every direction.

Night-vision-alkonost-3.png

Once inside the plane, exit the hangar and fly high to lose the cops. Unfortunately, you cannot call Lester to lose the cops. Once you've lost the cops, deliver the Alkonost to Miguel's Hangar at the airport to complete this mission.

Alkonost-in-air.png

Part 2: Pilot

The second part of the mission requires you to arrange a qualified pilot for this plane. Luckily, there's a pilot who needs help getting rid of some people he owes money to. If you help him out, he will join you.

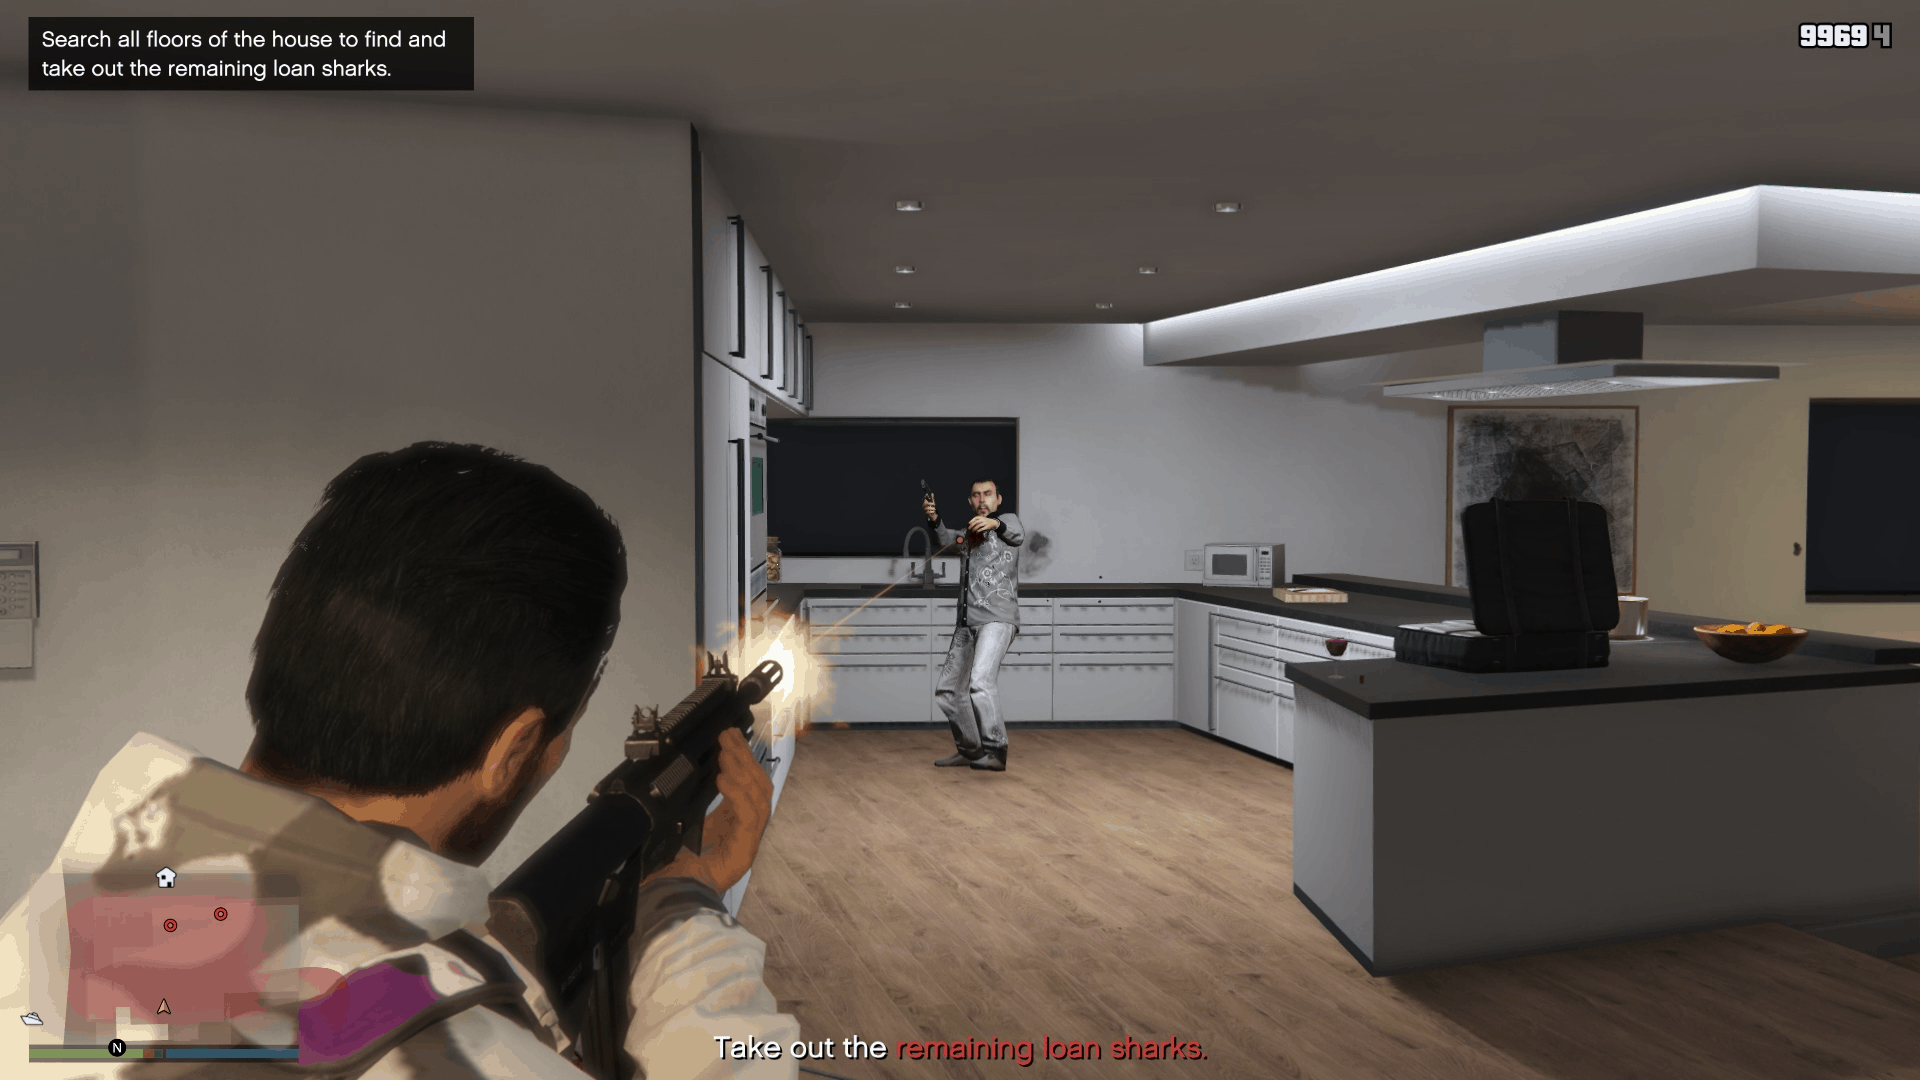
You need to head over to a specific house full of loan sharks. You must kill them all and clear the house of all the loan sharks, including the unarmed. After killing everyone, leave the house and lose the cops to complete the prep mission.

Loan-sharks-1.png

The pilot mission is also part of the Helicopter Stealth Annihilator prep mission that requires you to arrange the pilot. You can do the pilot mission as part of either one of these missions, and it will be counted as completed towards both of these missions. You do not have to repeat the pilot mission.

Plane: Velum (Optional)

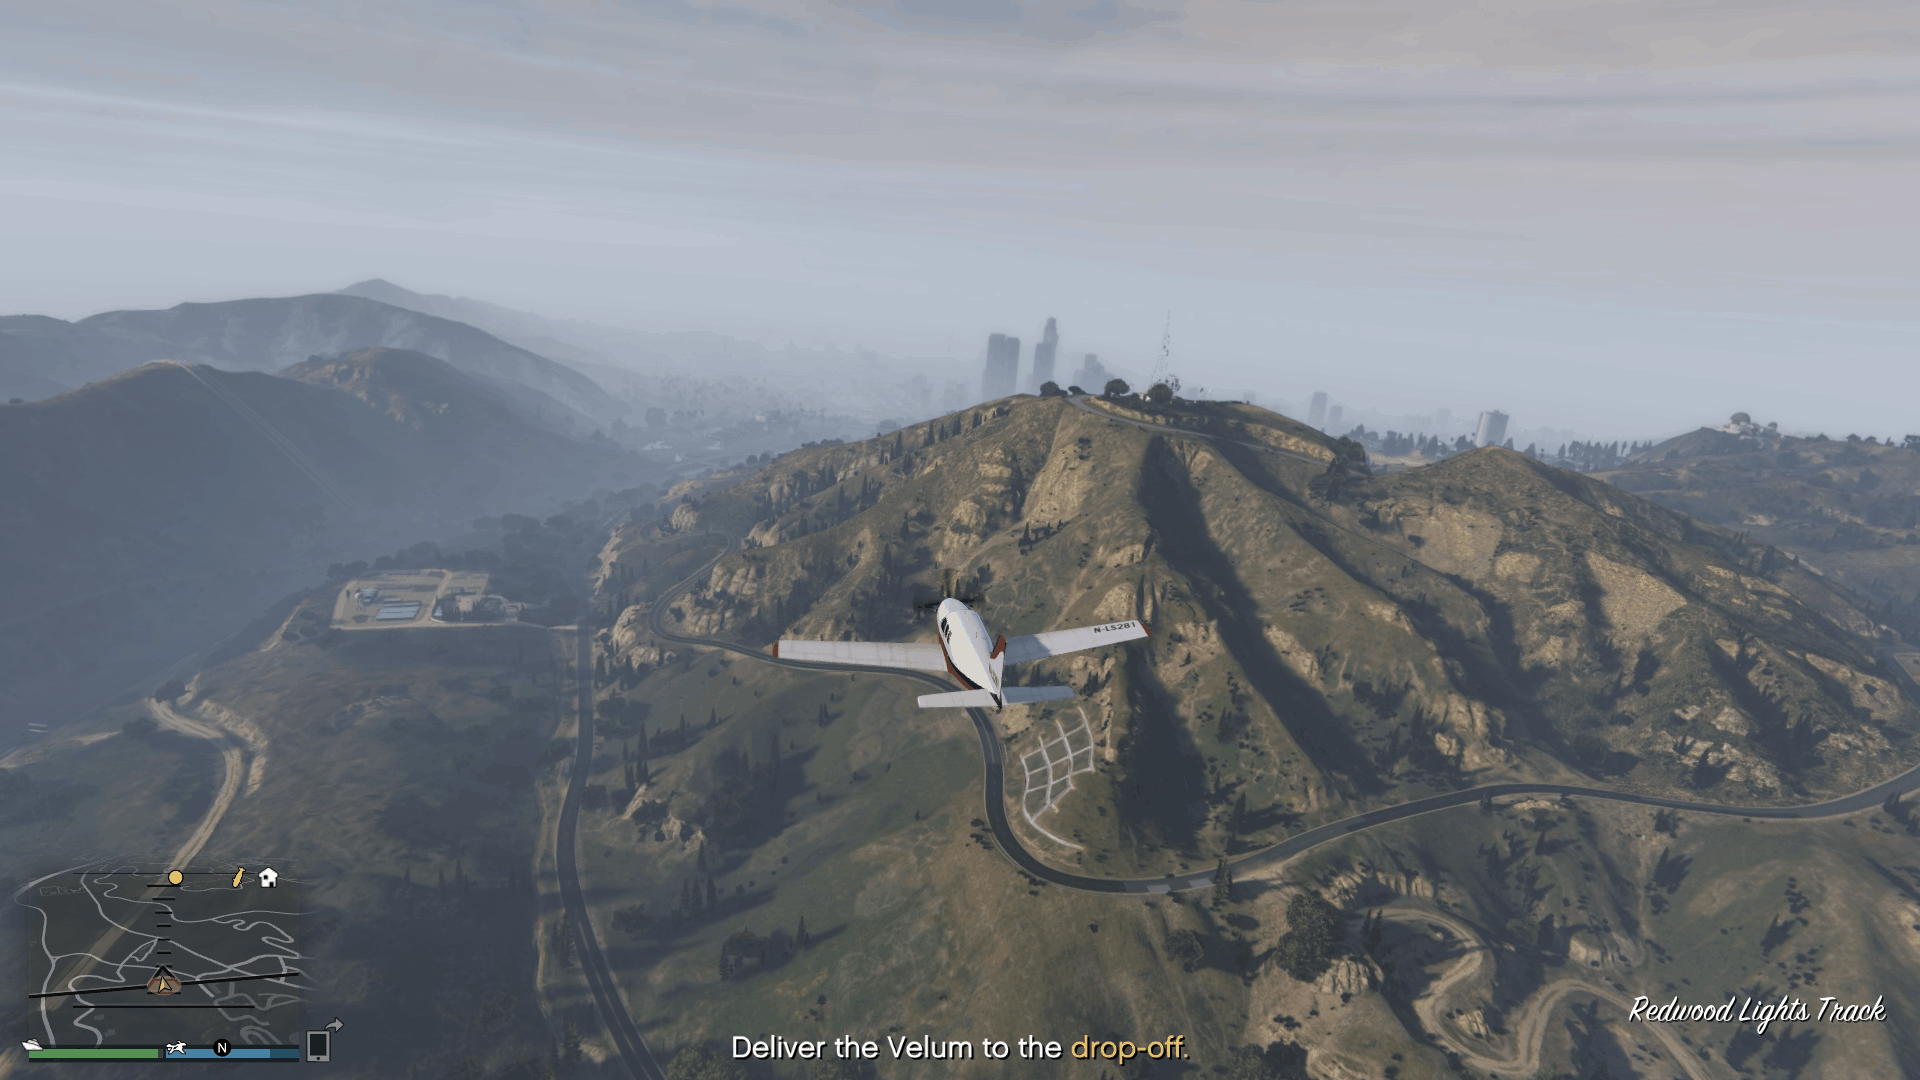
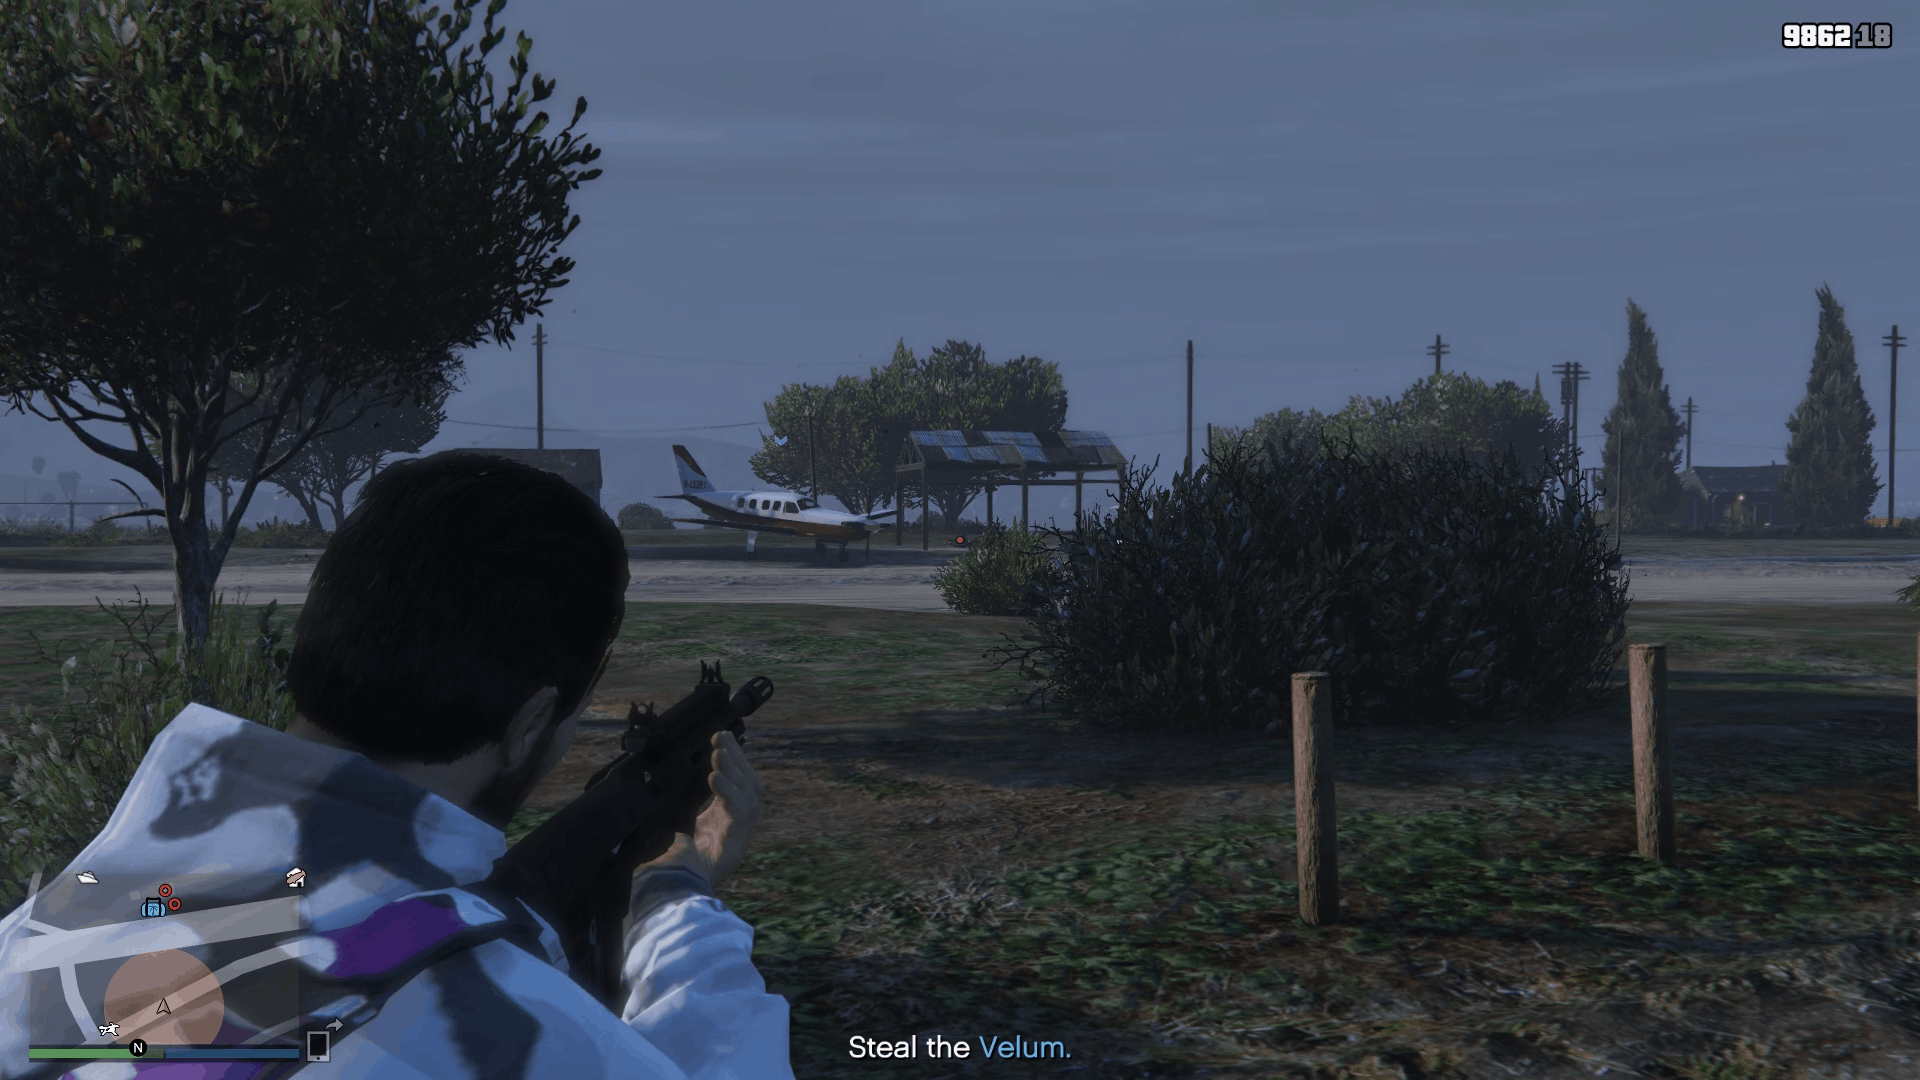
This optional mission is straightforward. You need to head over to a location where a drug deal is taking place. There will be a Velum plane there that you need to steal and deliver to the drop-off point.

Velum-1.png

Please do not use any explosives to take out the enemies there as it may lead to the destruction of the plane and ultimately the failure of the prep mission. Take out the enemies first and then fly the plane to the drop-off point.

Velum-2.png

You can pick off the enemies using your regular AR from a distance. Just make sure you have enough snacks and body armor to survive the fight.

Helicopter Stealth Annihilator (Optional)

Part 1: Stealth Annihilator

For this two-part optional mission, you can get different locations but with the same objective of stealing the stealth helicopter. Do not use any air vehicle to approach the objective site as there are air defenses that will take you out in a single hit.

Annihilator-1.png

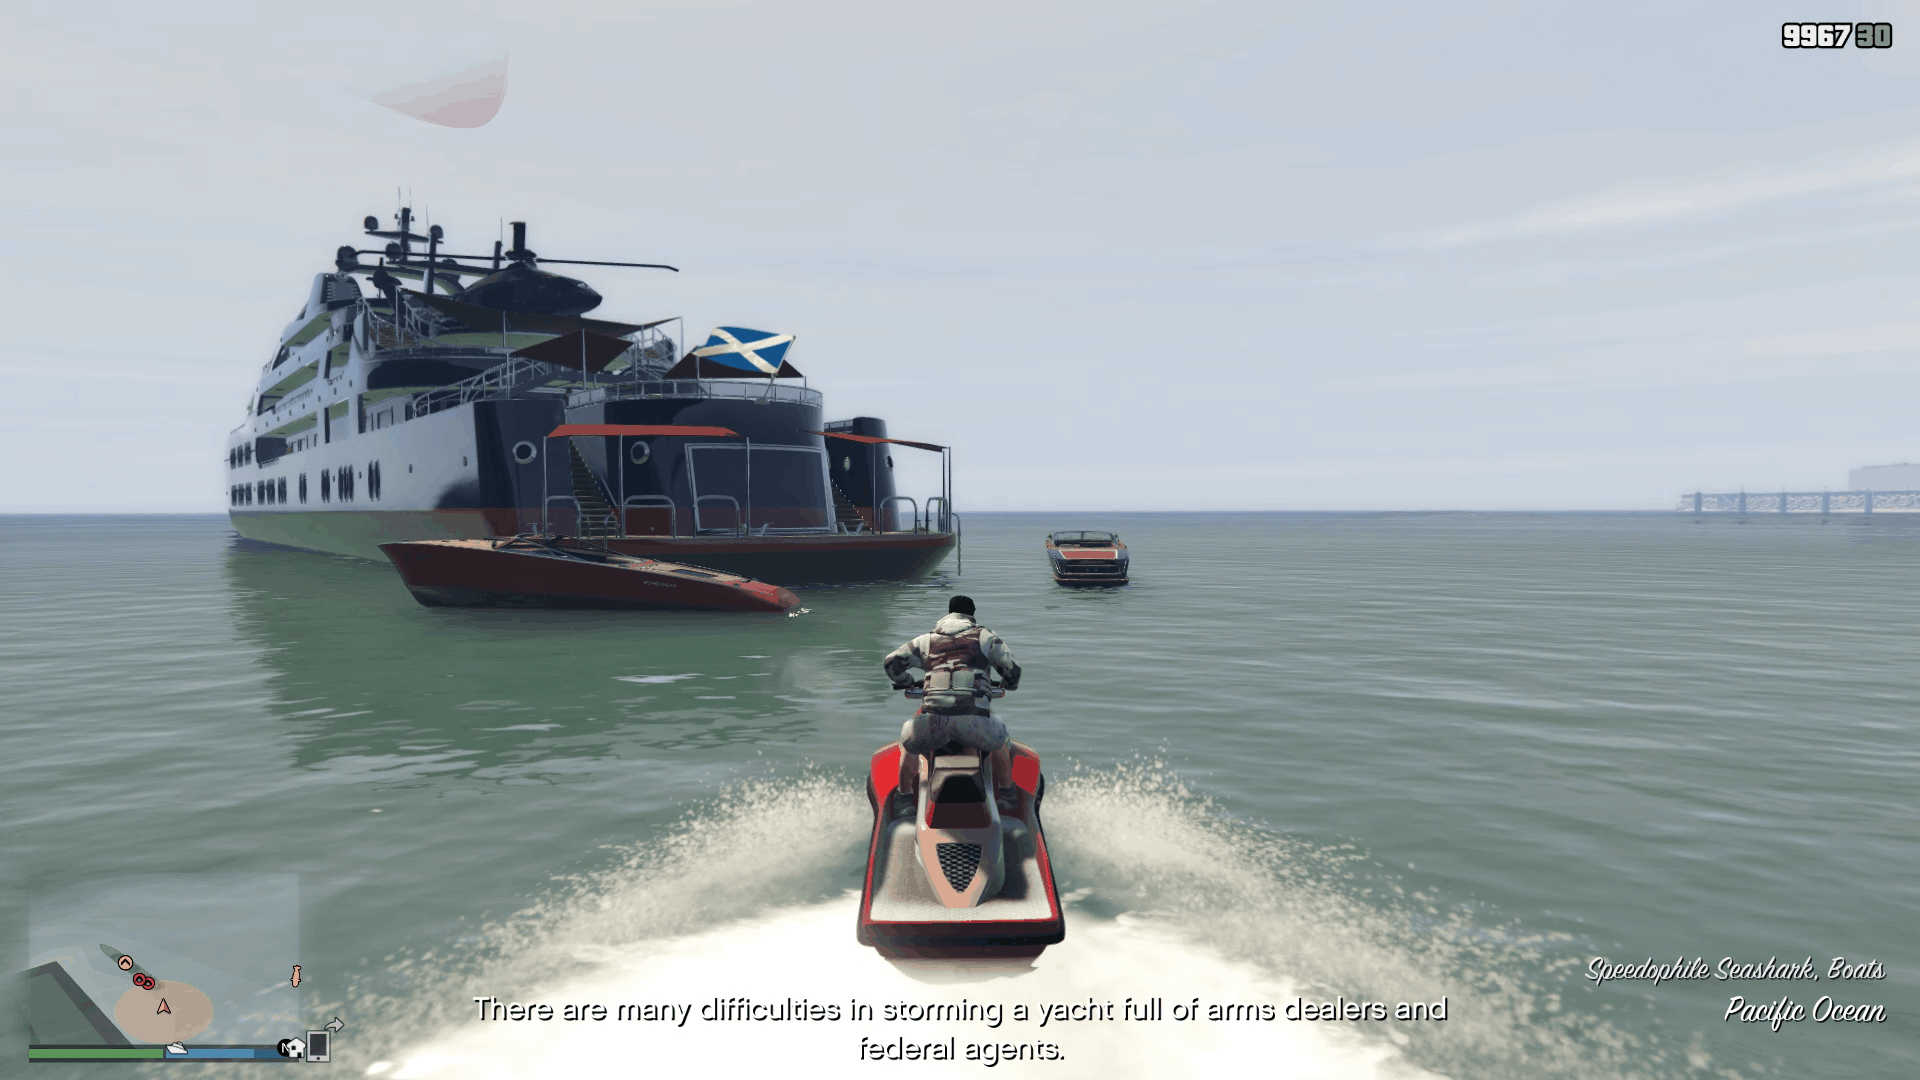
Go to the location on foot, or in our case, using one of the speedboats, to reach the Yacht. The stealth helicopter was on a Yacht at Elysian Island (one of the locations). You will need a good number of snacks and body armor as this mission will put you in a heavy combat scenario.

Annihilator-2.png

You will need to fight your way to the control room and hack the laptop to disable the area's air defense system. Once the system is disabled, make your way to the stealth helicopter. Two attack helicopters will spawn in. Take them out first. They will spawn four times before disappearing for good.

Annihilator-3.png

After getting rid of them, fly the stealth helicopter to the drop-off point to complete this prep mission.

Annihilator-4.png
Annihilator-5.png

Part 2: Pilot

As mentioned above, the pilot mission can be done on either the stealth Annihilator or the Alkonost. The pilot mission will be completed in both the missions, and you won't have to do the mission twice. You have to go to a specific location and take out the loan sharks to complete this prep mission.

Loan-sharks-3.png

Boat: Patrol Boat (Optional)

In this optional mission, you are tasked to go to the docks and steal a patrol boat. This mission is not as easy as the other missions, but our guide will give you a good strategy to finish the mission easily.

Before starting this mission, it is best to buy the maximum number of heavy body armor and snacks. Your survival essentially relies on the armor and snacks you take into this mission with you. You can get two different locations for this mission but with the same objective — to steal the patrol boat.

Patrol-boat-1-prep.png

The first location is the Merryweather HQ, where you will take down the Merryweather soldiers and open the gate to drive the boat out of the big warehouse docks. The second location is called Galilee, where you eliminate some smugglers at the docks to get a local patrol boat's attention.

We got Galilee as our location to eliminate some smugglers and attract a patrol boat at our location. Note that the boat will come at the docks and instantly make a u-turn trying to make a run for it, which will make it difficult to steal the boat.

Patrol-boat-2-prep.png

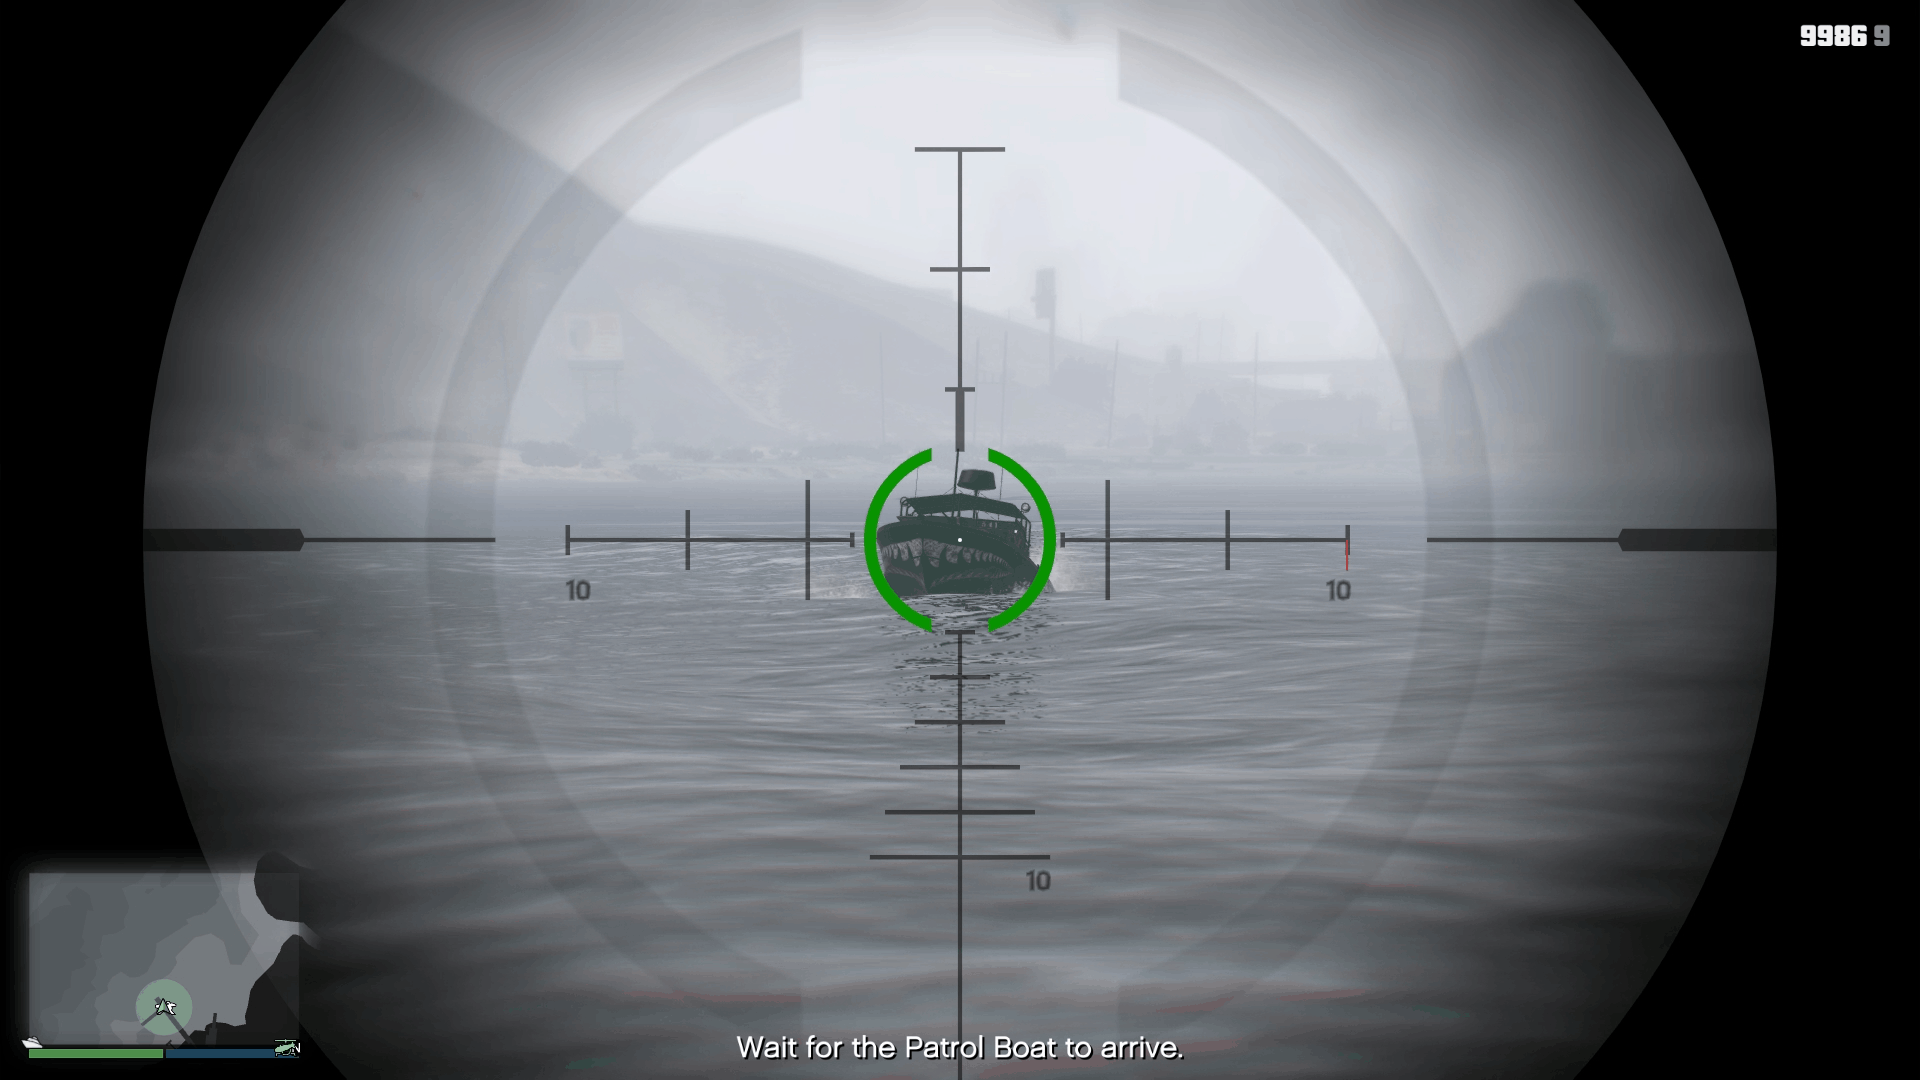
The best thing to do is get your Sniper Rifle out and keep an eye out for the patrol boat. You will see a boat approaching your location. You need to kill the boat driver, swim to the boat, take out the gunner on-board, and take control of the boat.

Patrol-boat-3-prep.png

Once you have control of the boat, you will need to make your way to the open ocean. Now the hard part starts. You will have two routes to take — Raton Canyon River or Zancudo River. Take the Raton Canyon river as it is closer to the drop-off point.

Patrol-boat-4-prep.jpg

As you make your way to the river, two attack helicopters will spawn, and they will constantly shoot you, depleting your armor and health. The best way to avoid death here is to keep your armor menu open and keep using the armor as soon as your armor depletes completely.

Patrol-boat-5-prep.png

Once you run out of armor, switch over to your snacks menu, and keep eating to regain health as you drive the boat to the ocean. Halfway through the river, you will be attacked by more Merryweather soldiers. It can get intense, but it shouldn't be a problem as long as you keep an eye out for your armor and health bar.

When you reach the ocean, the enemies and the attack helicopters will disappear. You can then drive your boat to the drop-off point to complete this prep mission.

Patrol-boat-6-prep.png

Boat: Longfin (Optional)

You need to steal a longfin boat from the police station using a tow truck in this optional mission. This mission can also have different locations, but always the same objective.

Longfin-prep-1.png

You will be asked to make your way to the police station (we got Vespucci Beach Police Station). As you are making your way to the police station, Pavel will send you tow trucks' locations.

Longfin-prep-2.jpg

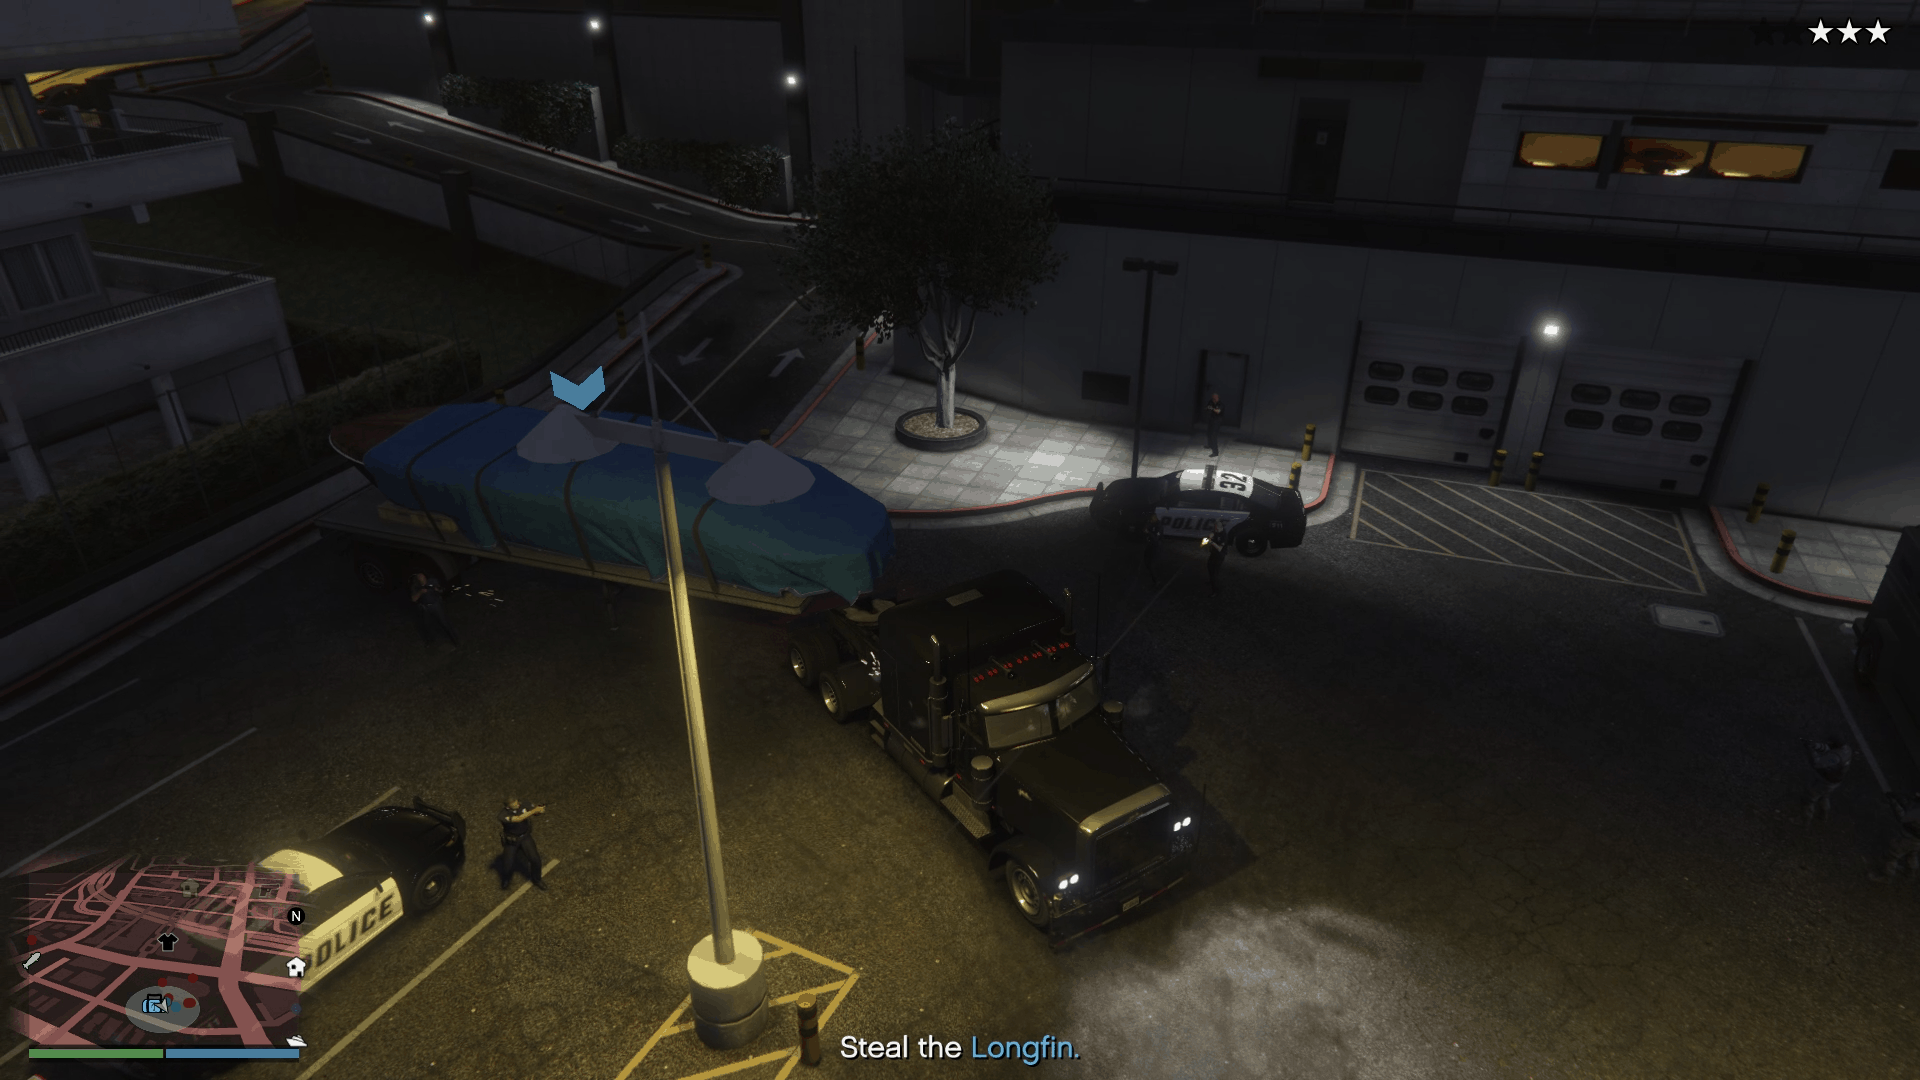
You must steal one of the tow trucks and go to the police station. Here's a quick tip for when you reach the police station — do not drive into the station head-on. You must reverse your truck into the station and to the boat trailer.

Longfin-prep-3.png

As soon as you enter the station, you are going to get shot at from every direction. You probably won't have enough space and opportunity to change direction amidst the cops shooting at you. Just reverse into the trailer, and it will attach automatically.

Longfin-prep-4.png

After the trailer attaches, lose the cops and then deliver the longfin boat at the docks to complete the mission.

Longfin-prep-5.png

With your approach vehicle chosen and its prep mission completed, you're ready to gather the necessary tools.

Head back to our main Cayo Perico Heist hub or proceed directly to our Equipment Missions Guide.

Topics in this article

Related Stories

More From GTA Guides

Cayo Perico Heist Prep: Approach Vehicle Missions | GTA BOOM