Falling In is the second mission in the Project Overthrow storyline of GTA Online's San Andreas Mercenaries DLC. In this mission, players must visit two underwater crash sites to retrieve valuable charges while fending off Merryweather forces.
In this mission, you need to go to two different crash sites and steal some charges from inside the crates underwater. We highly recommend stocking up on snacks and armor, as you will need them.
There are two crash sites, each riddled with Merryweather choppers and boats scanning the area for the same charges.
When the mission starts, first make your way to the crash site located at the Alamo Sea. This one is the closest but also the toughest.
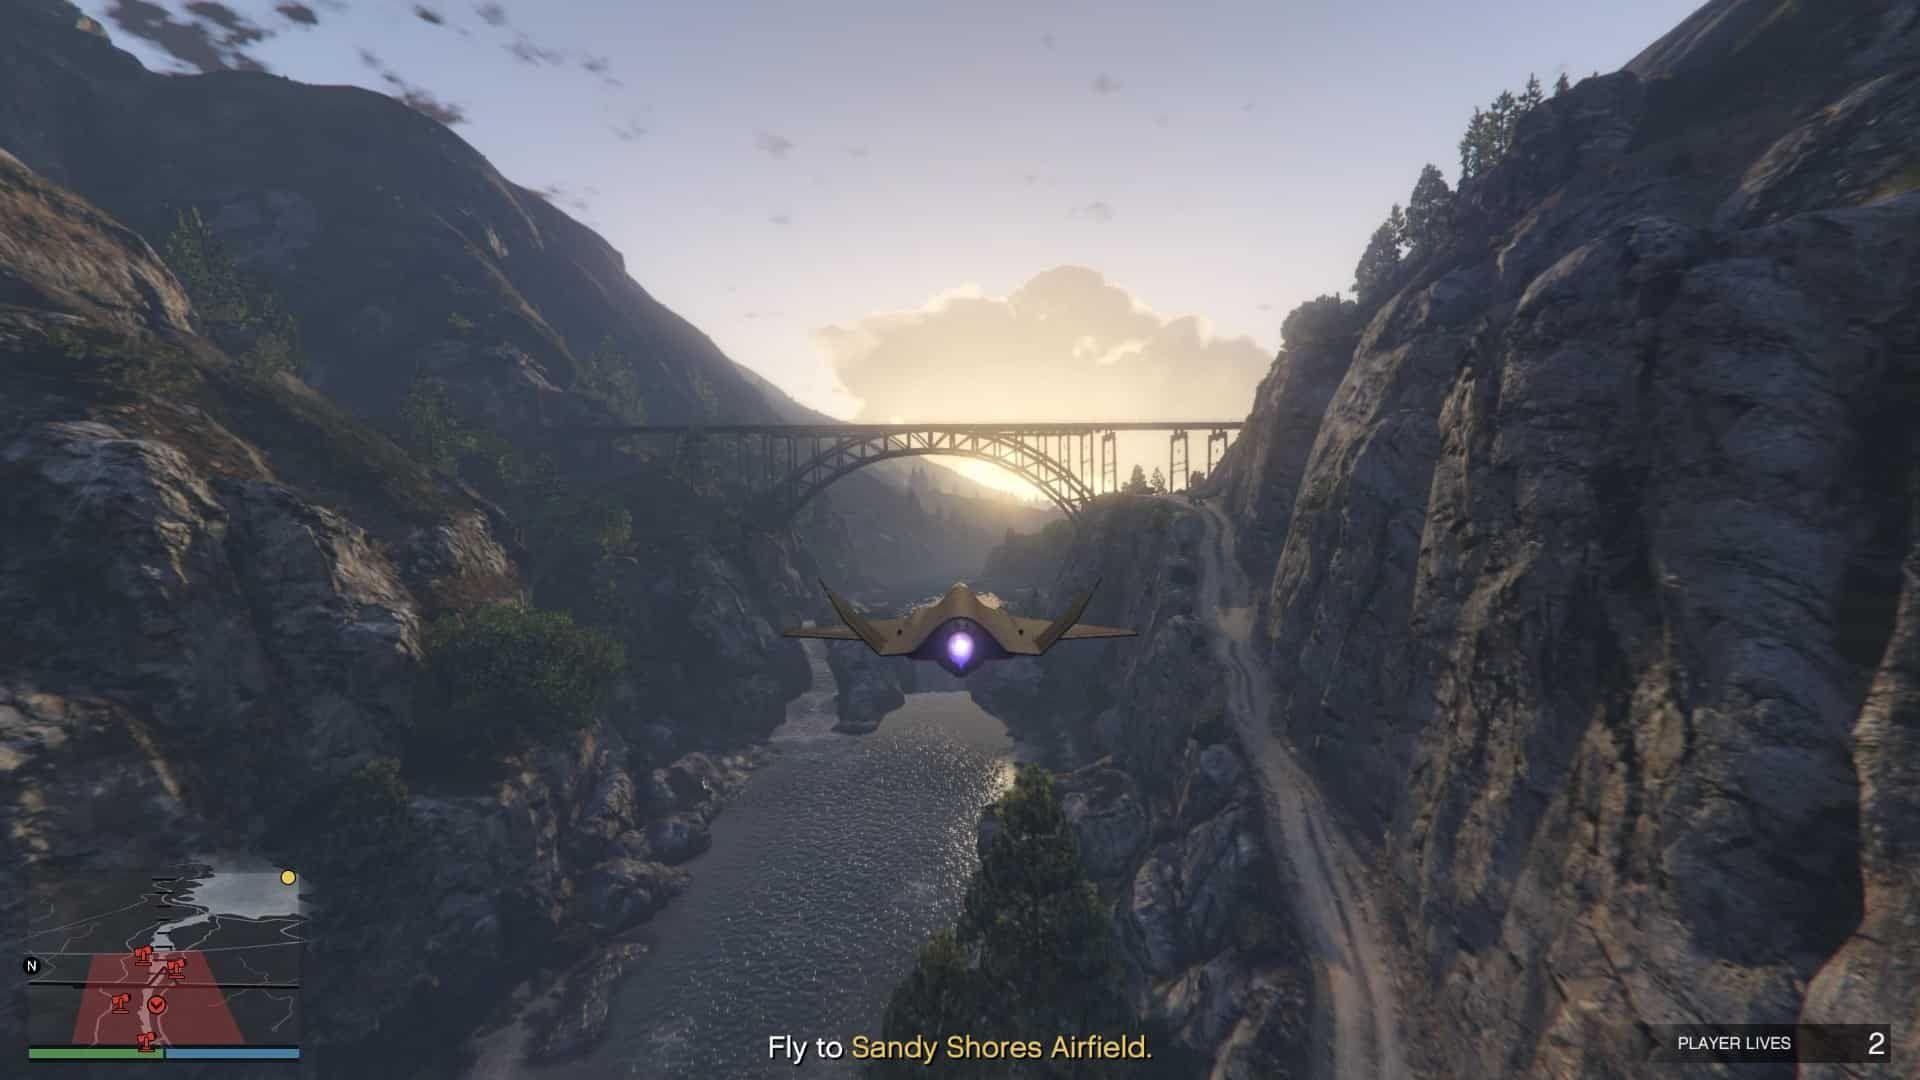
Do not fly at a high altitude when you get to the crash site. If you are at a higher altitude, your enhanced camera from the Avenger won't be able to detect the cargo underwater, even if it is centered in the middle of your camera.
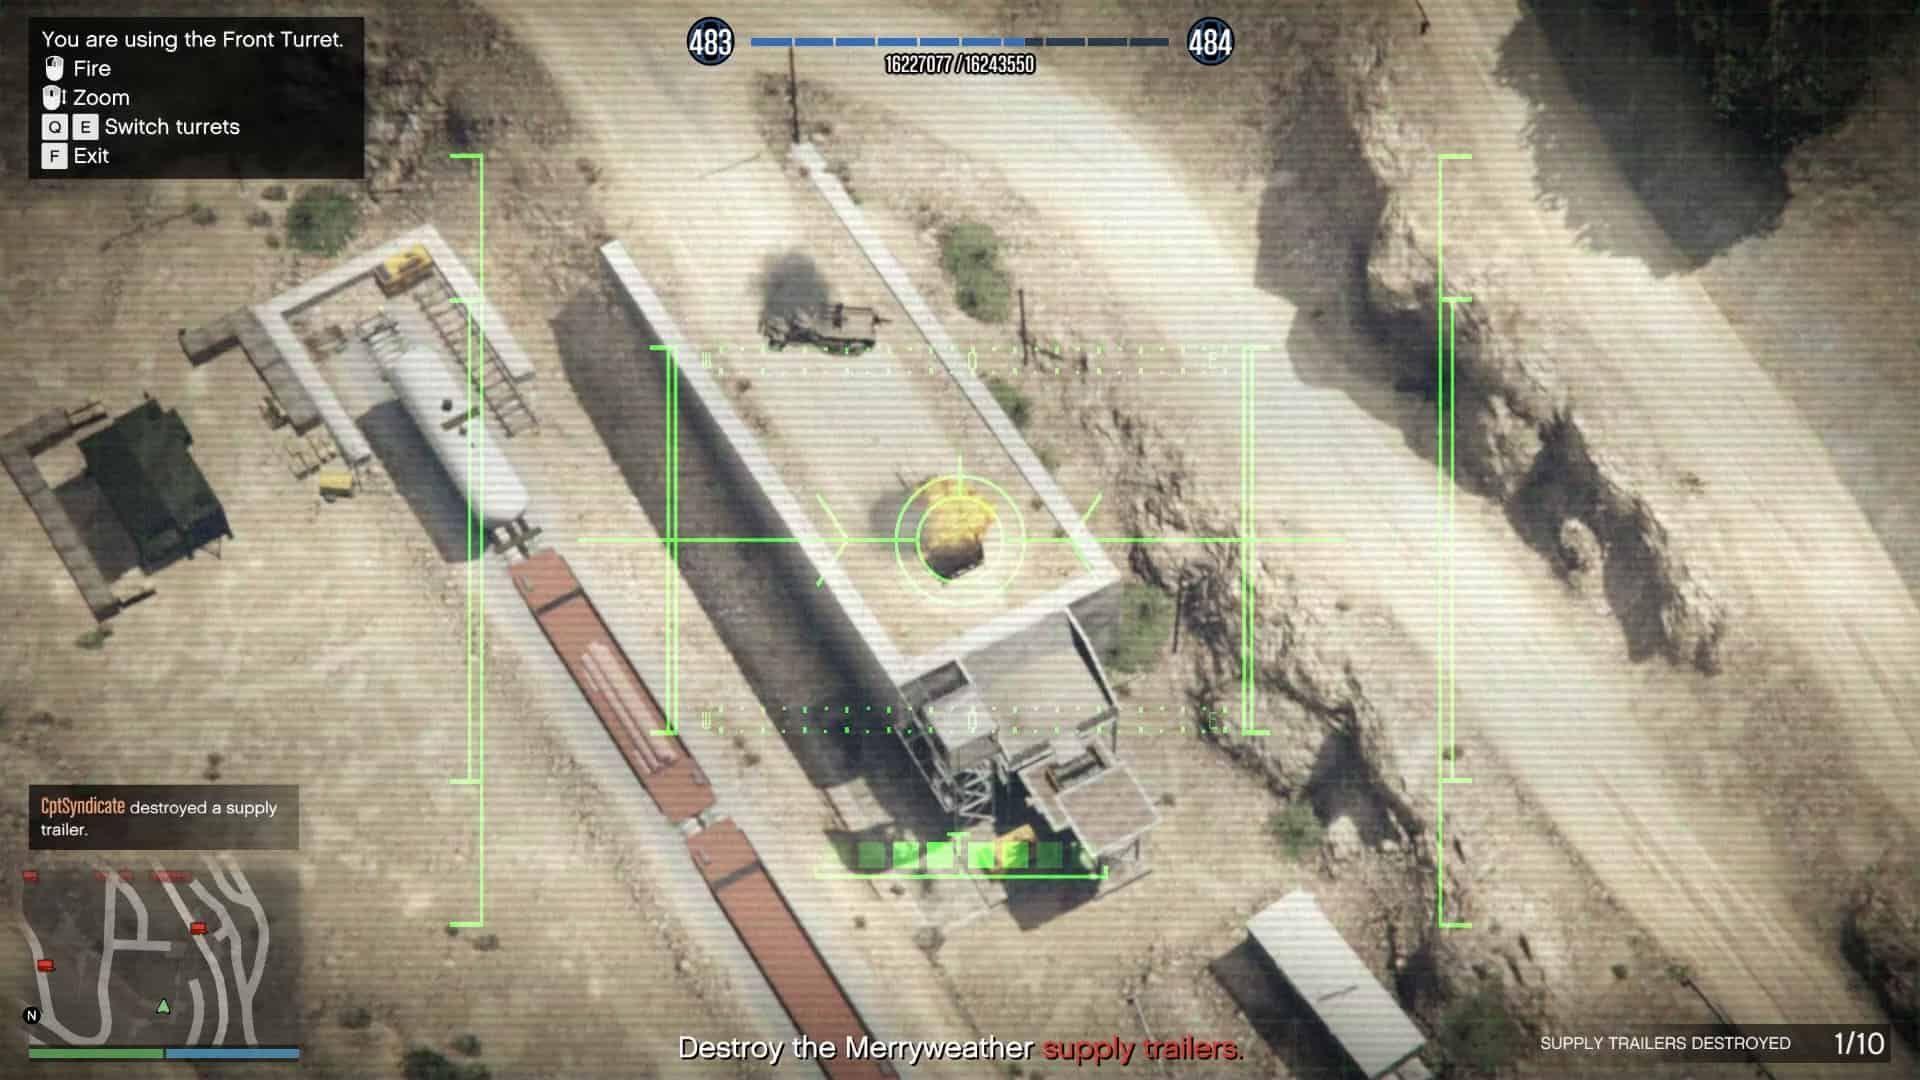
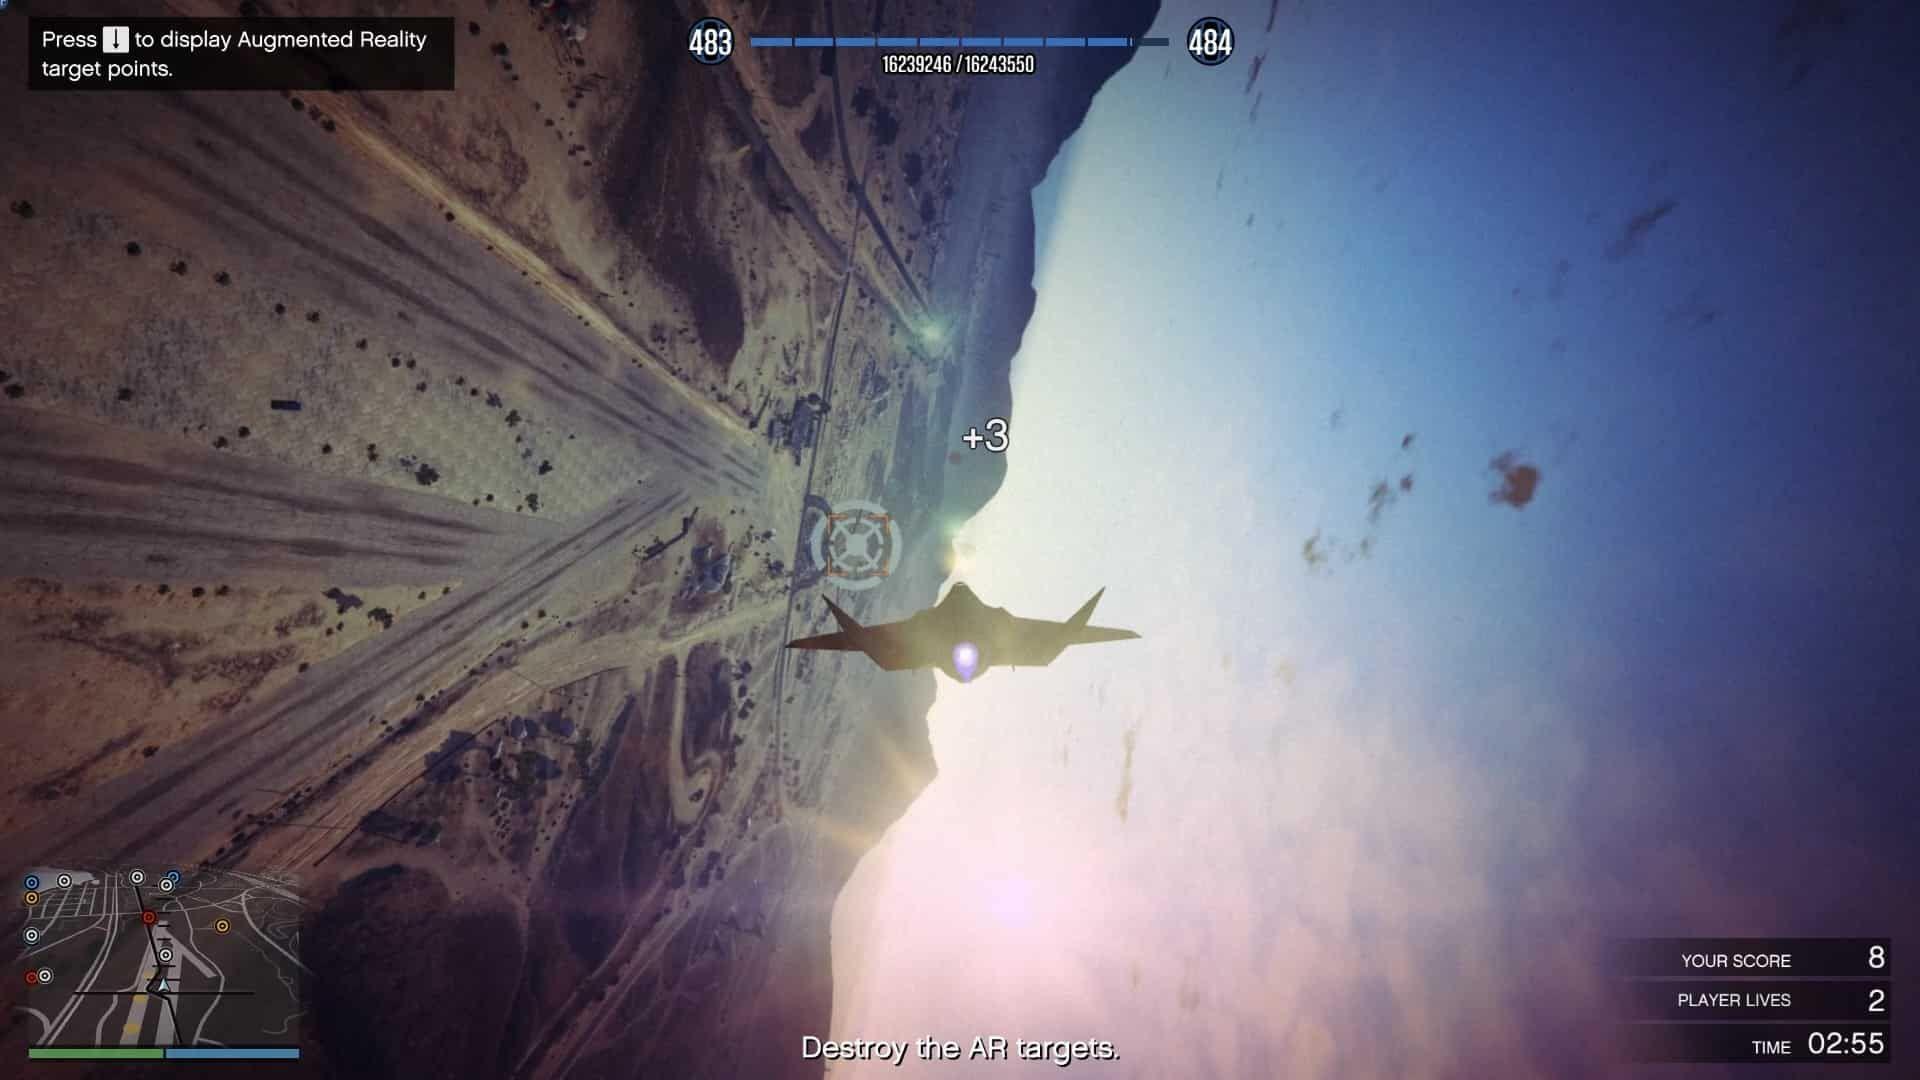
Fly relatively lower and closer to the sea and engage auto-pilot. After engaging the auto-pilot, enter the hold and use the turrets to take out the enemy choppers.
Once you've taken them out, land the Avenger on the ground closest to the cargo. You can just land the Avenger at the same location shown in our screenshots.
If you get more choppers, enter the hold and use the Avenger's turrets to take them out quickly.
You can ignore the Merryweather guards unless they are close to you. Quickly exit the Avenger and dive into the water. Swim to the cargo and collect it.
As you're swimming back, you will notice that more choppers will spawn, and their perfect aim will destroy you. Always keep an eye on your health and armor bar and quickly replenish whenever needed.
Luckily, you can do that by using the shortcuts from your weapons wheel. Gone are the days of opening up the interaction menu to heal or armor up.
Once you're back on land, you can take out the choppers by eliminating the pilots.
Quickly head inside your Avenger and go to the second crash site at Cape Catfish.
You repeat the same thing here, engage auto-pilot, use Avenger's turrets to take out the enemies, and land the Avenger on the sea crane.
Once you've landed, quickly head underwater and pick up the second charge. This one is relatively easier as the crate is directly below the sea crane. So you won't have to swim far out into the distance.
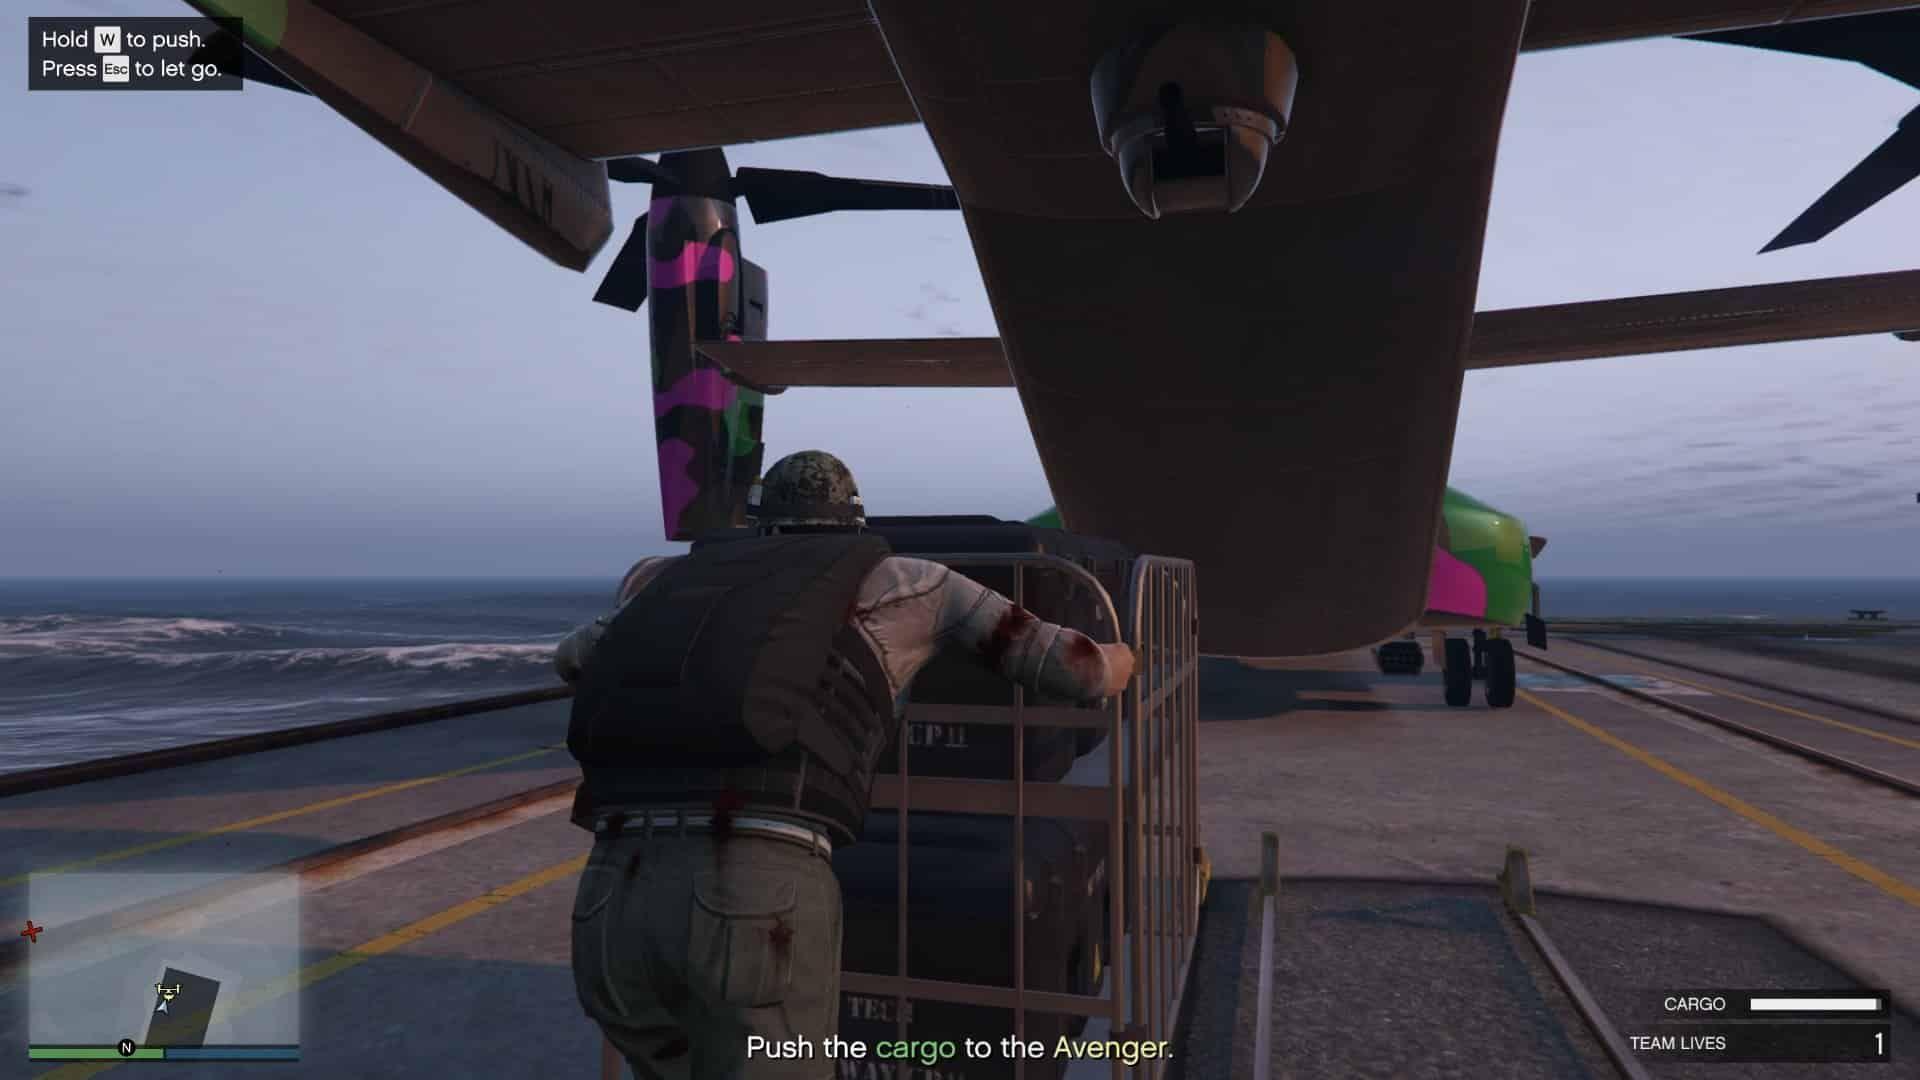
When you're done, swim back up to your Avenger and deliver the charges to LSA Lockup to complete the mission.
With the charges secured, your next assignment in Project Overthrow is On Parade.
