Guide

San Andreas Mercenaries: Project Overthrow - Shock & Awe Guide

A step-by-step walkthrough for Shock & Awe, the explosive final mission of the Project Overthrow storyline in the San Andreas Mercenaries DLC.

Shock & Awe is the sixth and final mission in the Project Overthrow storyline of GTA Online's San Andreas Mercenaries DLC. This mission represents the culmination of your efforts against Merryweather Security, involving a full-scale assault on their HQ.

In this mission, you end Merryweather for good. Make sure you stock up on snacks and armor for this one too, you're going to experience lots of combat.

First, make your way to the Merryweather HQ. You will be asked to land the Avenger at the HQ. But wait to land the Avenger. Use the homing missiles to remove as many guards as possible before you land.

Google preferred source badge

Get GTA BOOM in your News Feed!

Star GTA BOOM as a preferred source so our GTA coverage appears more often in Top stories and your sources.

Project-Overthrow-Mission-108.jpg

Remember, you can go into hover mode to make the Avenger easier to maneuver.

Once you've taken out as many as possible, you can go ahead and land the Avenger and proceed on foot.

Project-Overthrow-Mission-109.jpg

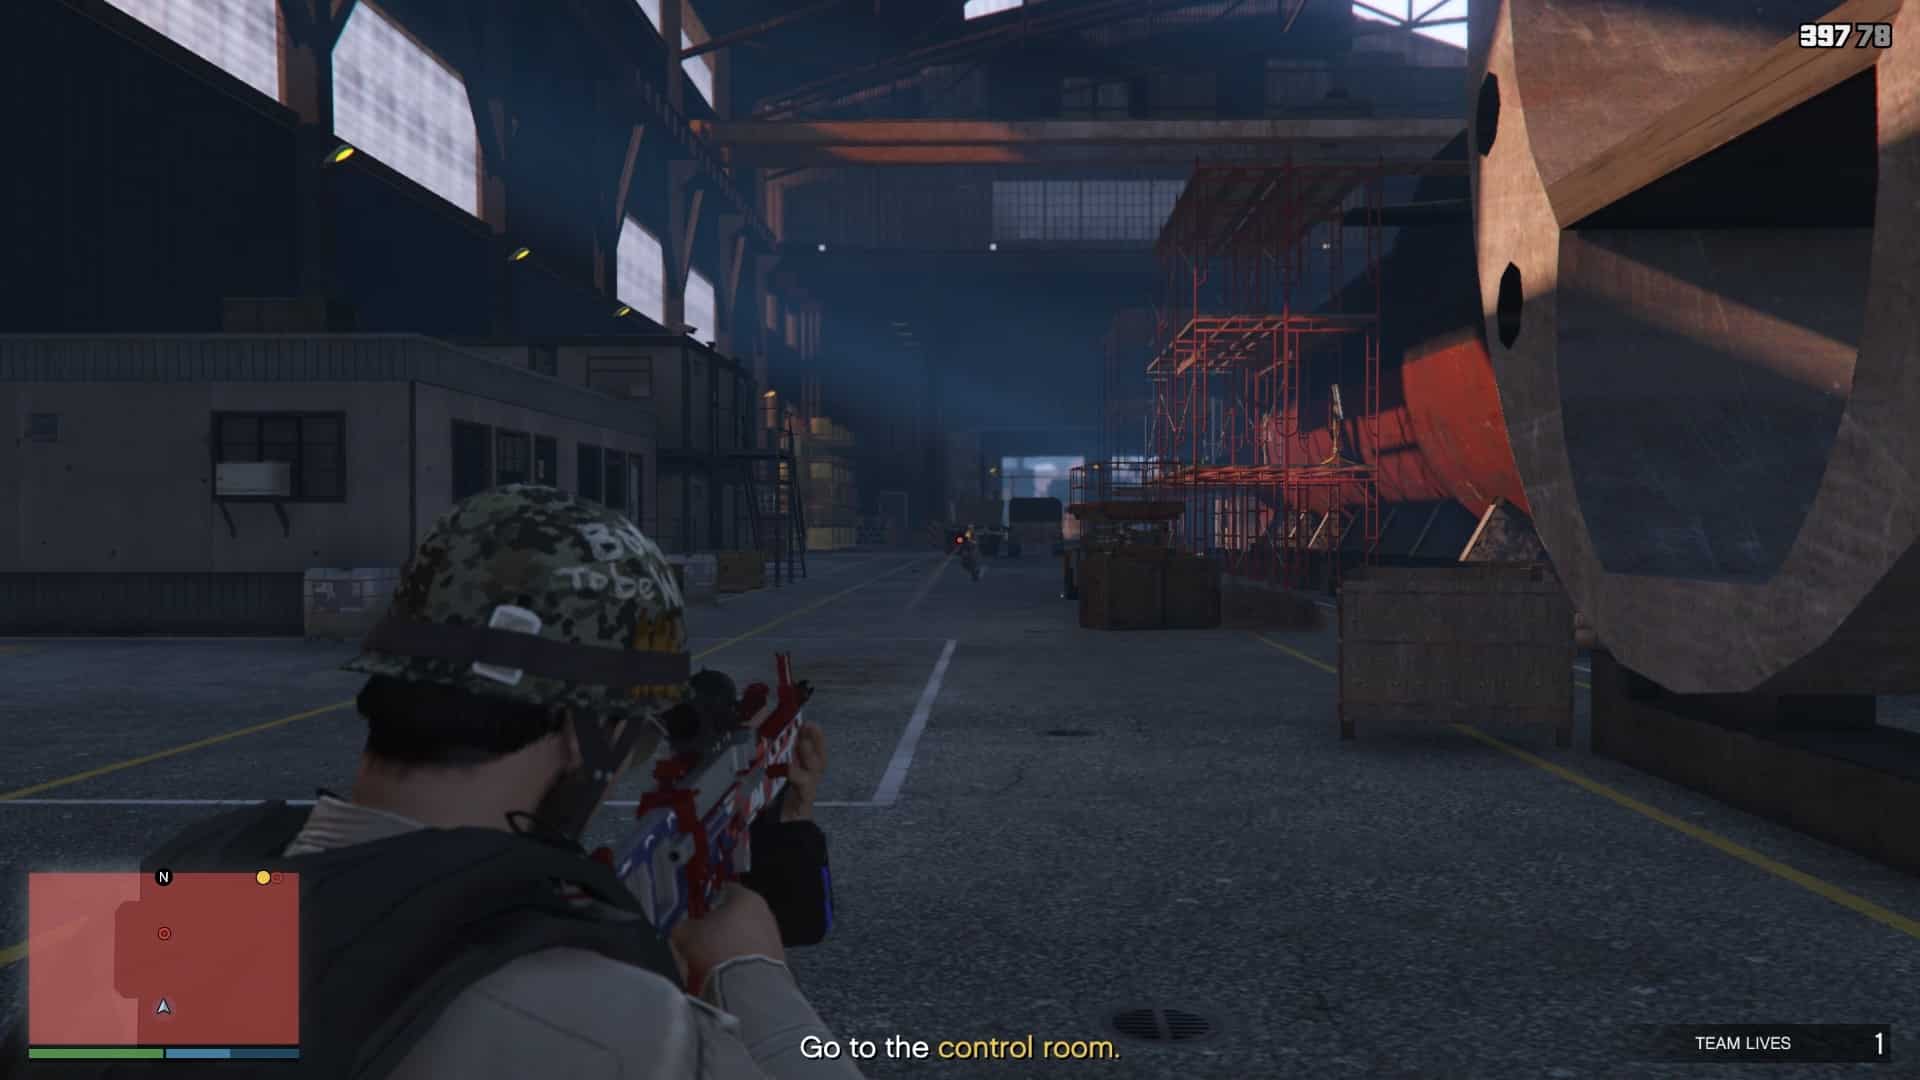
Now you need to go to the control room on the other side of the docks. Watch for the guards on the platforms around you and ahead of you.

Project-Overthrow-Mission-110.jpg

You can stick to the left side of the area and keep pushing forward as you eliminate incoming Merryweather guards. It is not that difficult. Just keep an eye out for enemies on your minimap.

Project-Overthrow-Mission-111.jpg

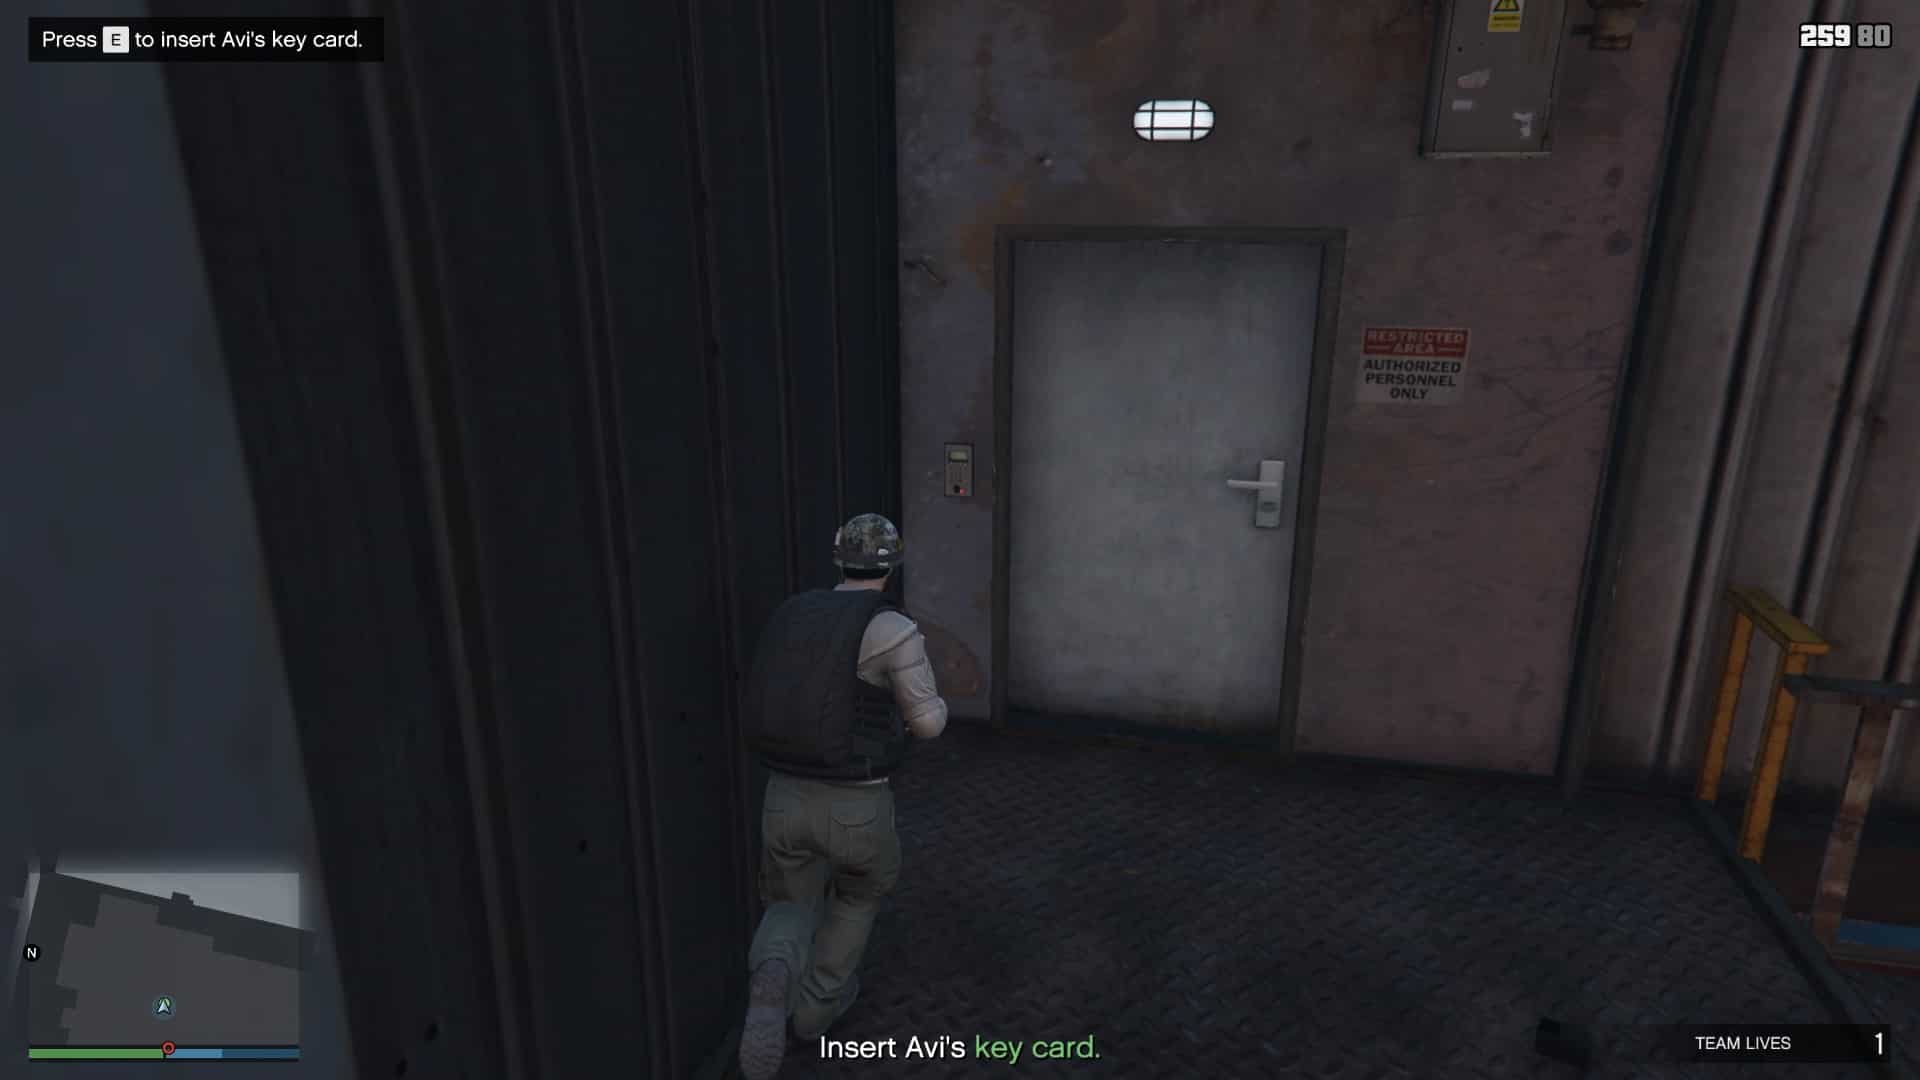
At the end, you will find some stairs. You can use the stairs to climb up to the control room and use Avi's keycard to open the door to the control room.

Project-Overthrow-Mission-112.jpg

When you try to open the door, it won't work. For the keycard to work, you must destroy ten signal jammers scattered around the area.

Project-Overthrow-Mission-113.jpg

Just so you know, you can destroy all the jammers just by standing on the same platform as the door. Here are all ten signal jammer locations (highlighted with a red circle). You can also use a thermal scope on your sniper rifle to easily identify them.

  • One is right beside the control room door. One is directly in front of the control room door. One is directly below the control room. You can see it from the platform itself. You just need to angle yourself accordingly. Two are located on the left side of the docks. One is on a pillar directly in front of you. The other is on the wall to the far-left. There are three signal jammers on the right side. One is on the sixth support pillar from you. The second one is by the shutter door on the far-right side of the docks. And the last one is on the wall of a small portable office cabin.

Once you've destroyed all ten jammers, try the keycard again, and the door should open. You will find two guards inside.

Project-Overthrow-Mission-114.jpg
Project-Overthrow-Mission-115.jpg

Take them out and press the button in the control room to disengage the cargo lock.

Project-Overthrow-Mission-116.jpg
Project-Overthrow-Mission-117.jpg

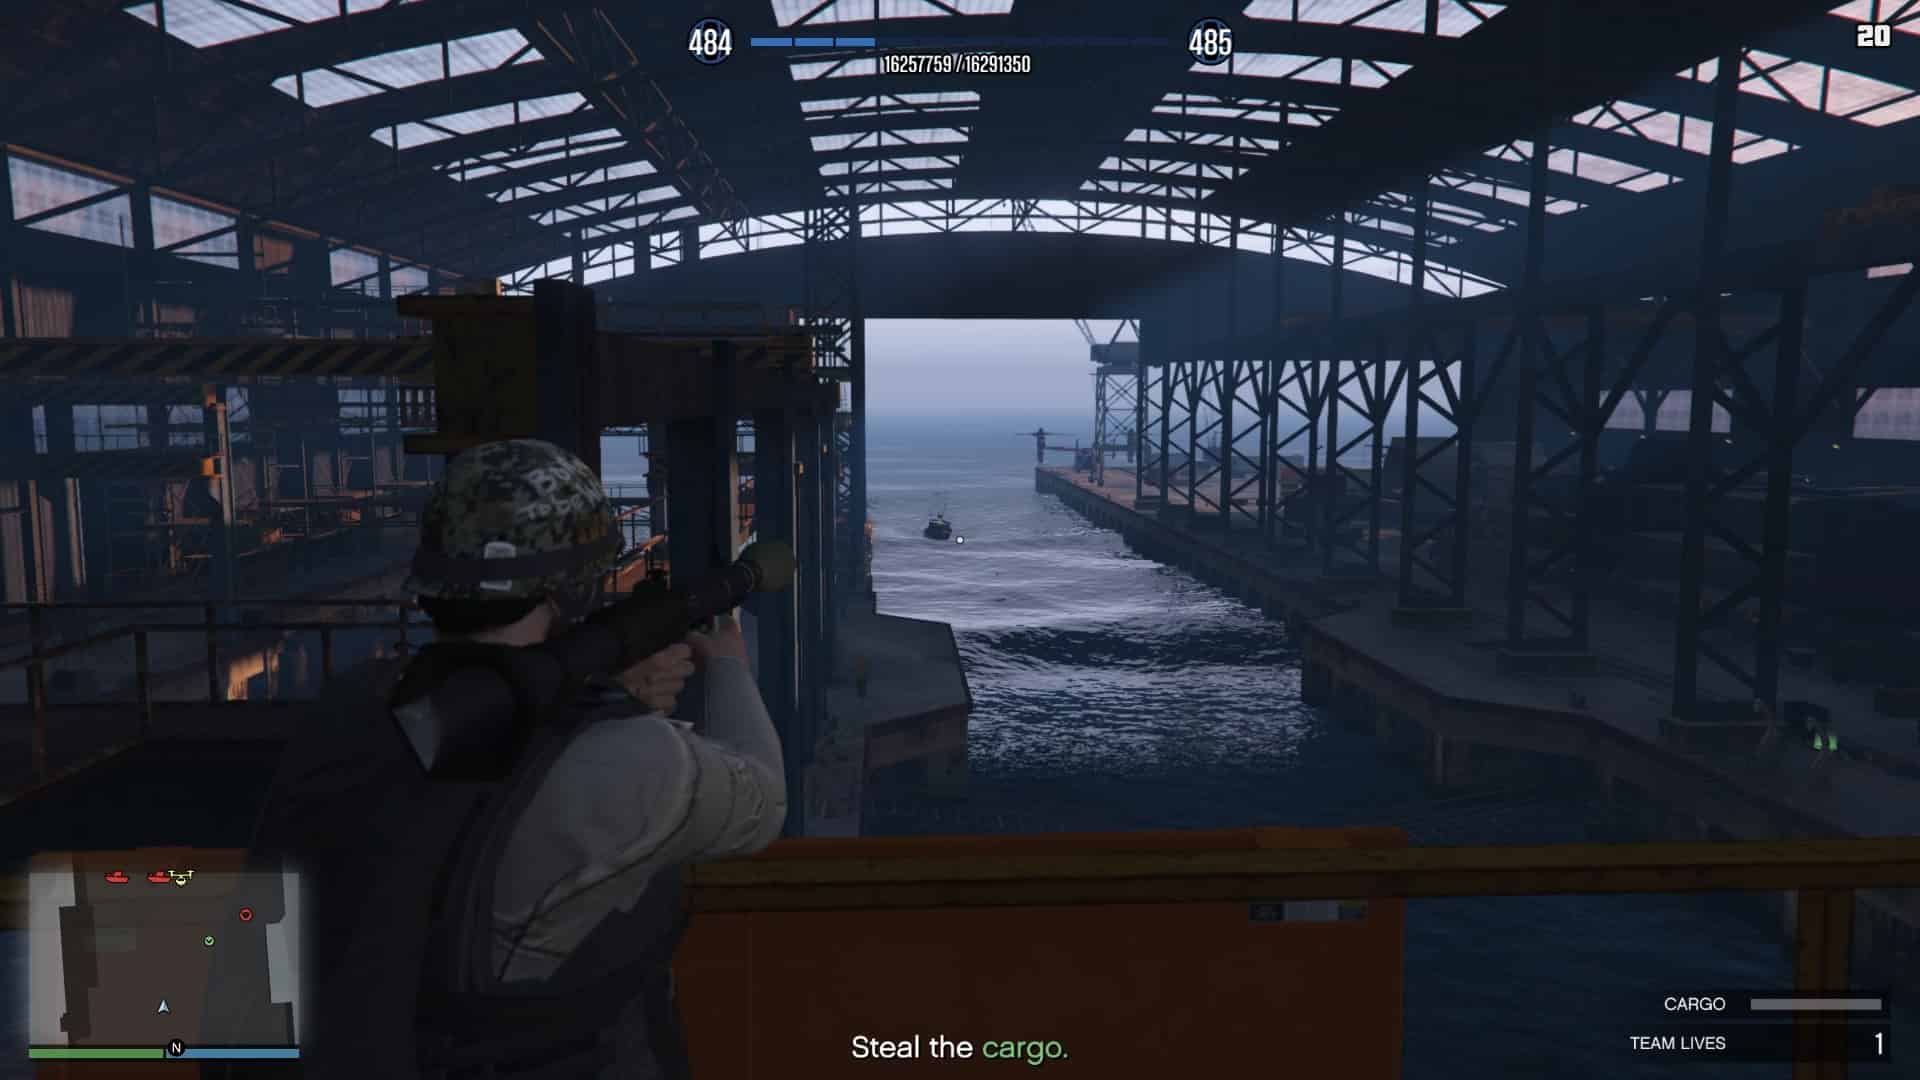
Now, make your way to the cargo. First, stay on the platform after leaving the control room and wait for the boats to arrive and destroy them.

Project-Overthrow-Mission-118.jpg
Project-Overthrow-Mission-119.jpg

Continue going downstairs and eliminate the guards on your way down. Take your time, and always remember to take cover. You have plenty of cover in this area, even on stairs.

Project-Overthrow-Mission-120.jpg
Project-Overthrow-Mission-121.jpg

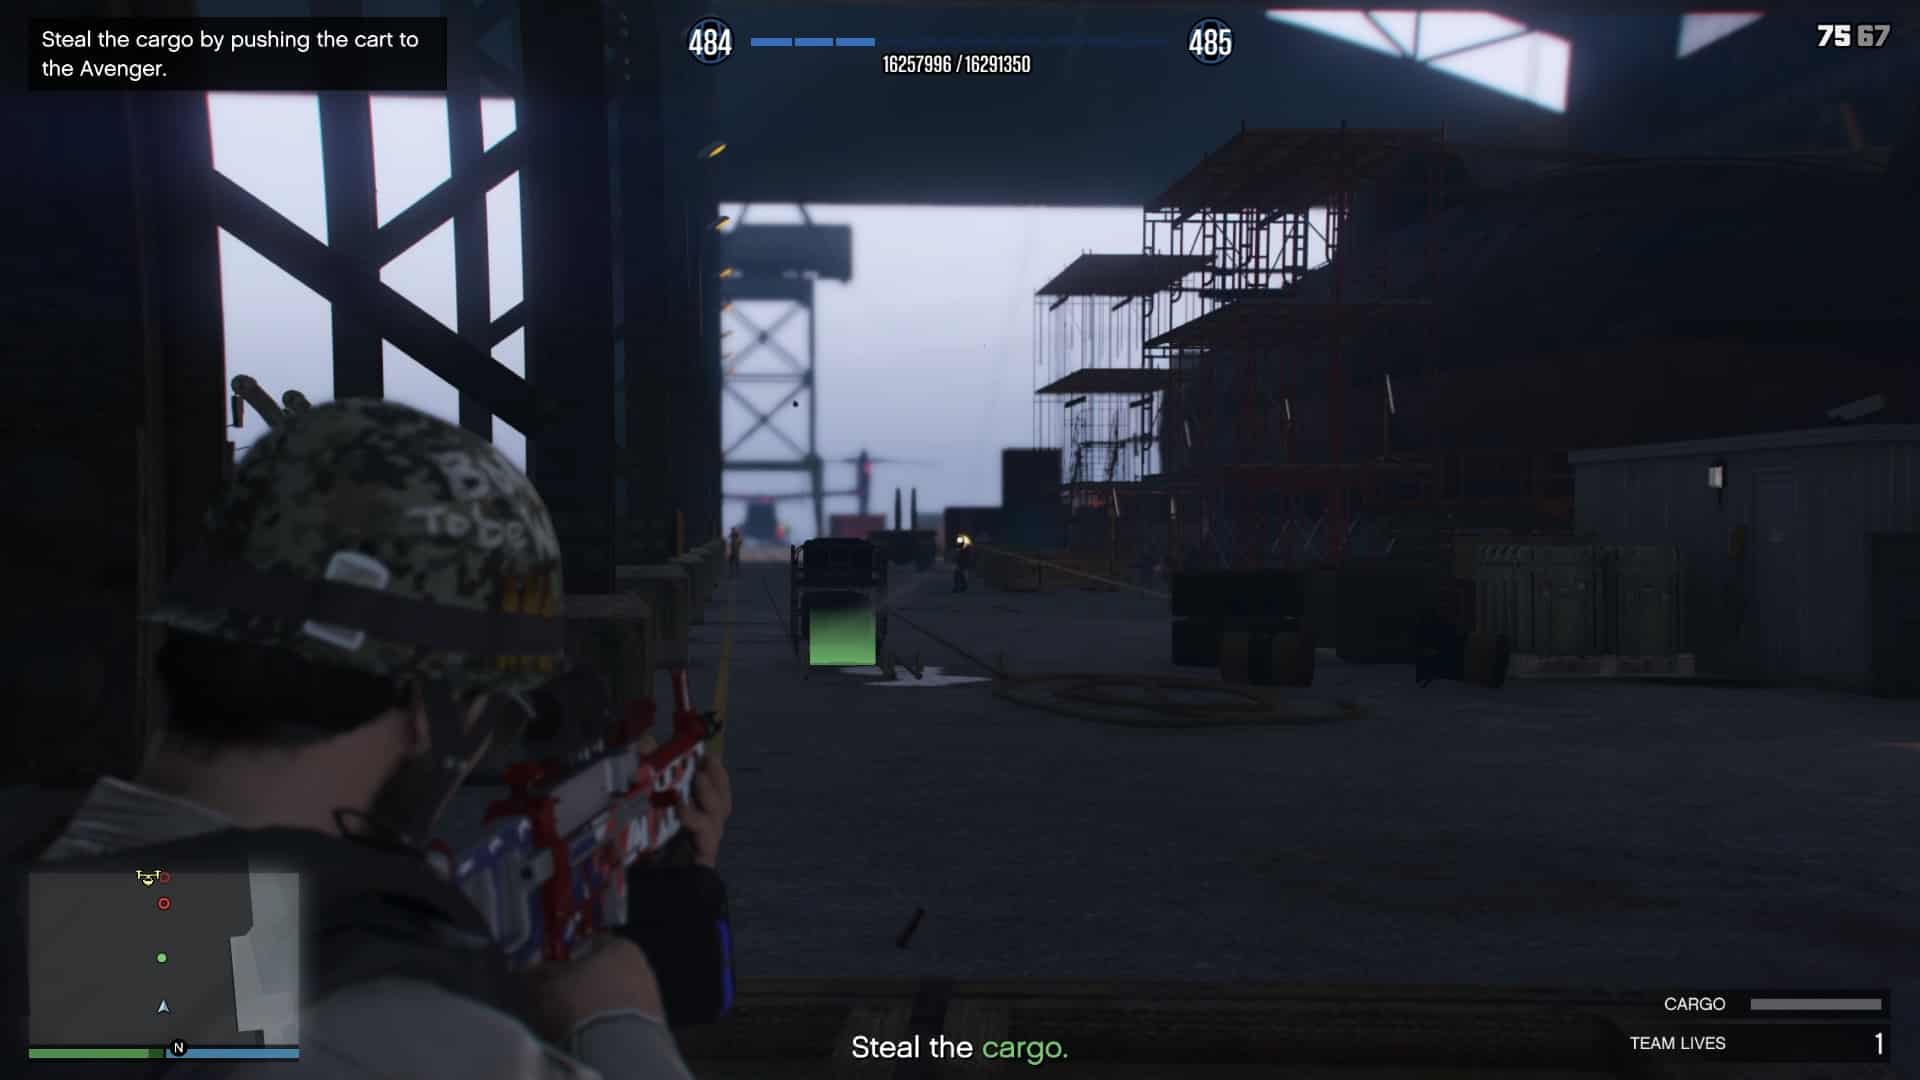
When you get to the cargo, always take out as many guards as you can before pushing the cargo.

Project-Overthrow-Mission-122.jpg
Project-Overthrow-Mission-123.jpg

If you feel like the enemies are getting overwhelmingly dangerous. Stop and eliminate them first.

Project-Overthrow-Mission-124.jpg

Two choppers will also spawn. Take them out by either using an RPG or shooting the pilot. Always keep an eye out for your health and armor and replenish whenever needed. This is why we advised you to stock up on snacks and armor before you begin this mission.

Project-Overthrow-Mission-125.jpg
Project-Overthrow-Mission-126.jpg

Continue pushing the cargo to the Avenger. Once the cargo is secured, enter the Avenger and return to the Fort Zancudo Hangar to complete the mission.

Project-Overthrow-Mission-128.jpg

You will get a final cutscene and that concludes our San Andreas Mercenaries DLC story missions!

Project-Overthrow-Mission-129.jpg

Congratulations on completing Project Overthrow. For more on the San Andreas Mercenaries DLC, including LSA Operations and frequently asked questions, return to the main hub.

Topics in this article

Related Stories

More From GTA Guides