Guide

Cayo Perico Heist Finale: Solo Elite Challenge Meta Speedrun Route

A step-by-step walkthrough for completing the Cayo Perico Heist finale solo on Hard Mode, aiming for the Elite Challenge using the meta route for speedrunning.

Here's the "meta" route that is the most efficient, letting you complete the heist in the fastest time with the maximum possible loot as a solo player. Feel free to check out our video below, showing the complete Elite Challenge completion route. With this route, you can complete the Cayo Perico heist within 7-8 minutes.

The finale prep remains the same for this route, but you must select the Aggressor loadout with Suppressors on. This route utilizes door glitch to maximize earnings. But if it isn't your cup of tea, you may skip the glitch part and continue with the route to get the primary target and escape.

Google preferred source badge

Get GTA BOOM in your News Feed!

Star GTA BOOM as a preferred source so our GTA coverage appears more often in Top stories and your sources.

Cayo-Perico-Meta-Prep.png

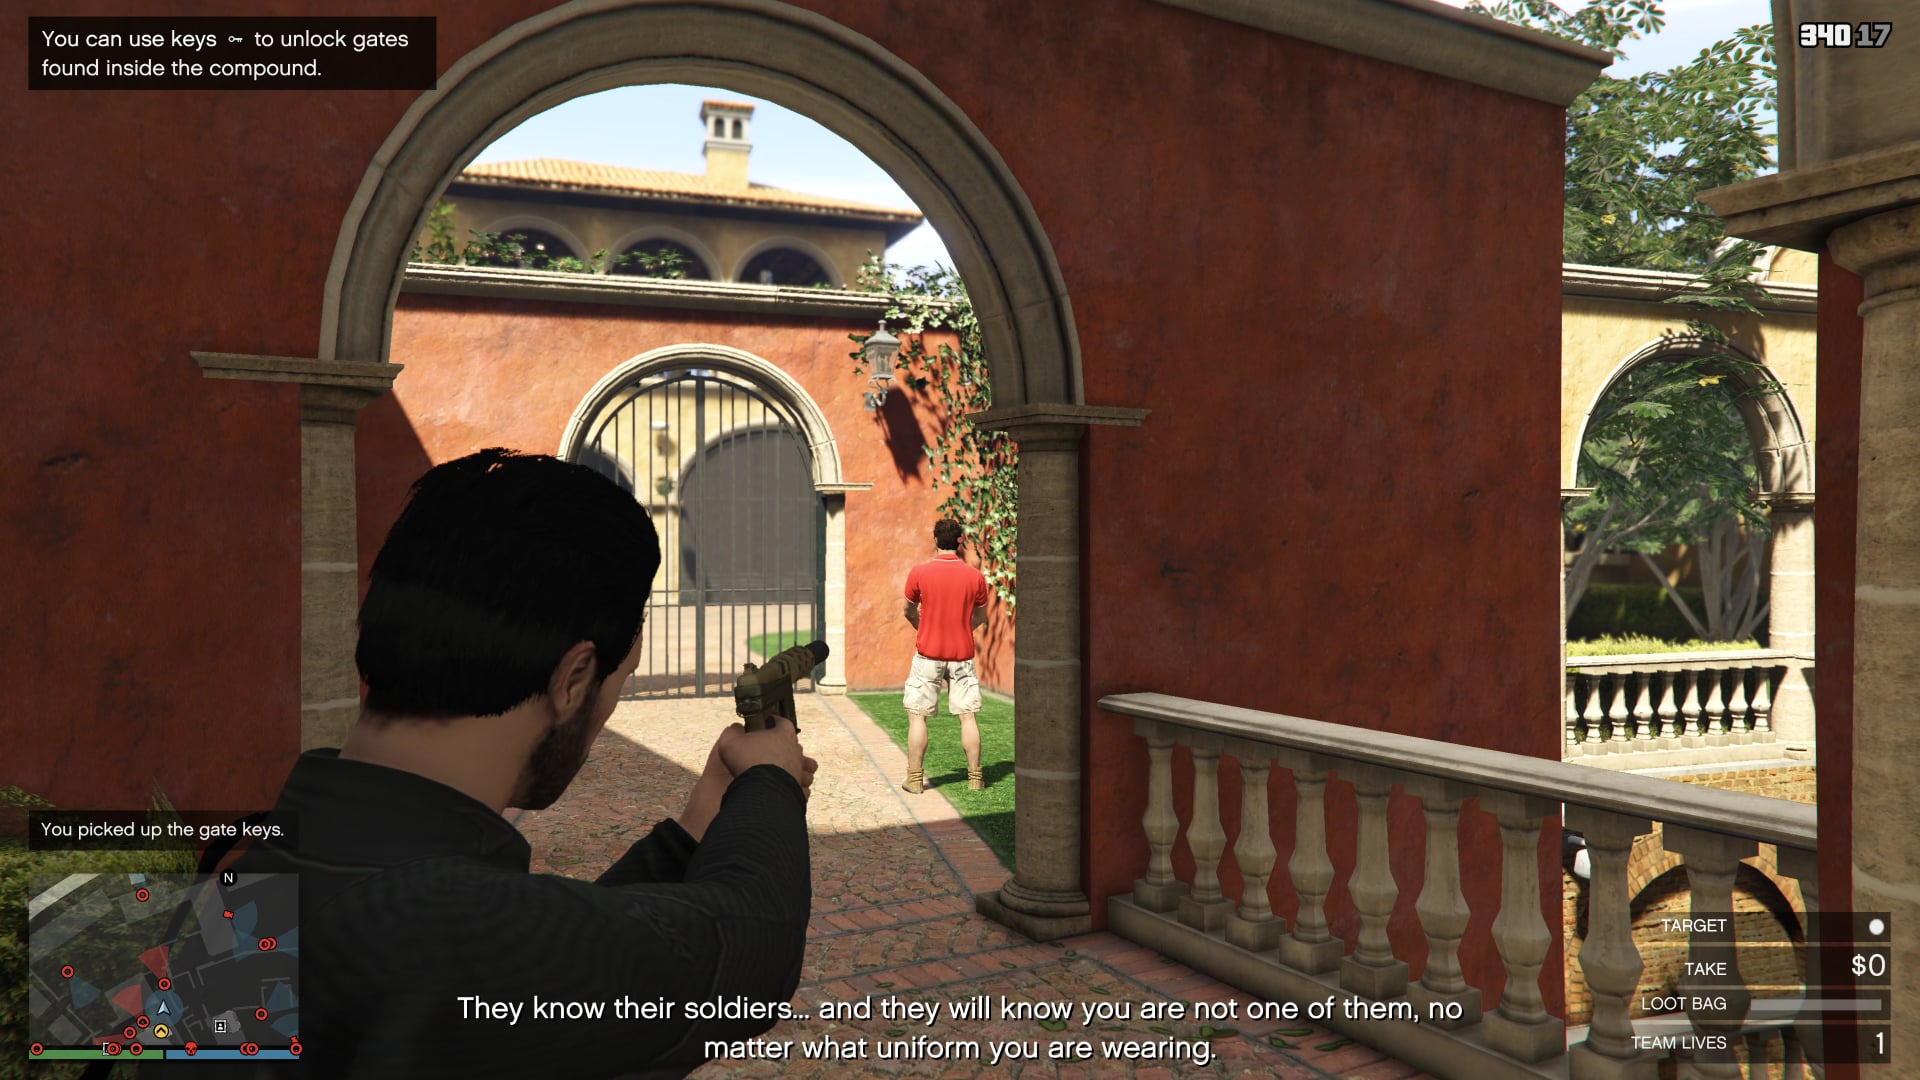
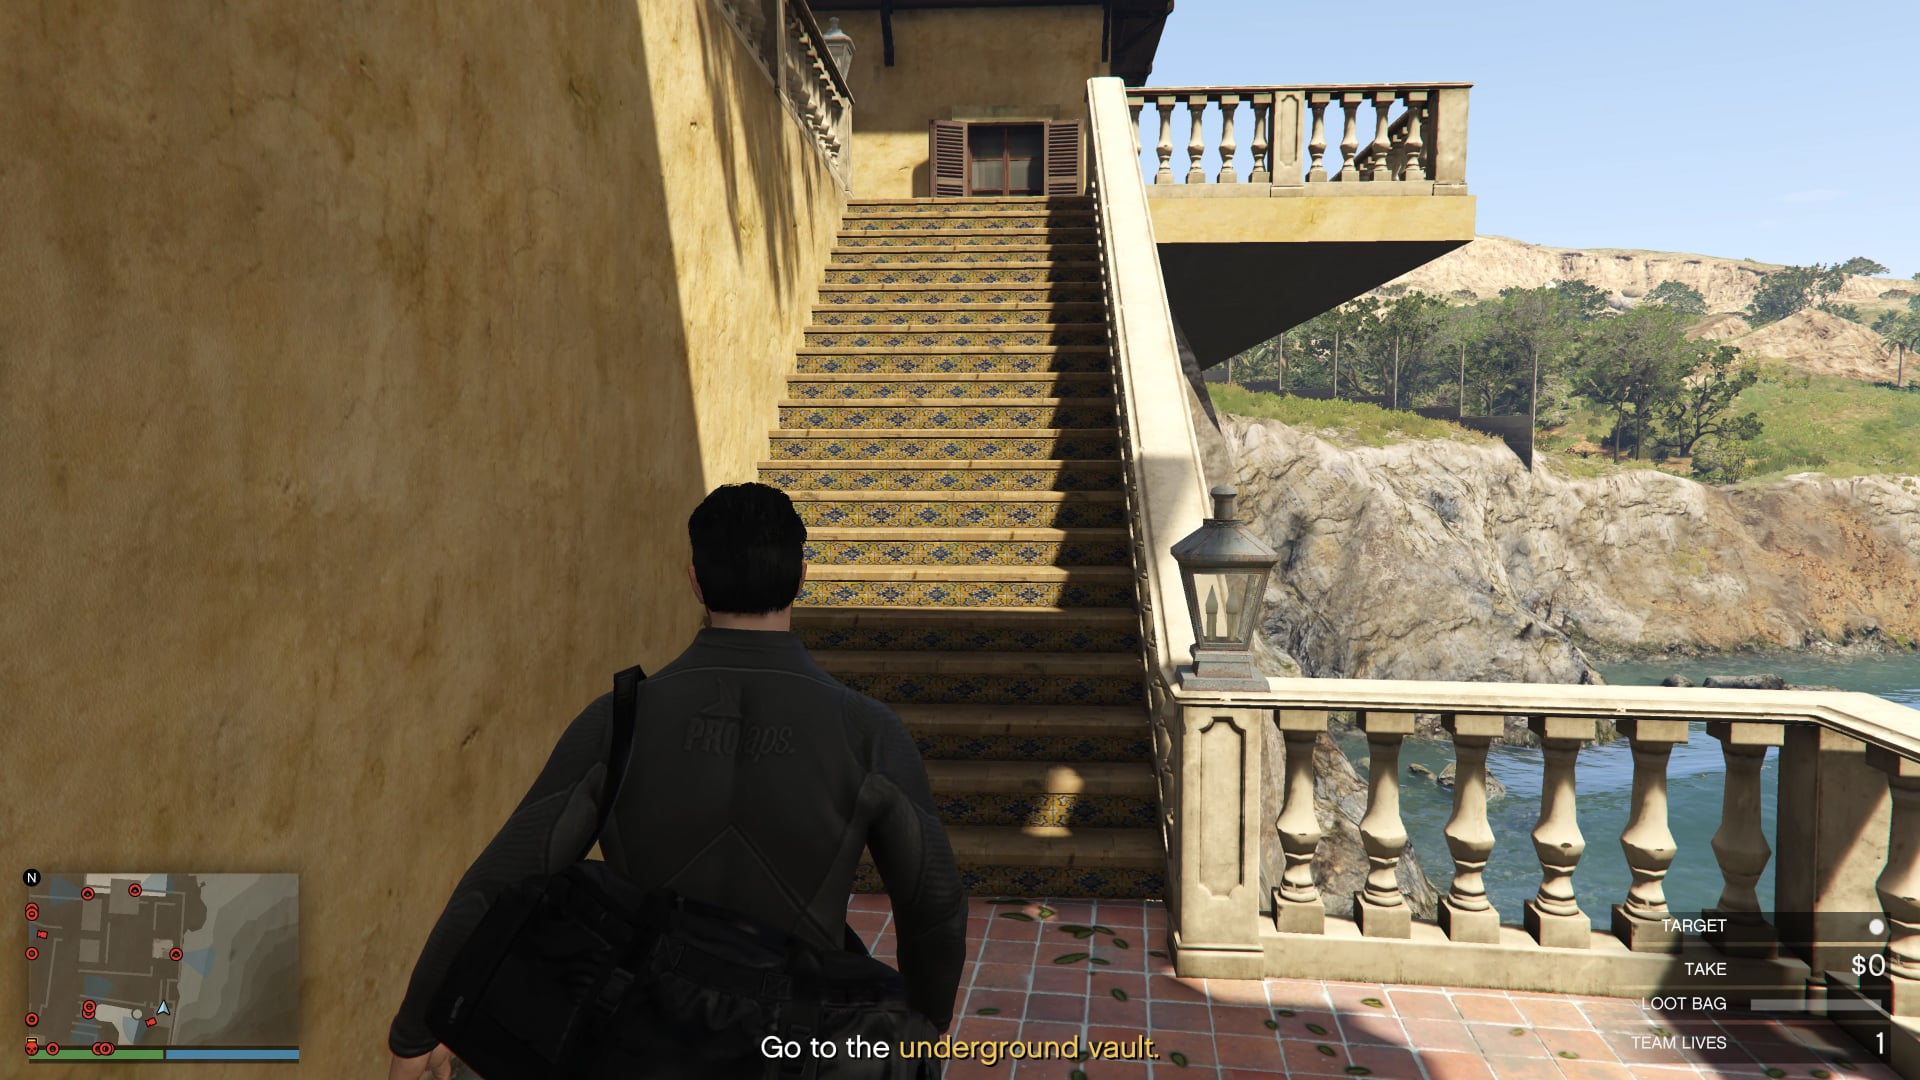
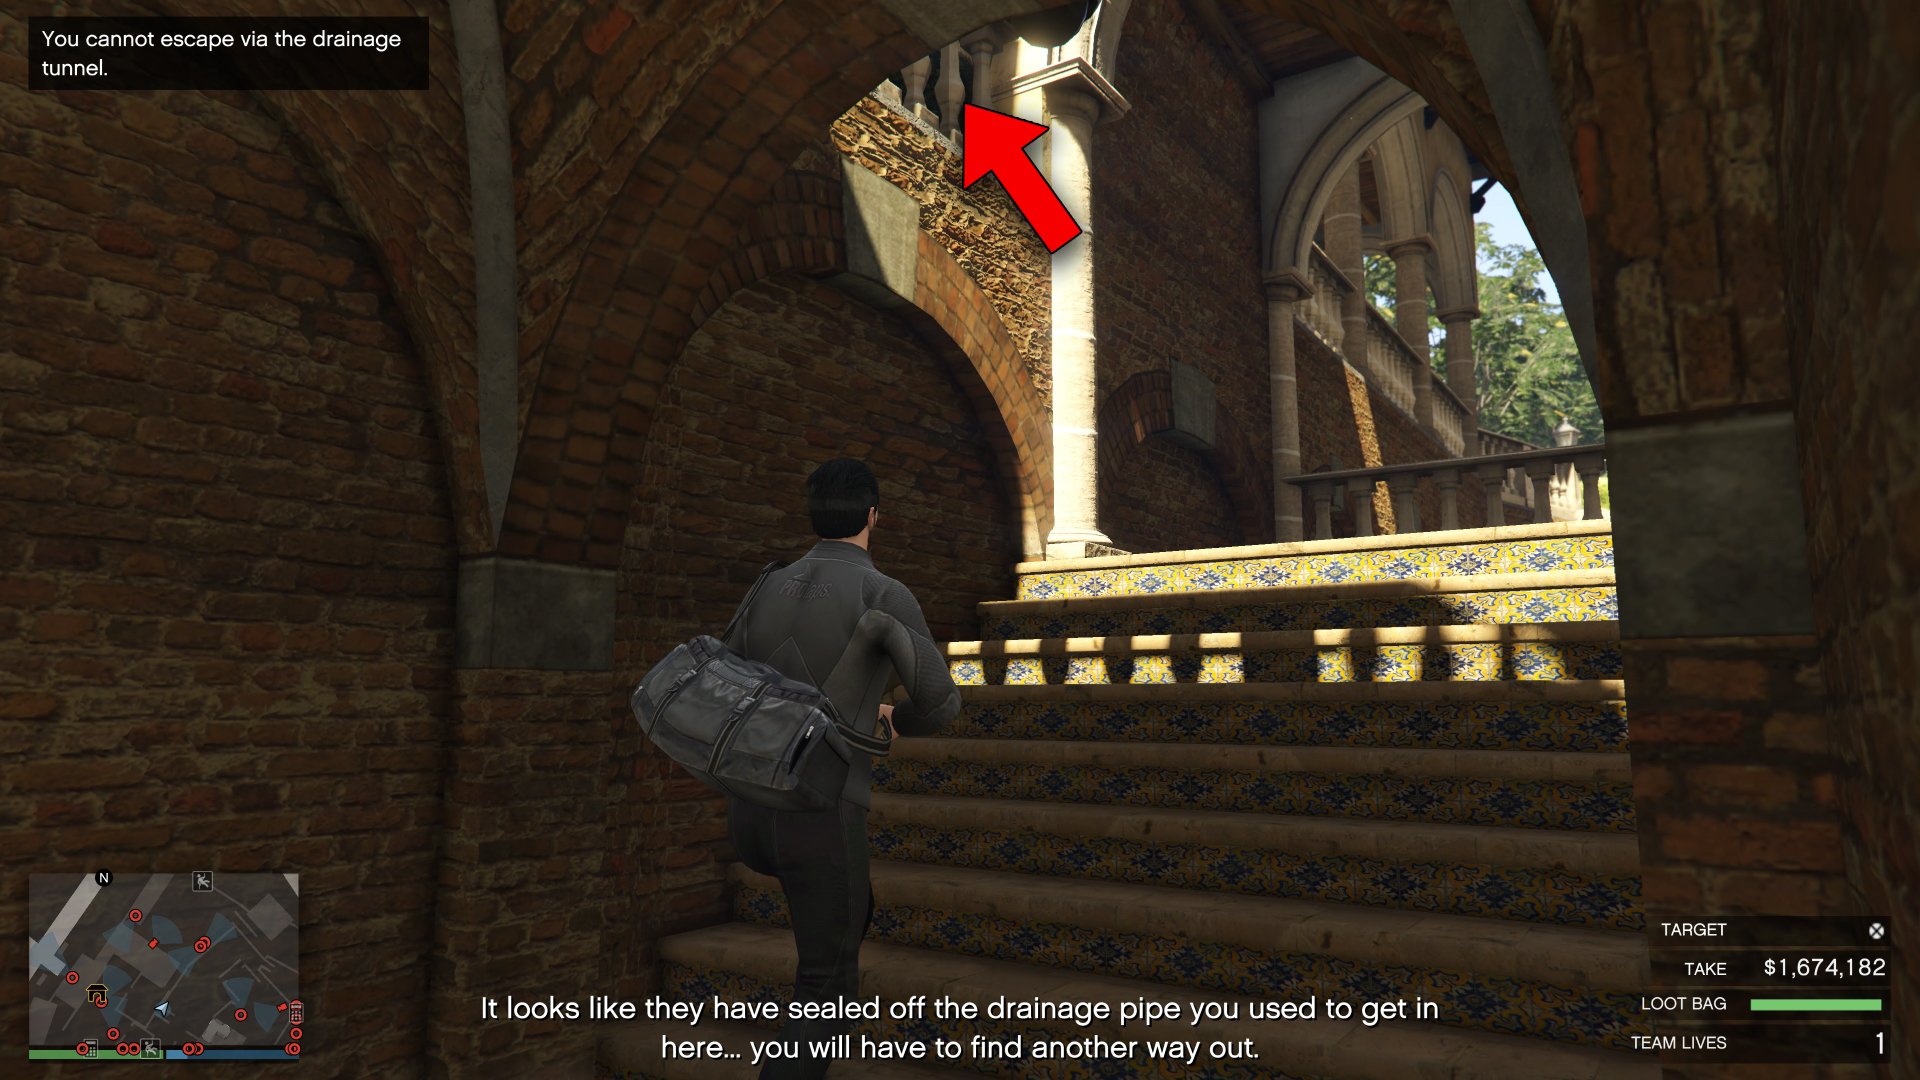
When you spawn inside the compound, go up the stairs to your left and eliminate the guard ahead of you. The goal is to eliminate only a few guards on this route to get the keys. Do not mistake keycards for keys. The key distinction is that keycards have a key icon inside a rectangular shape, while the keys do not.

Key-Image-Cayo-Perico.jpg

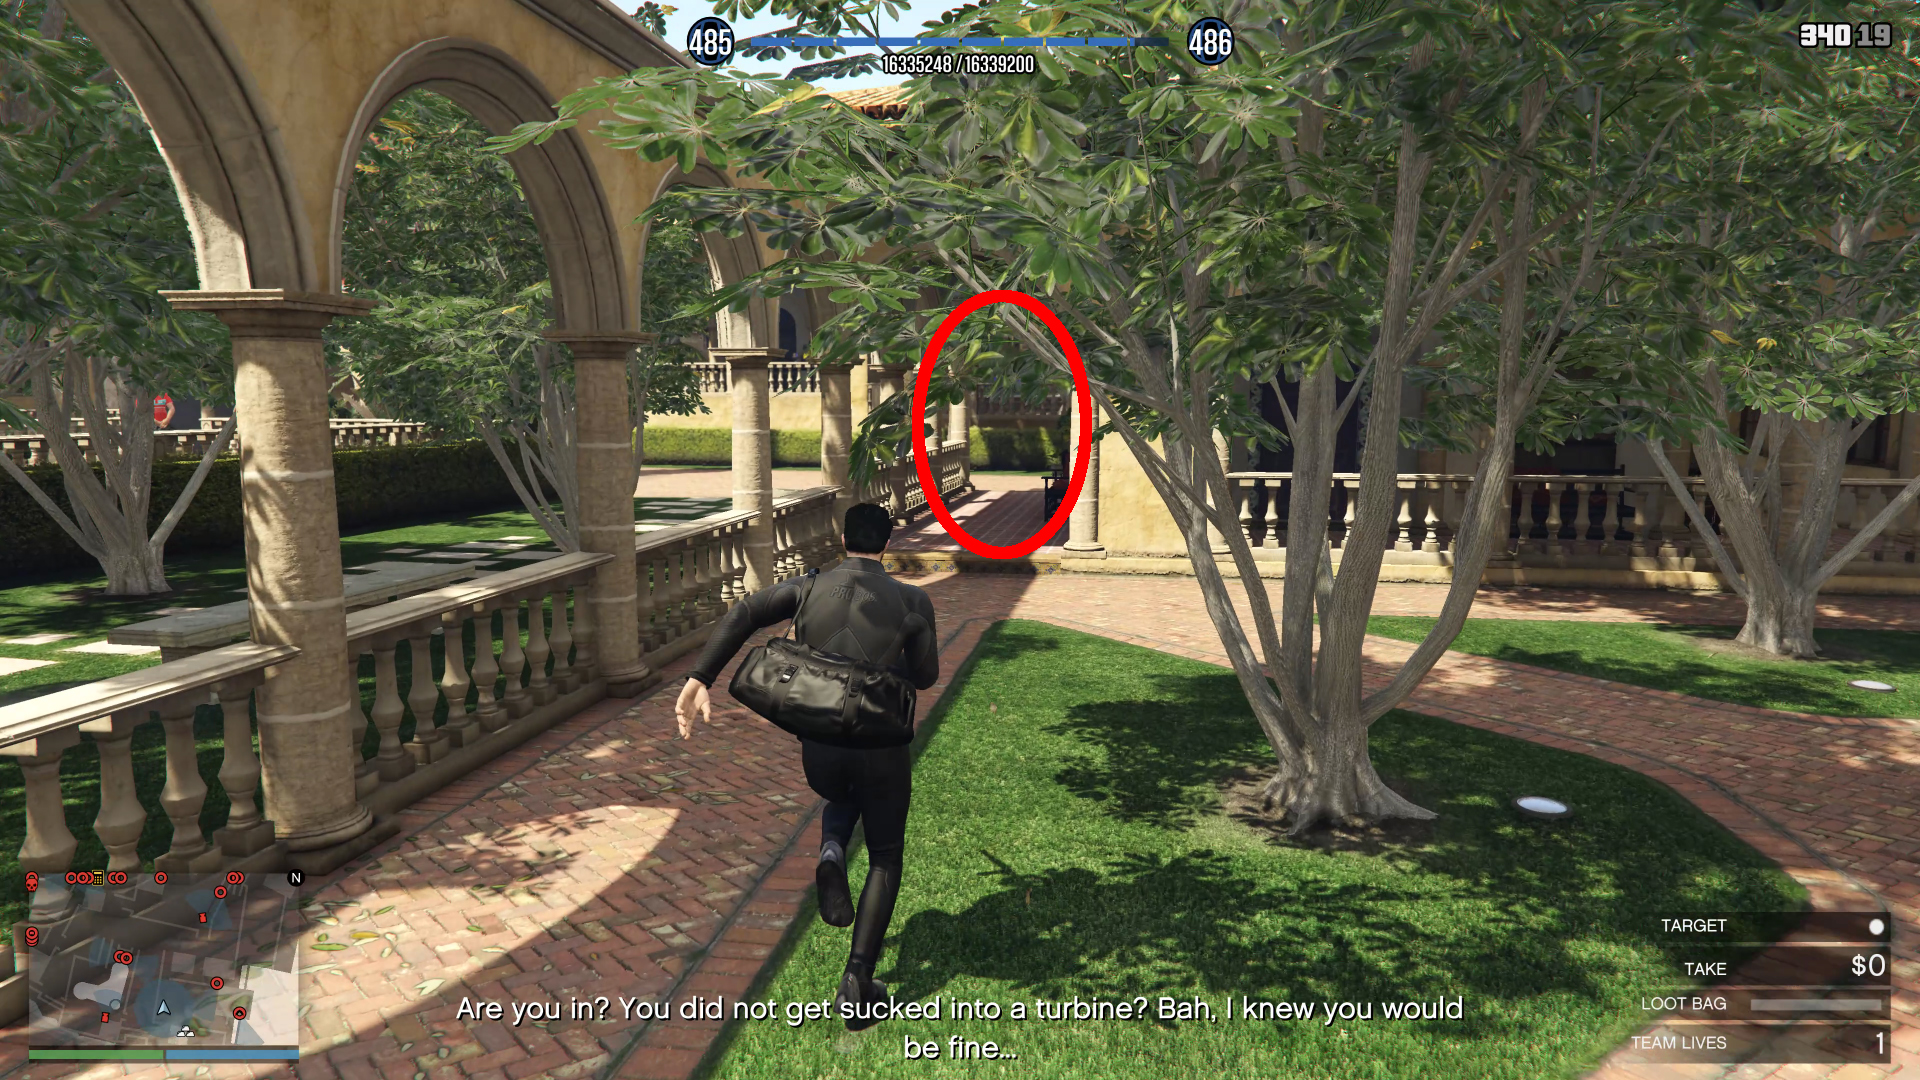
If the guard drops the key, all good. Grab it and go left and straight along the railing and under the archway.

Meta-Perico-1.jpg
Meta-Perico-2.jpg

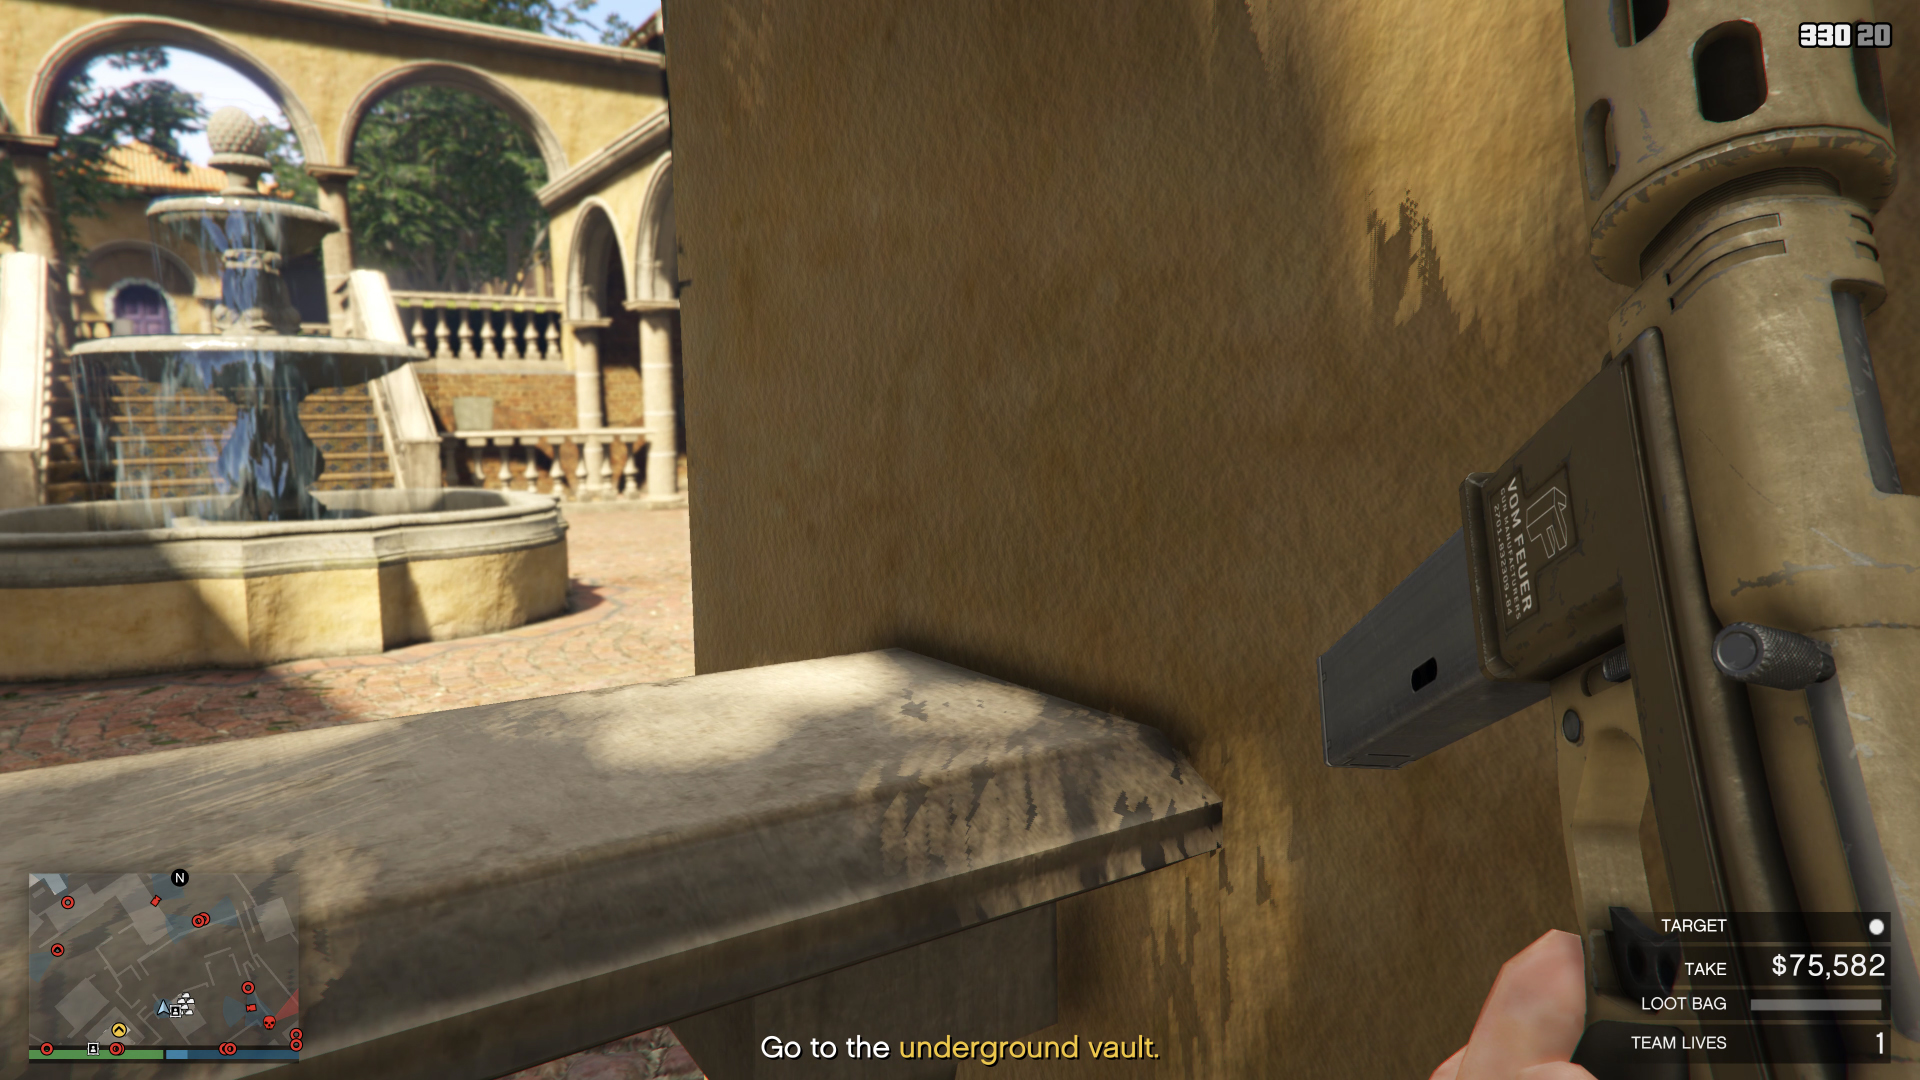
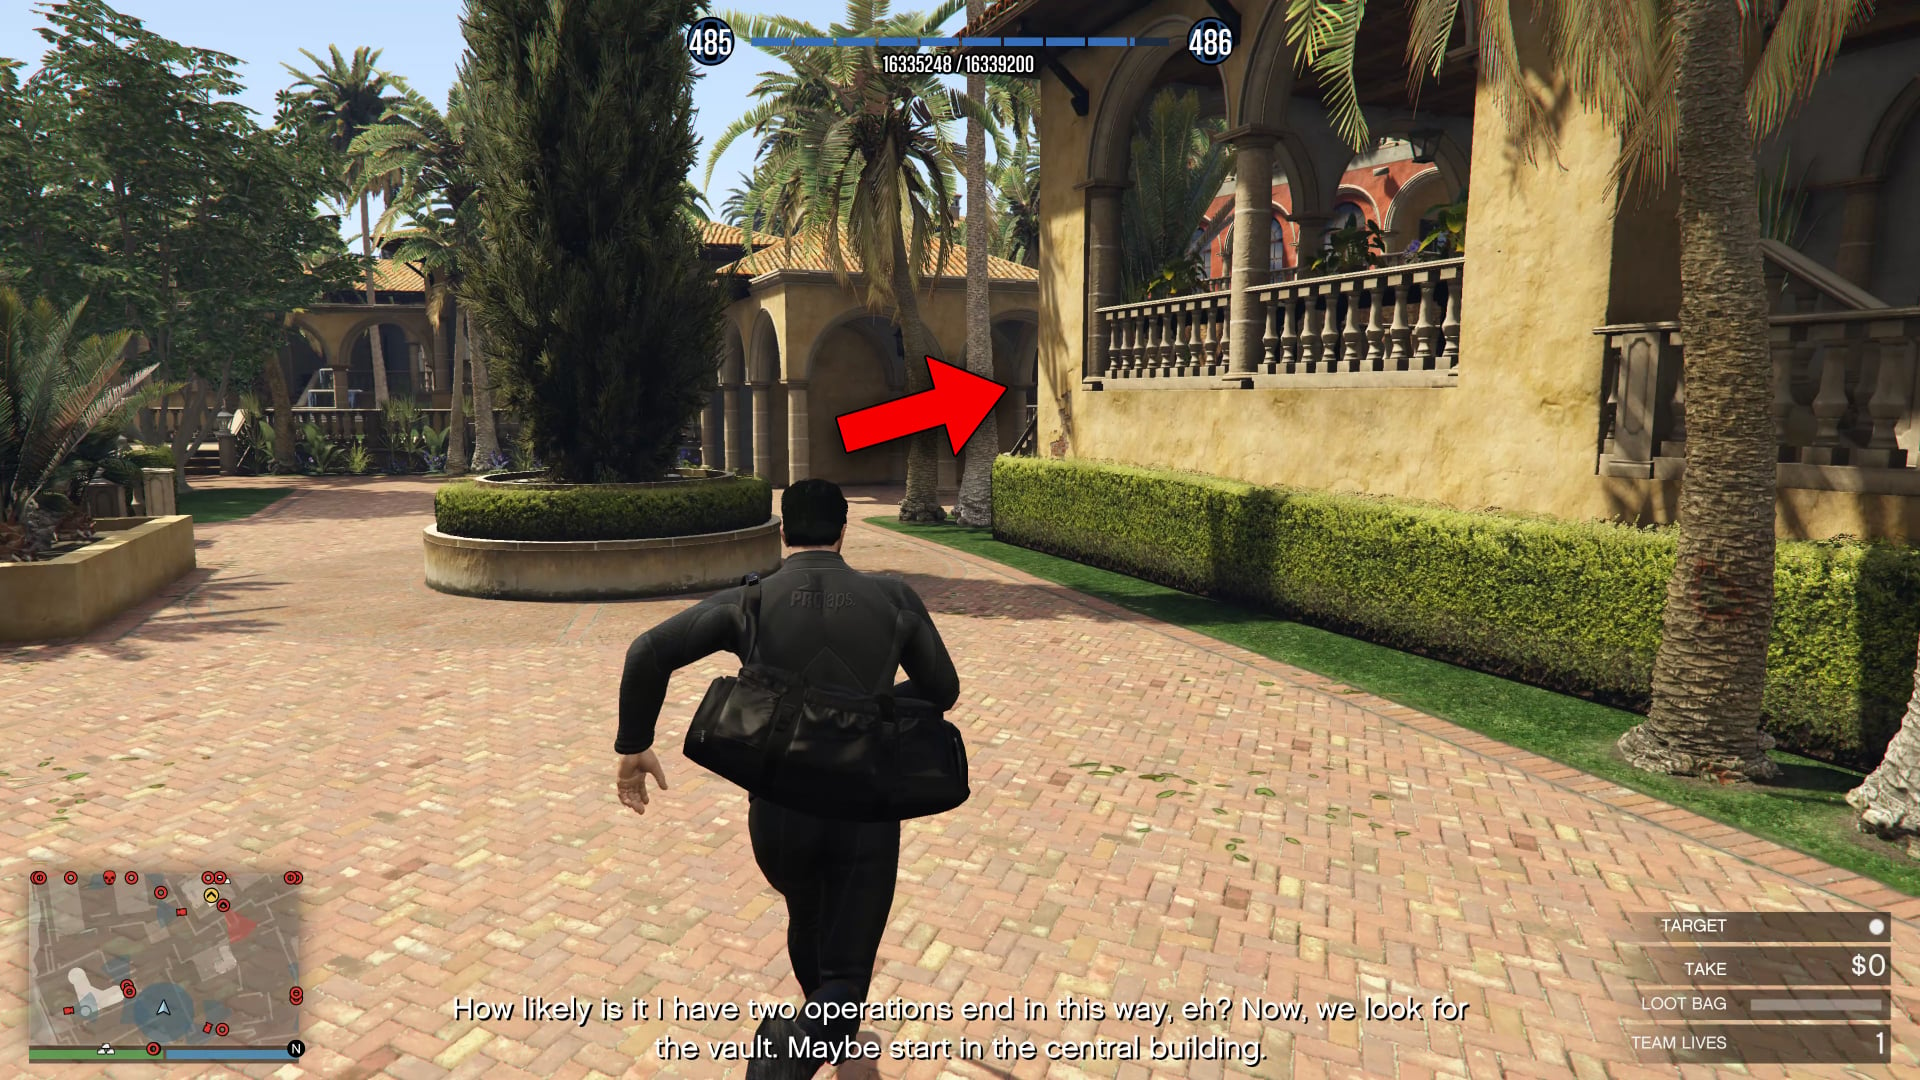
When you reach the end of the railings, turn left and go past the circular plant decor in the middle and right, up a small set of stairs.

Meta-Perico-3.jpg
Meta-Perico-4.jpg

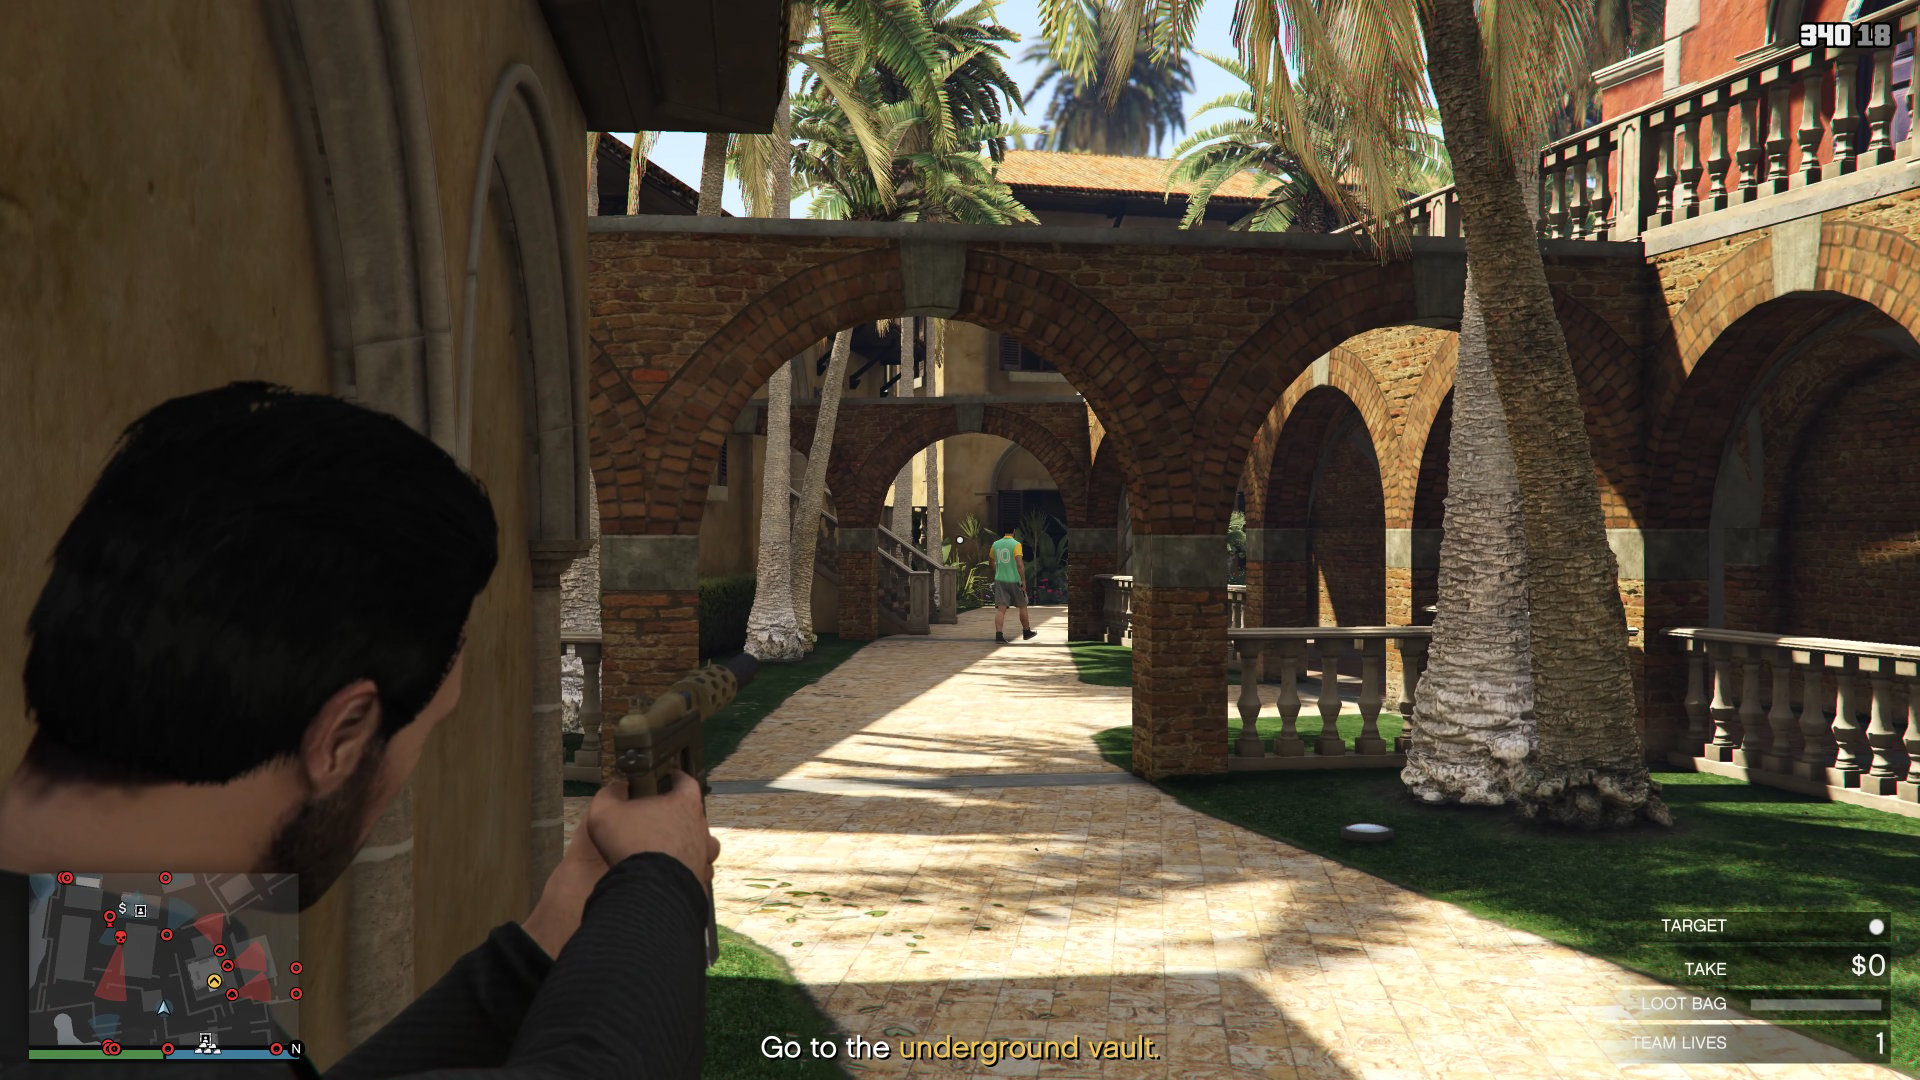
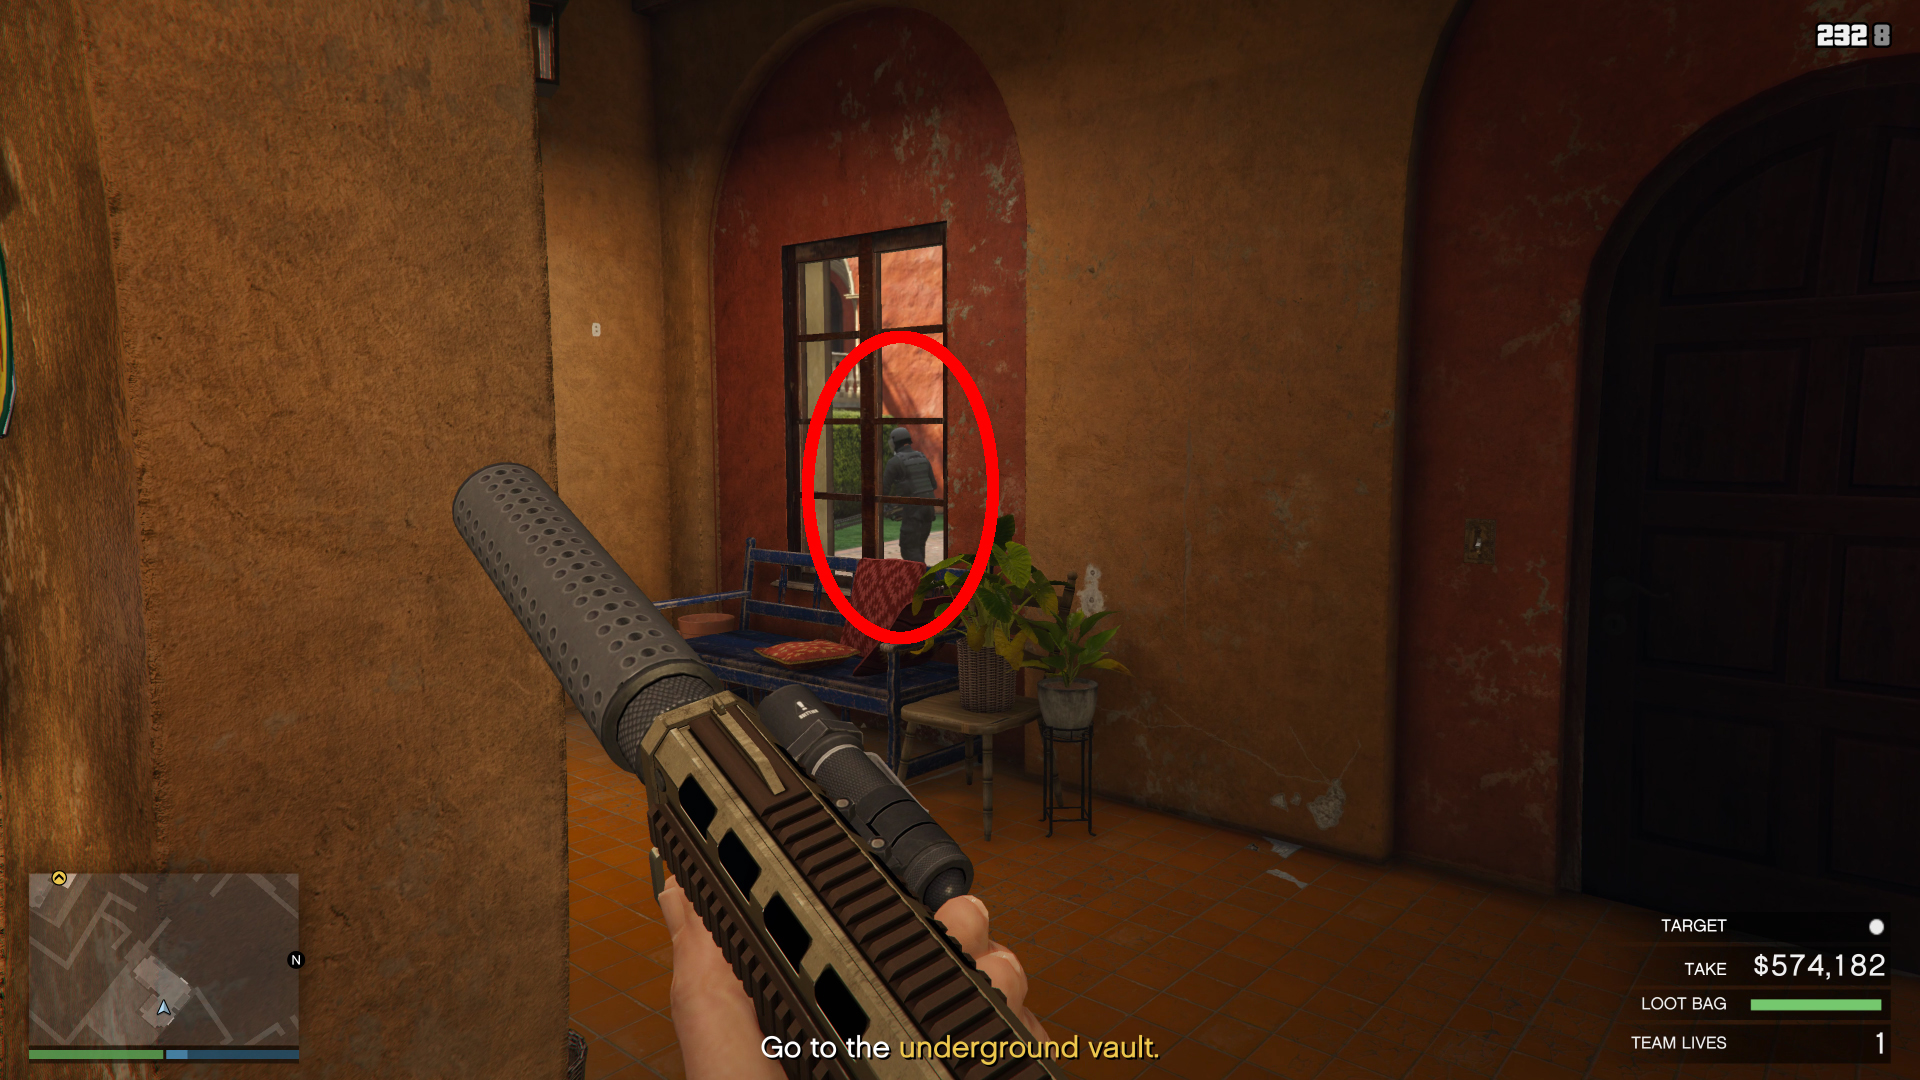
You will find a guard and a camera here. First, shoot the camera and then the guard.

Meta-Perico-5.jpg

Fortunately, this guard dropped the key for us.

Meta-Perico-6.jpg

After that, quickly return to the stairs leading to El Rubio's office.

Meta-Perico-7.jpg

Before going up, eliminate the guard to your right while he is near the gate.

Meta-Perico-8.jpg
Meta-Perico-9.jpg

Then eliminate the guard at the bottom of the stairs.

Meta-Perico-10.jpg

Continue moving up, but eliminate the last guard walking down the stairs. You can usually melee him, but it sometimes triggers the alarm. It is best to wait for him by the stairs and eliminate him with a headshot.

Meta-Perico-11.jpg
Meta-Perico-12.jpg

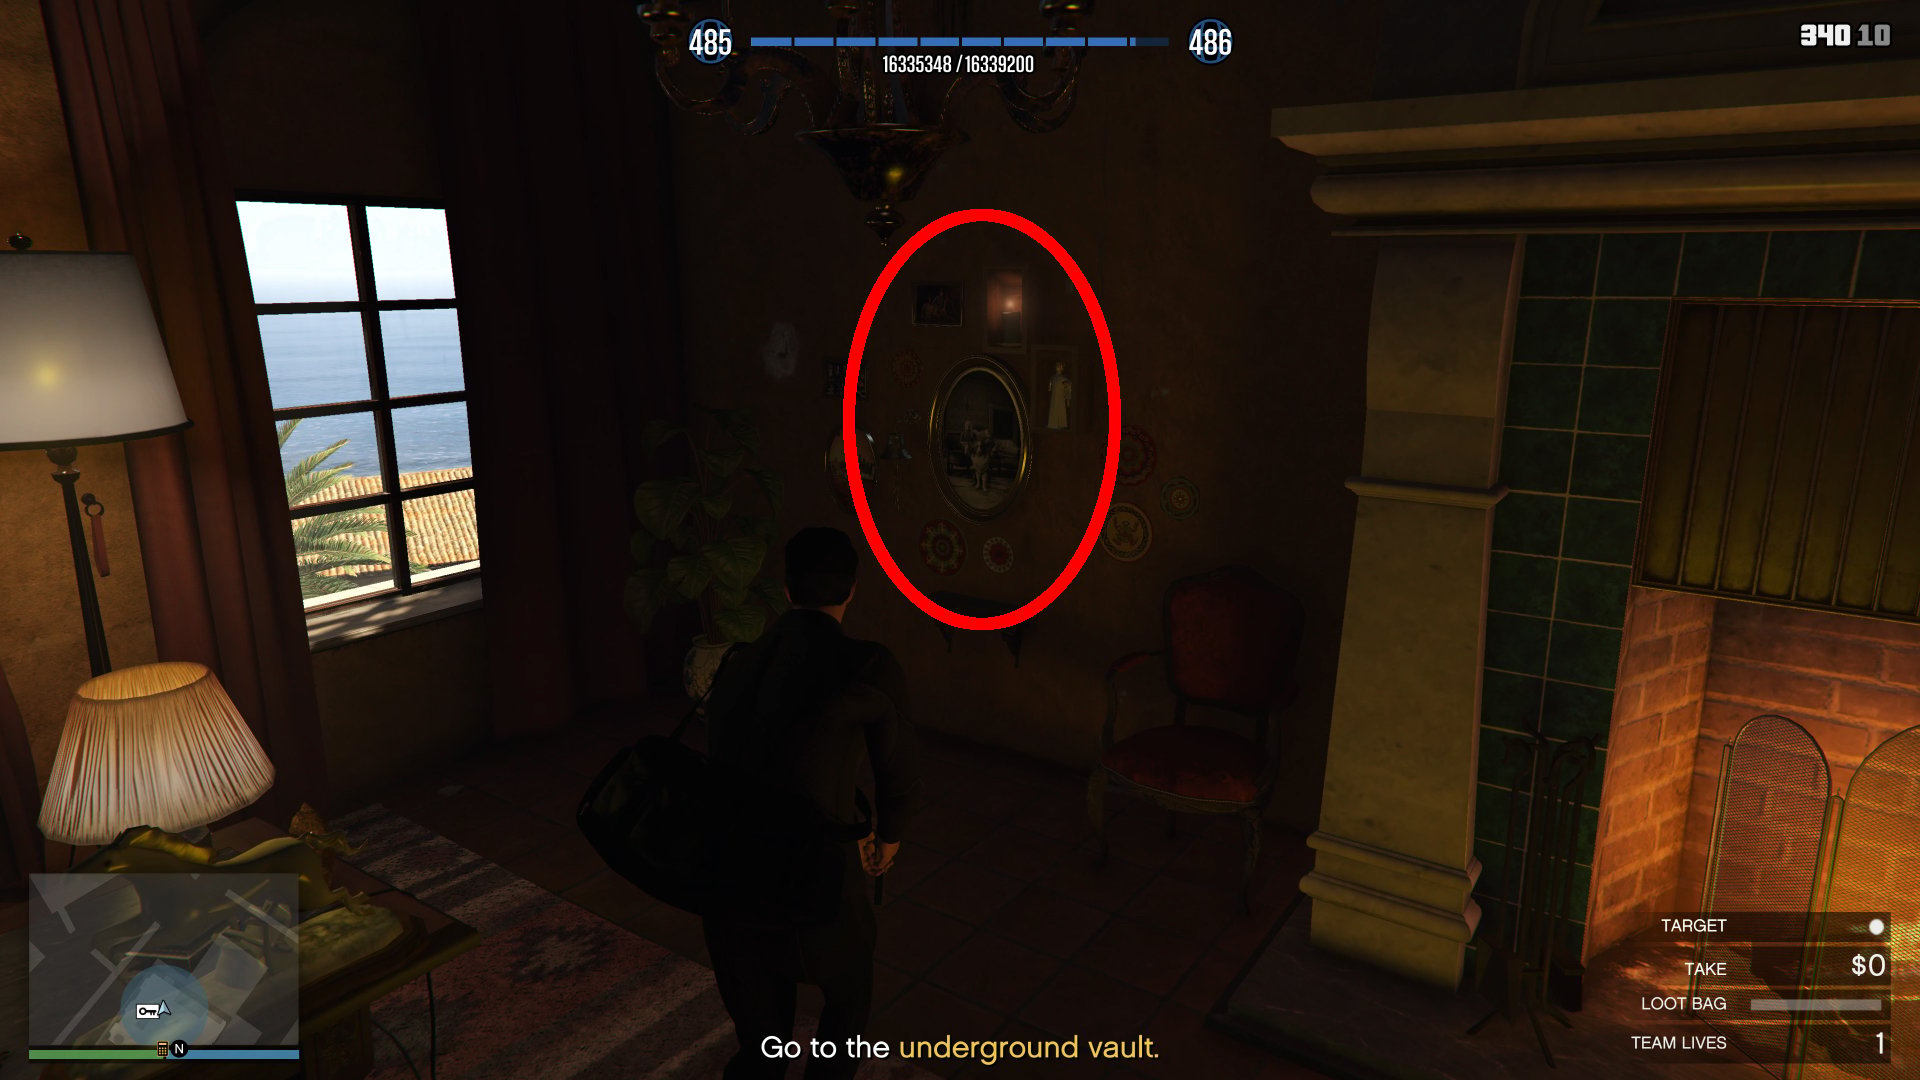
Go inside El Rubio's office and interact with the painting on the wall to the left of the fireplace to open up a secret safe. The amount in the safe is random and can vary between $20K and $100K. What you get is always random.

Meta-Perico-13.jpg
Meta-Perico-14.jpg

Now, you can skip this part if you'd like, but to maximize your profit, perform this door glitch to grab the money locked inside a small building below El Rubio's office.

First, go down two sets of stairs and switch to First Person mode.

Meta-Perico-15.jpg
Meta-Perico-16.jpg

While in first-person mode, jump over the railing and get back up.

Now, you are in a glitched state. You can control your camera with A and D on the PC and the left analog stick on consoles, while in the glitched state. Do not sprint, or you will revert to your normal state.

Jump over the bushes and go into the corner of the railing connecting with the building.

Meta-Perico-17.jpg

Now, jump on the railing while facing the corner (diagonally) and hold forward and right to glitch into the building. On PC, the buttons are W and D pressed simultaneously. On consoles, you jump up and look right with your left analog stick to enter.

Meta-Perico-18.jpg

If you look too much to the right, you can turn left (using A or moving your left analog stick to left) to compensate for it. Please refer to our route video to get a visual reference.

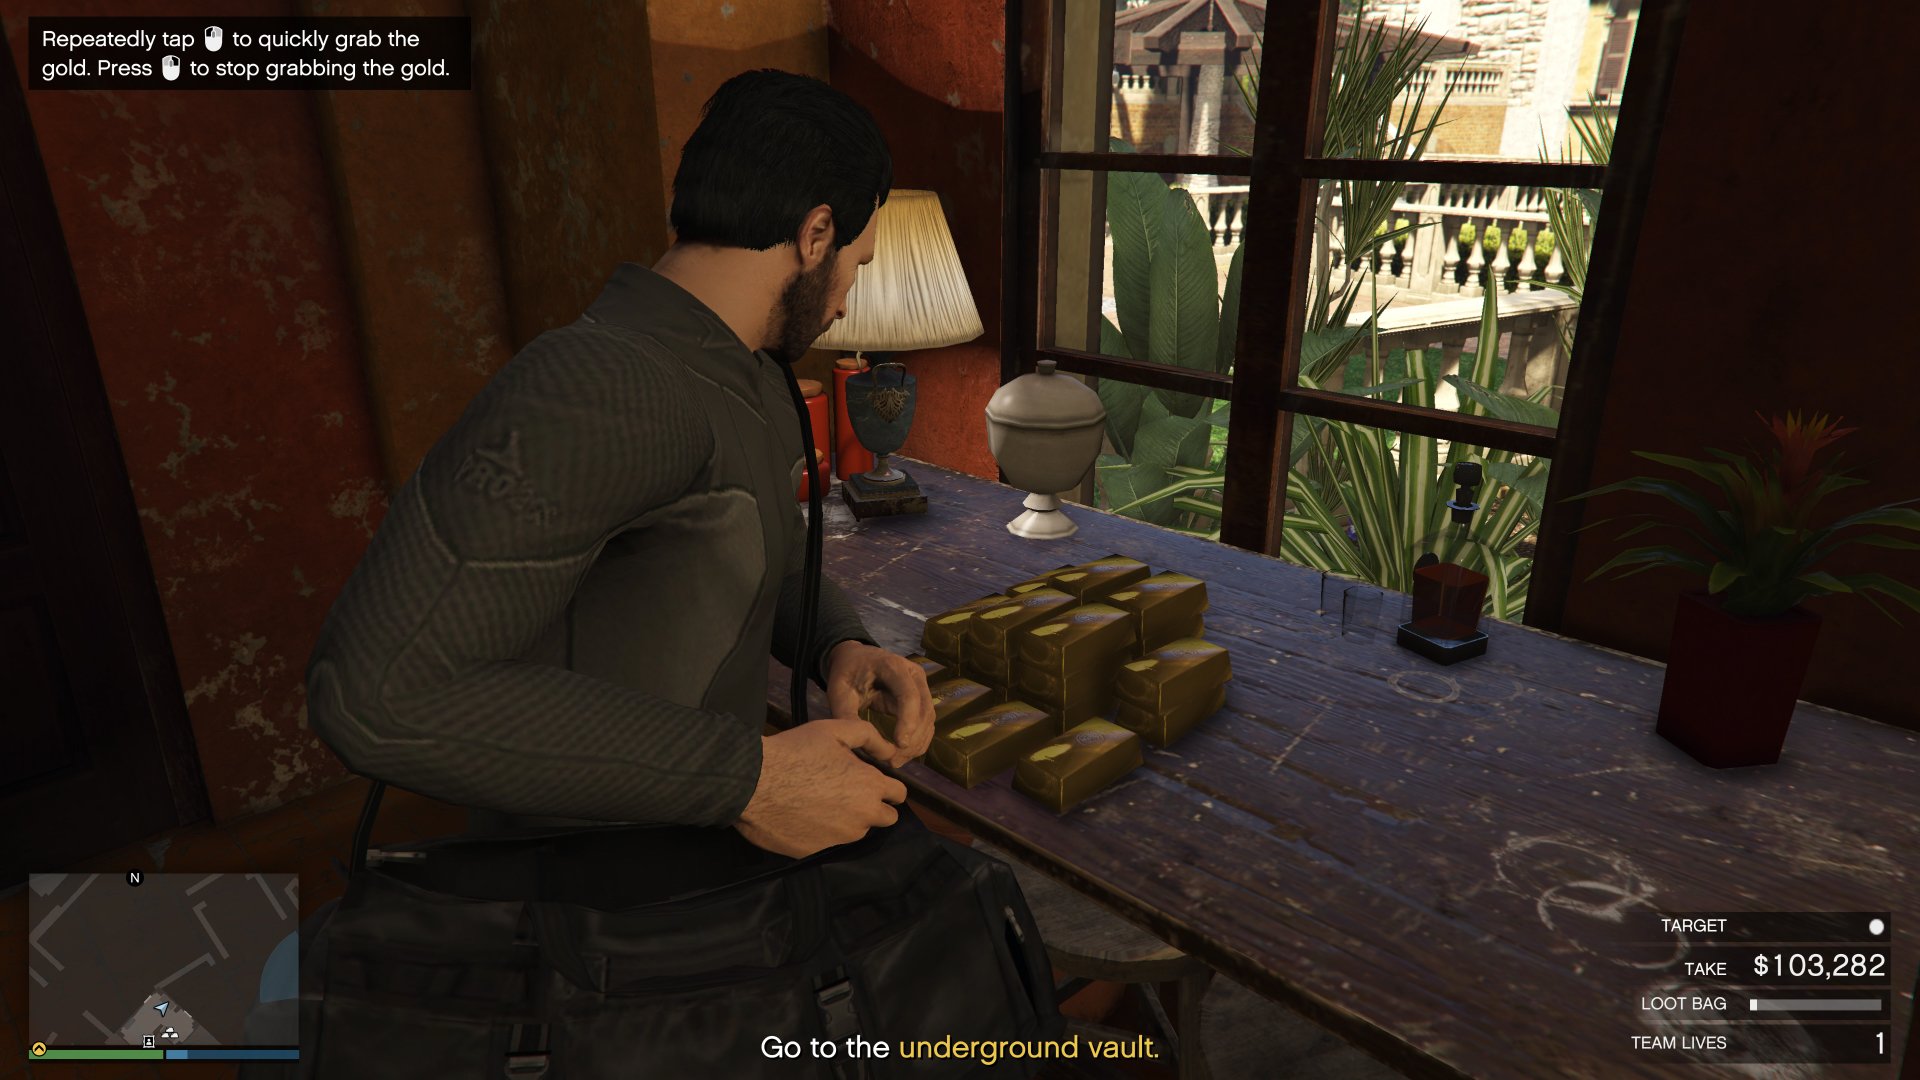
Once inside, the assets will be invisible, but you will get a prompt to start looting at the top left corner of your screen, making everything visible again.

Meta-Perico-19.jpg

A Juggernaut will pass by you eventually, so ensure you are not in front of the window when he is nearby. But, if you've followed this guide, you will have plenty of time to loot inside and fill up your bag.

Do not leave before you've looted everything you possibly can, as you won't be able to re-enter the building without repeating the glitch. The door remains locked once you're outside. This was not the case previously, but it has been patched.

When you see the Juggernaut pass by the building door, go outside and eliminate him with two shotgun shots. Now we're ready to move on to the primary target.

Meta-Perico-22.jpg
Meta-Perico-23.jpg

Exiting the secondary targets building, you will see a railing directly ahead.

Meta-Perico-24.jpg

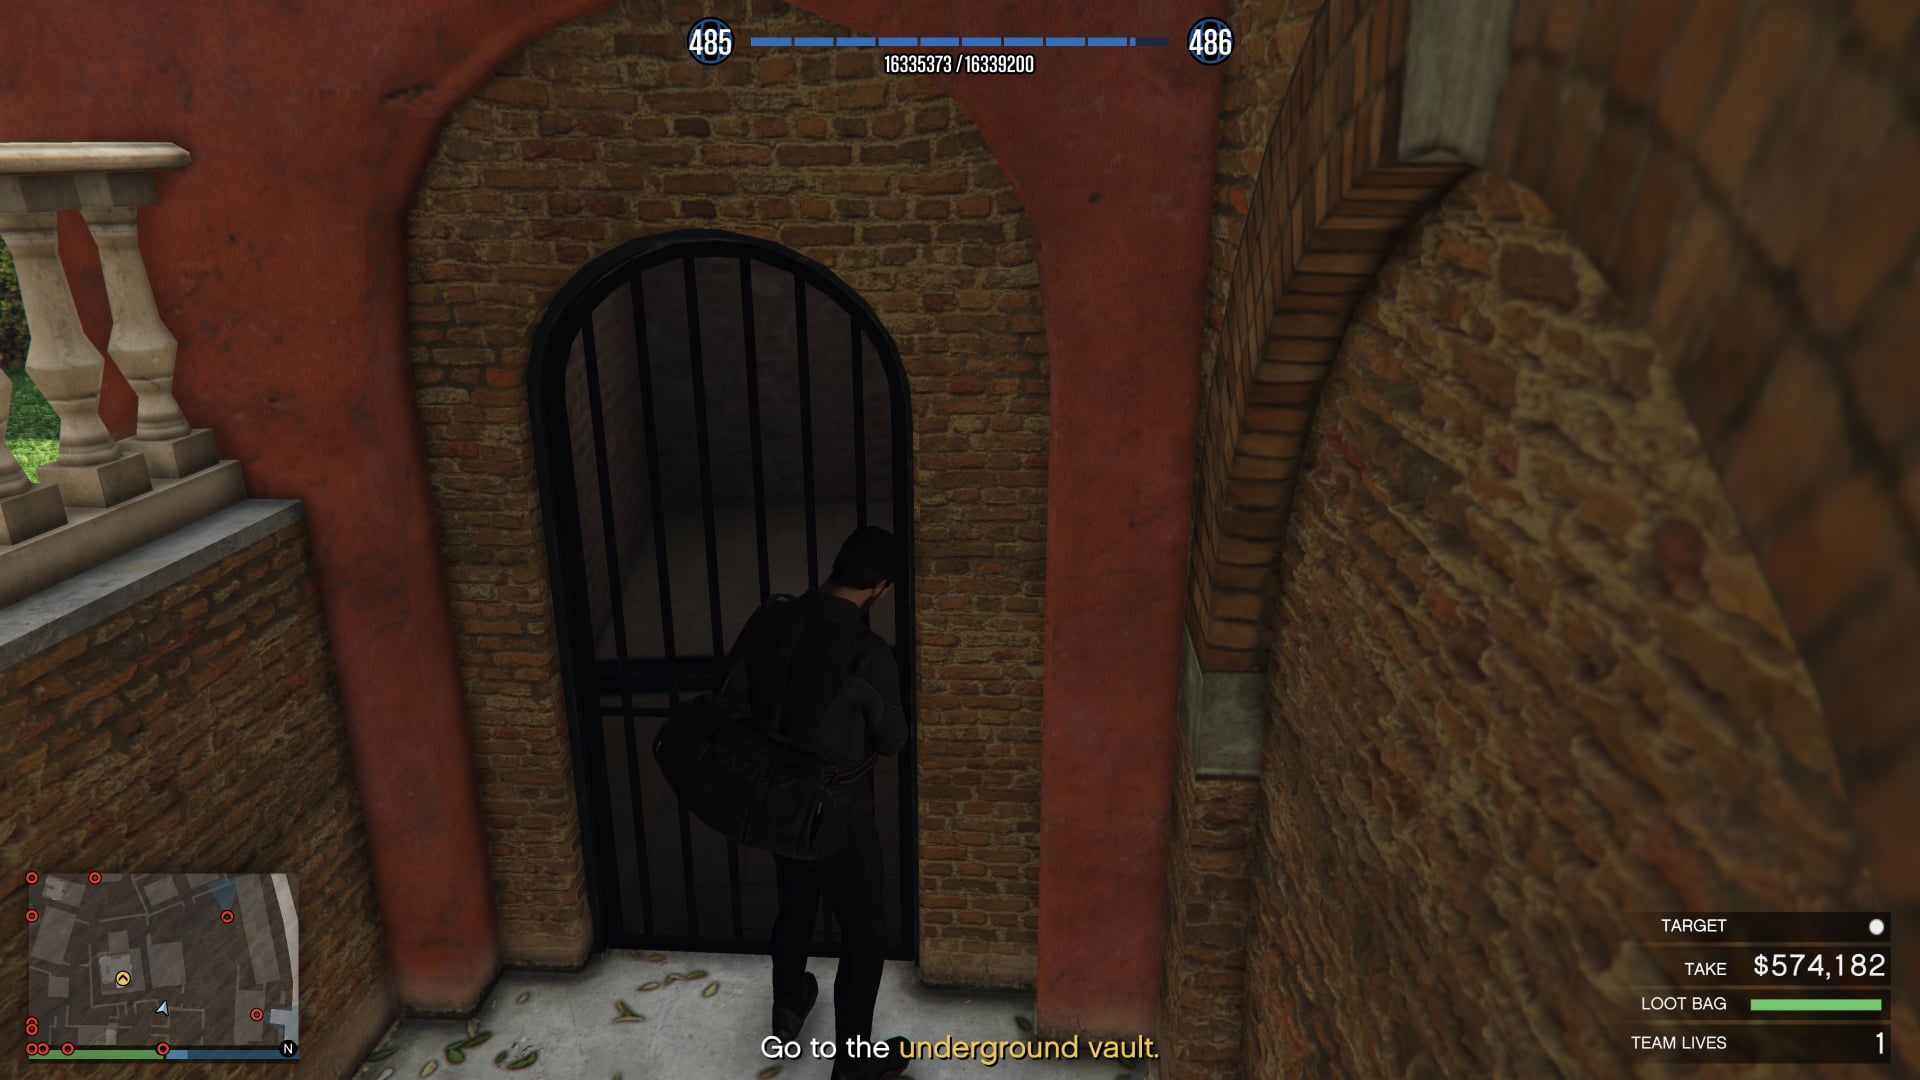
Jump over it and open the locked gate at the bottom.

Meta-Perico-25.jpg

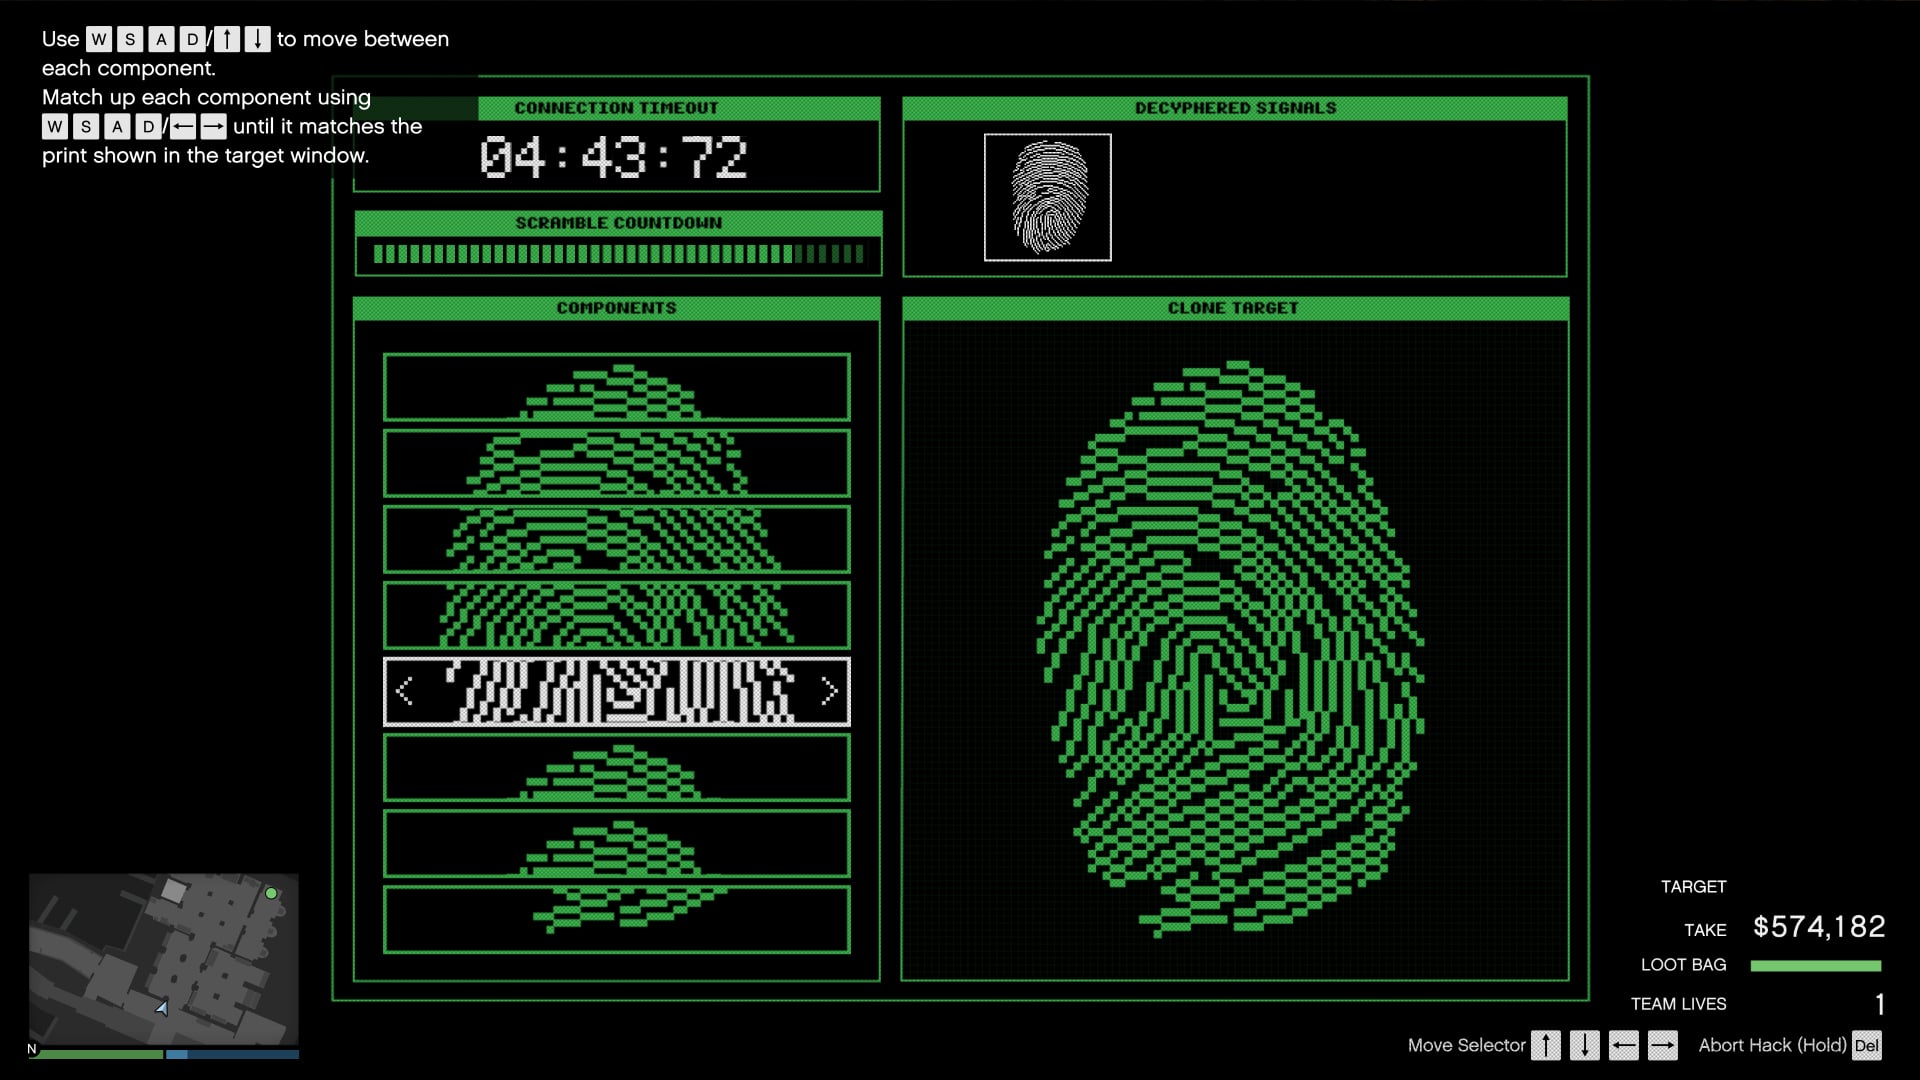
Go inside, and you will find a locked door that can be hacked using a fingerprint cloner.

Meta-Perico-26.jpg
Meta-Perico-27.jpg

Open it and get your primary target as you usually would.

Meta-Perico-28.jpg
Meta-Perico-29.jpg

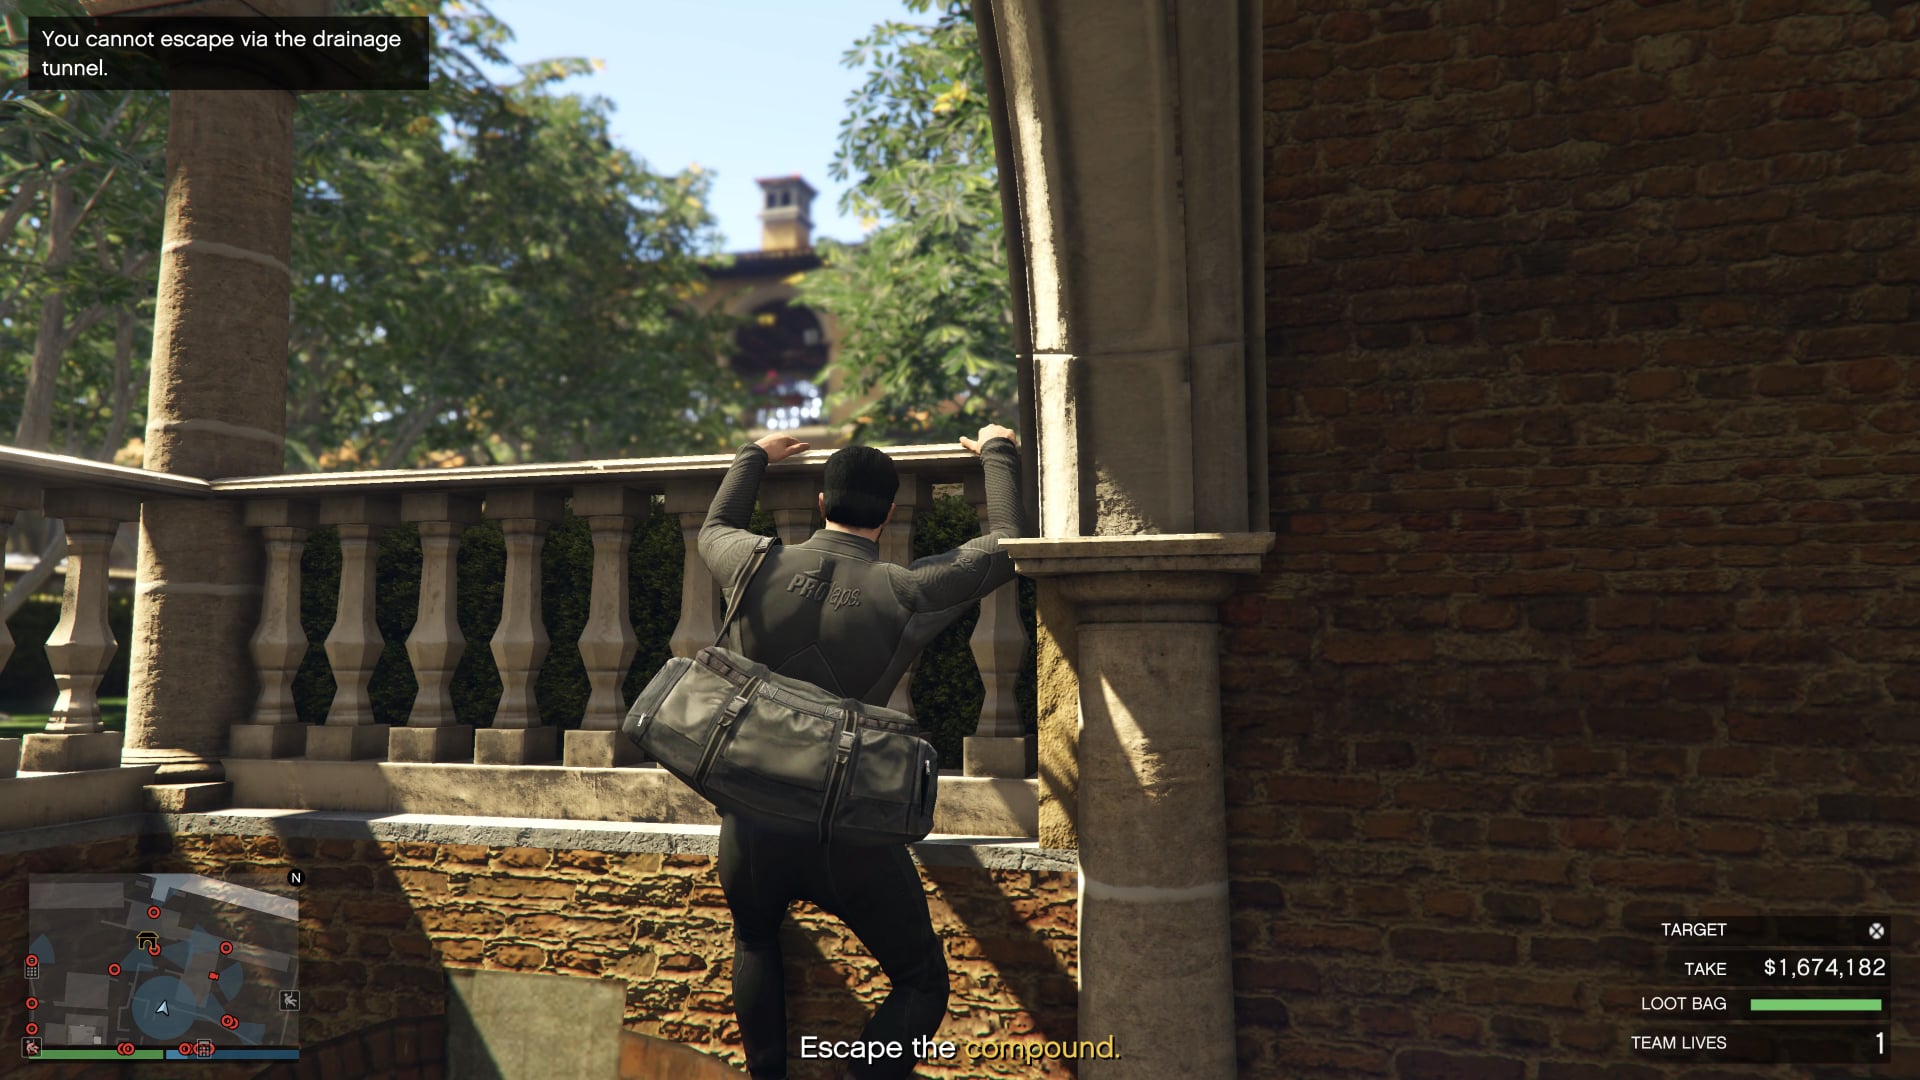
After that, exit the area via the same route you came in from. However, as soon as you're out, you can jump up to your left and run for the exit.

Meta-Perico-30.jpg

Stand at the top of the stairs, face the railing, and jump to grab and mantle over it.

Meta-Perico-31.jpg

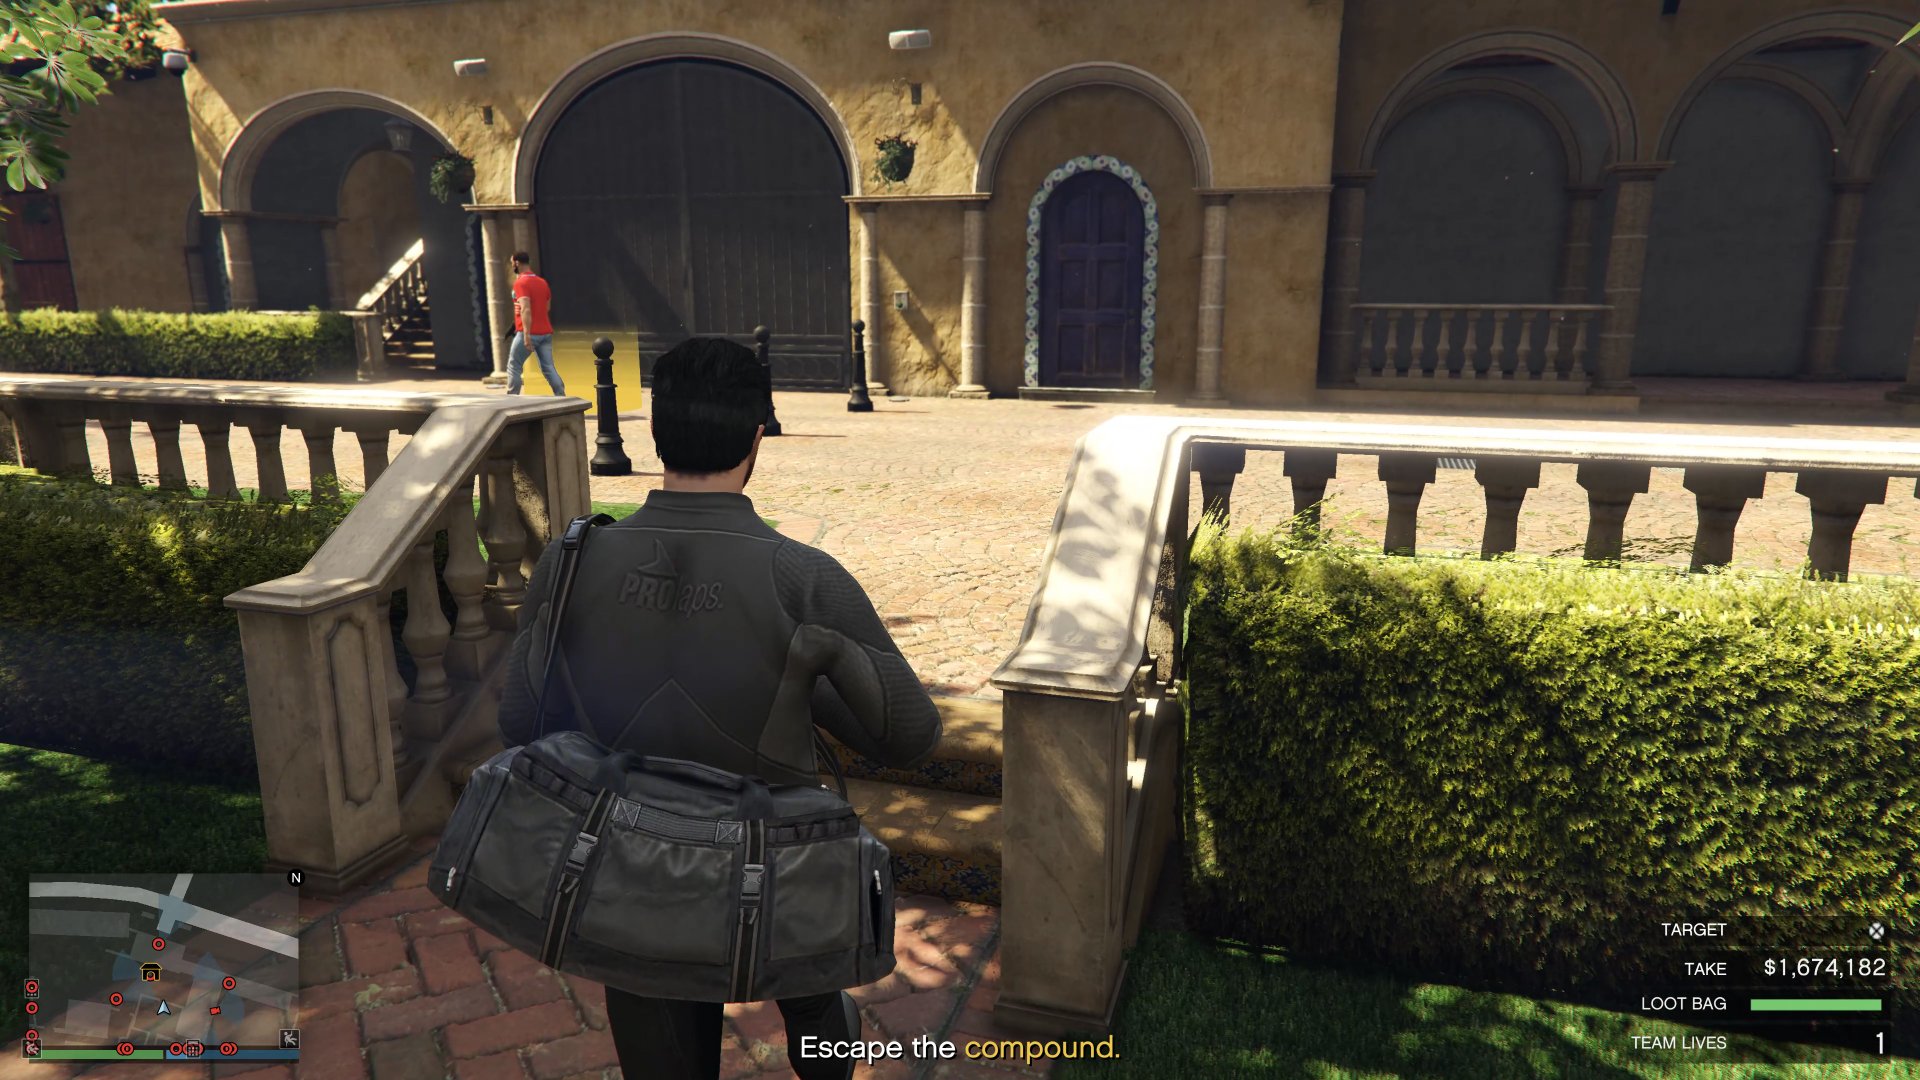
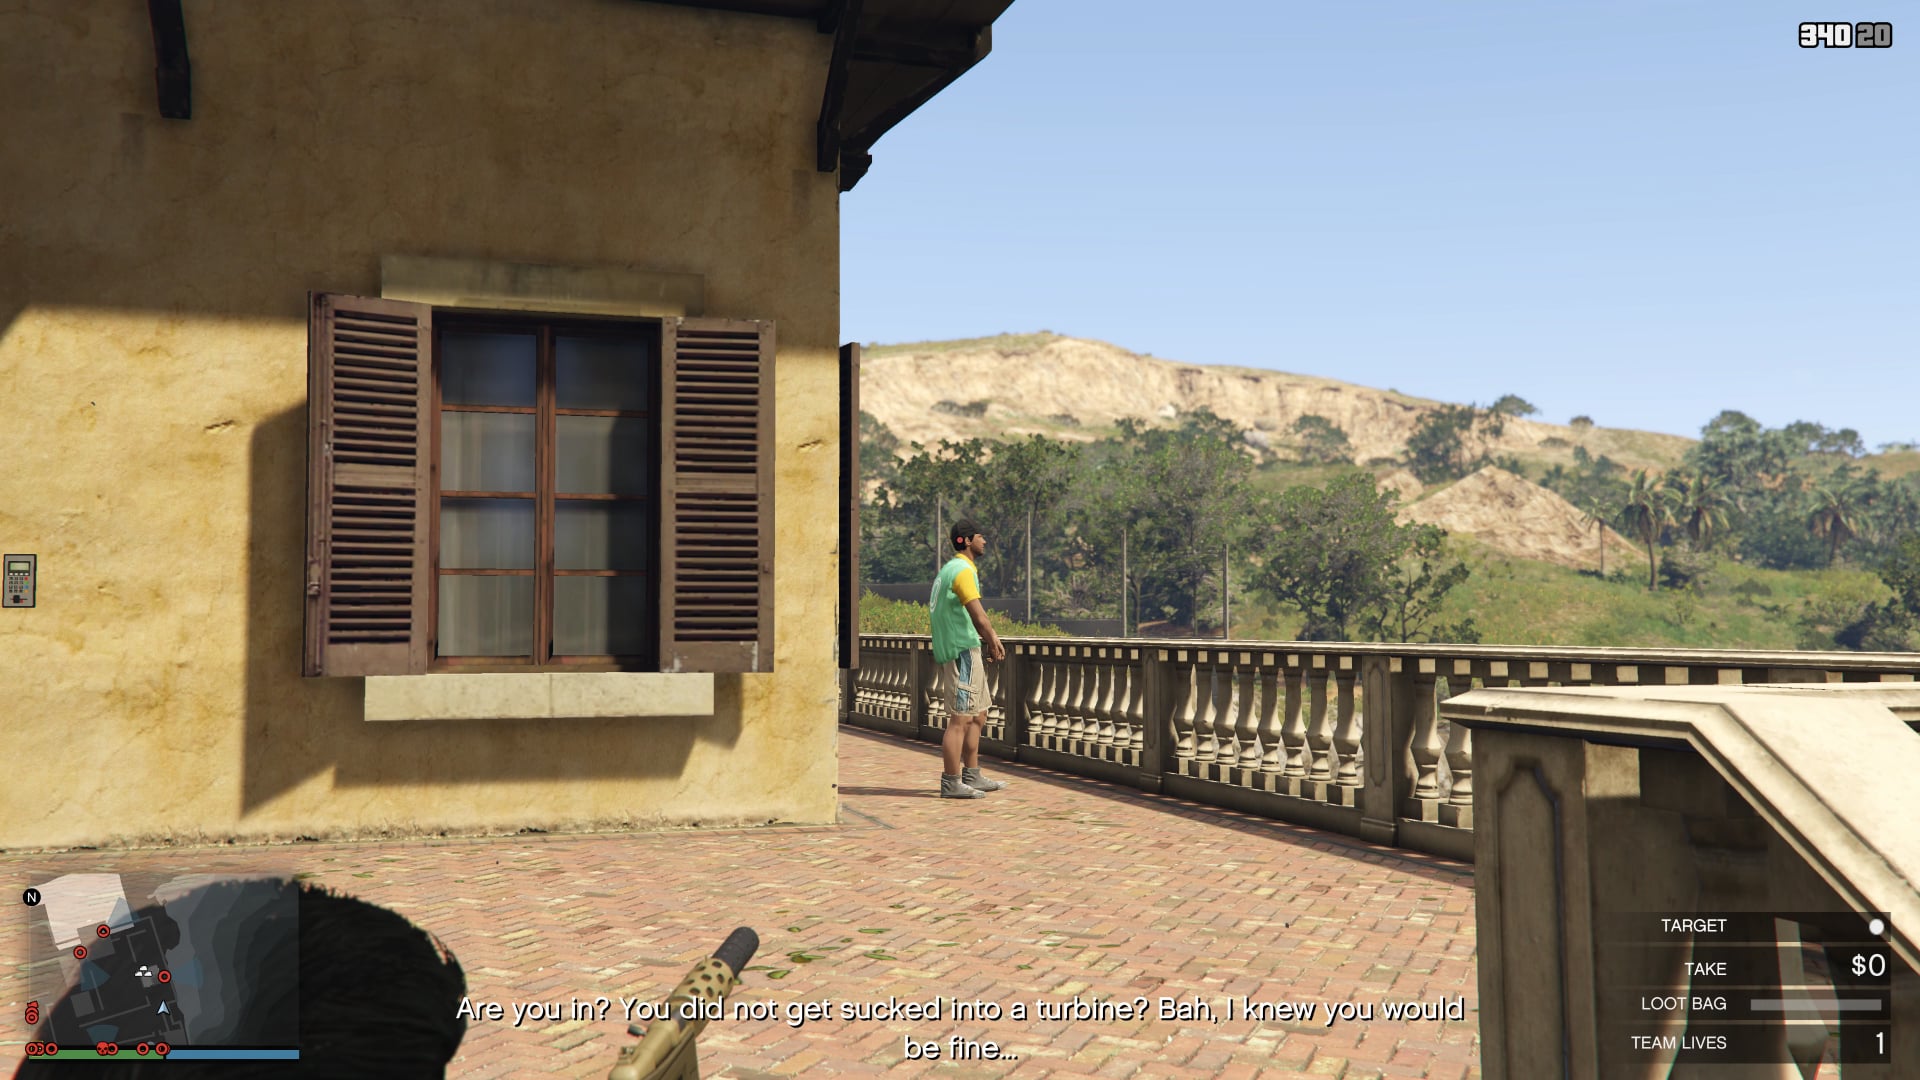
The exit will be directly ahead, but with some guards. One of the guards will be patrolling the gate. Wait for him to go left, then run for the yellow highlighted area. Do not forget to press the interact button to exit, or it won't work. That is the E button on PC and the right d-pad on controllers.

Meta-Perico-32.jpg

When you're out, eliminate the guard standing with a bike and grab his bike.

Meta-Perico-33.jpg

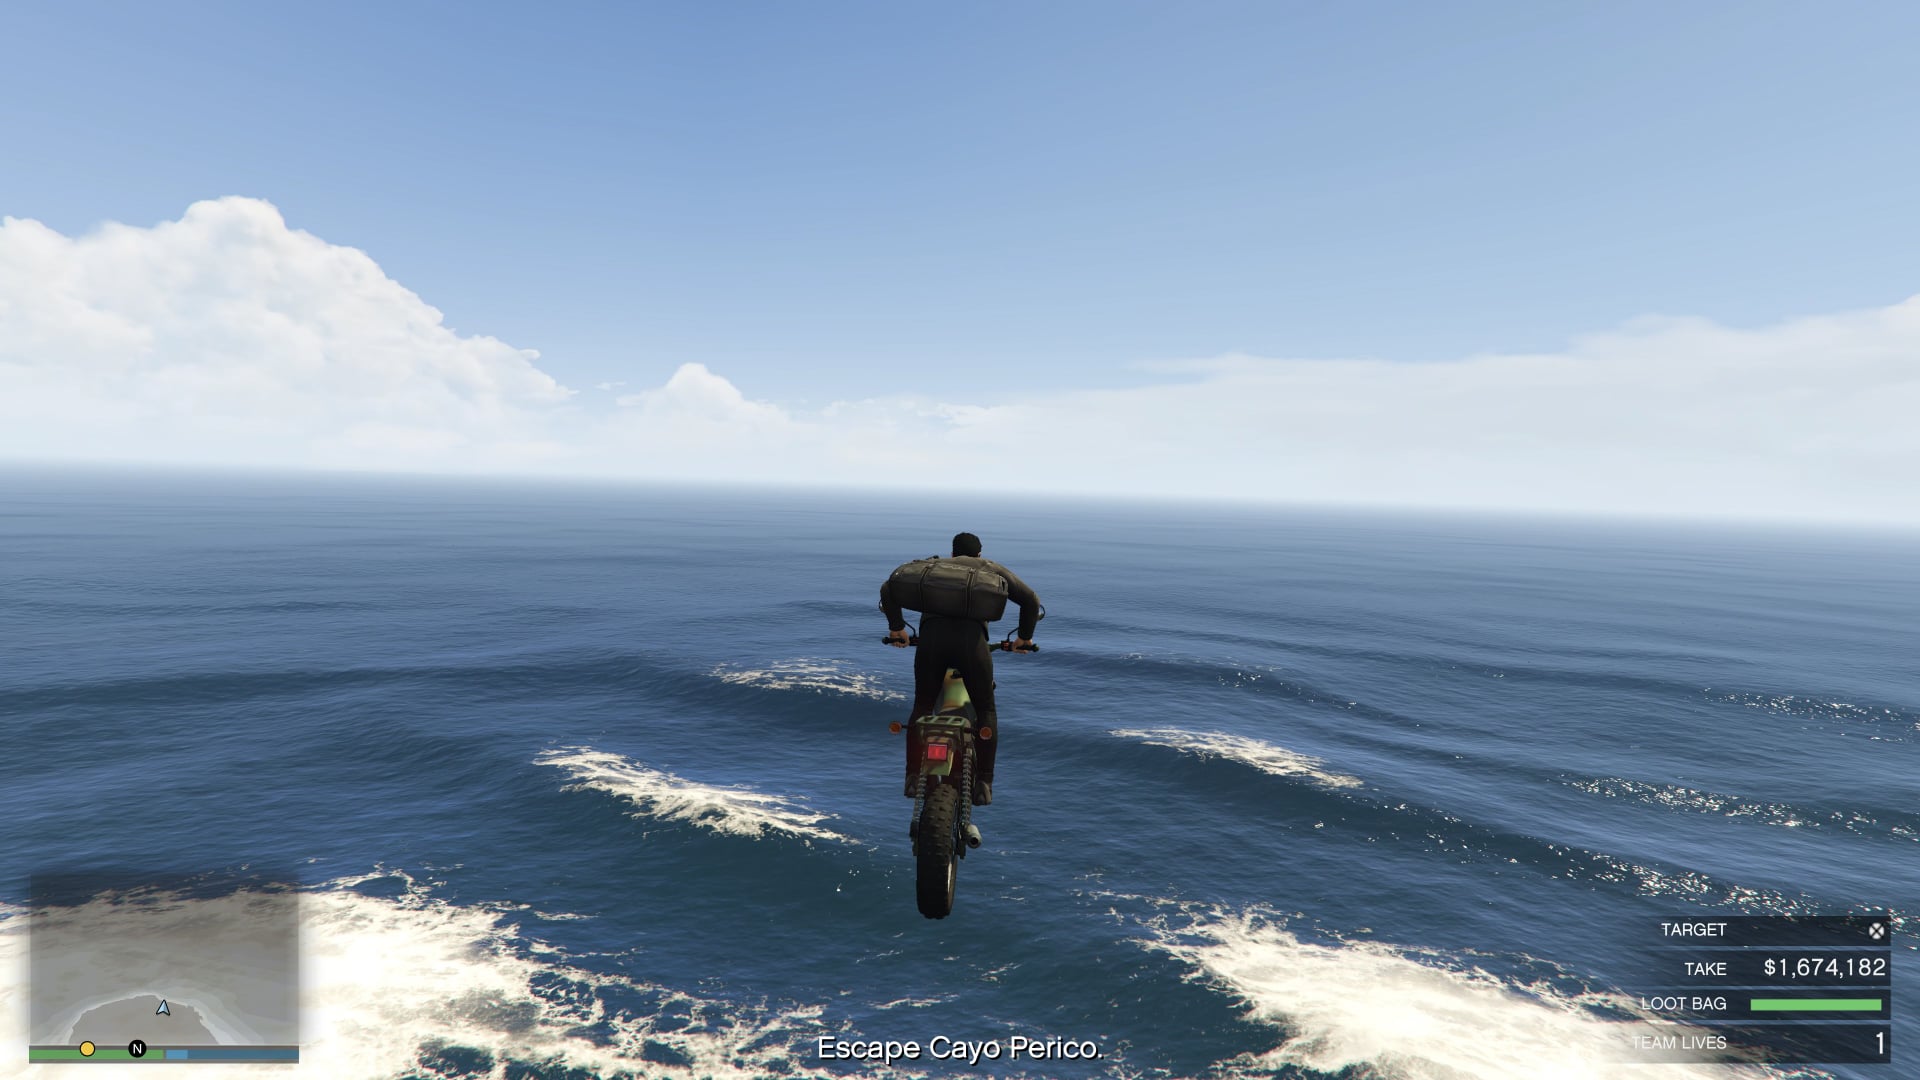
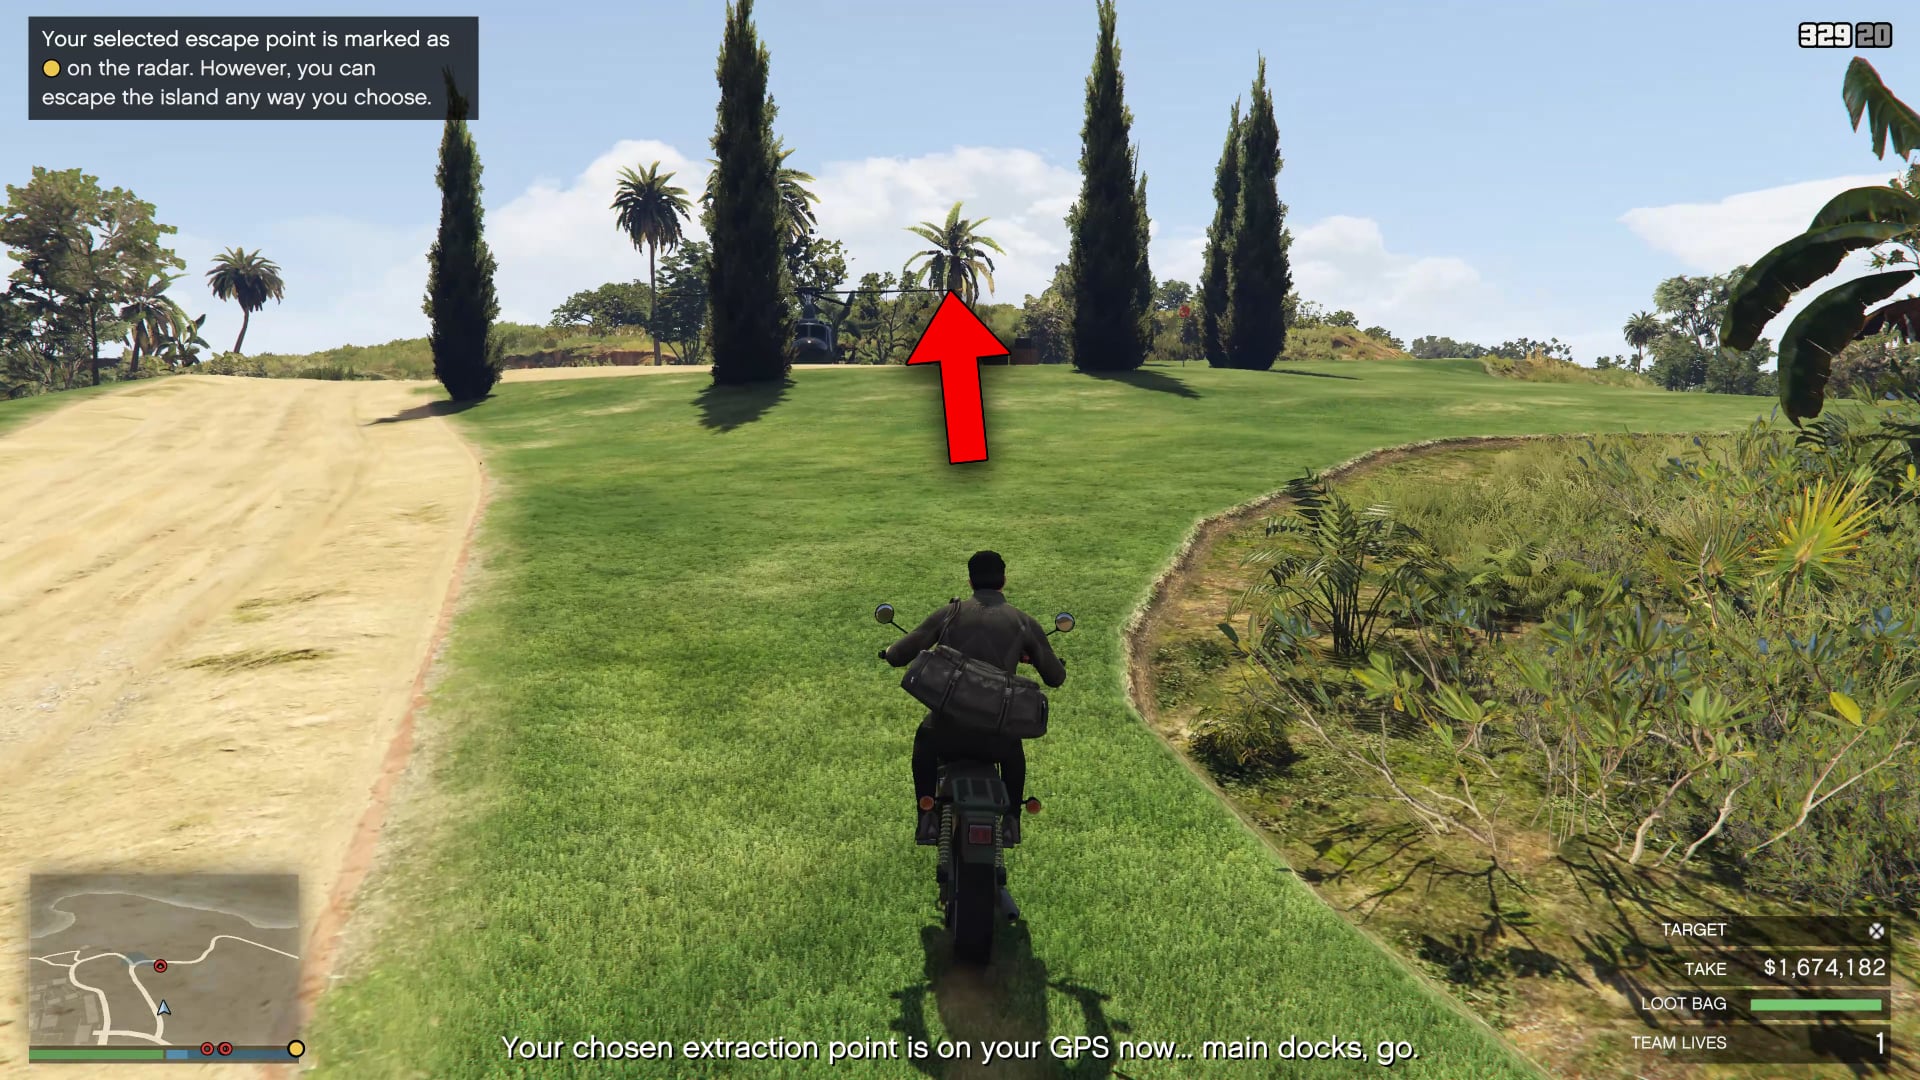
You do not have to go through your chosen escape point. Drive southwest towards the sea and jump.

Meta-Perico-34.jpg
Meta-Perico-35.jpg

When you're in the water, keep swimming until you get an ending cutscene in order to complete the heist.
Meta-Perico-36.jpg
Meta-Perico-37.jpg

Topics in this article

Related Stories

More From GTA Guides