The FIB Files are a set of missions offering impressive payouts. These missions were added as part of the Agents of Sabotage DLC and operate like mini-heists.
In this guide, we’ll cover the Fine Art File mission in detail, walking you through the preparation and finale stages. We’ll also explain how to complete the challenges to earn the bonus payout.
In the Fine Art File mission, you must steal a bronze idol from a wealthy individual and deliver it to the buyer for cash.
Planning Work: EMP Charges
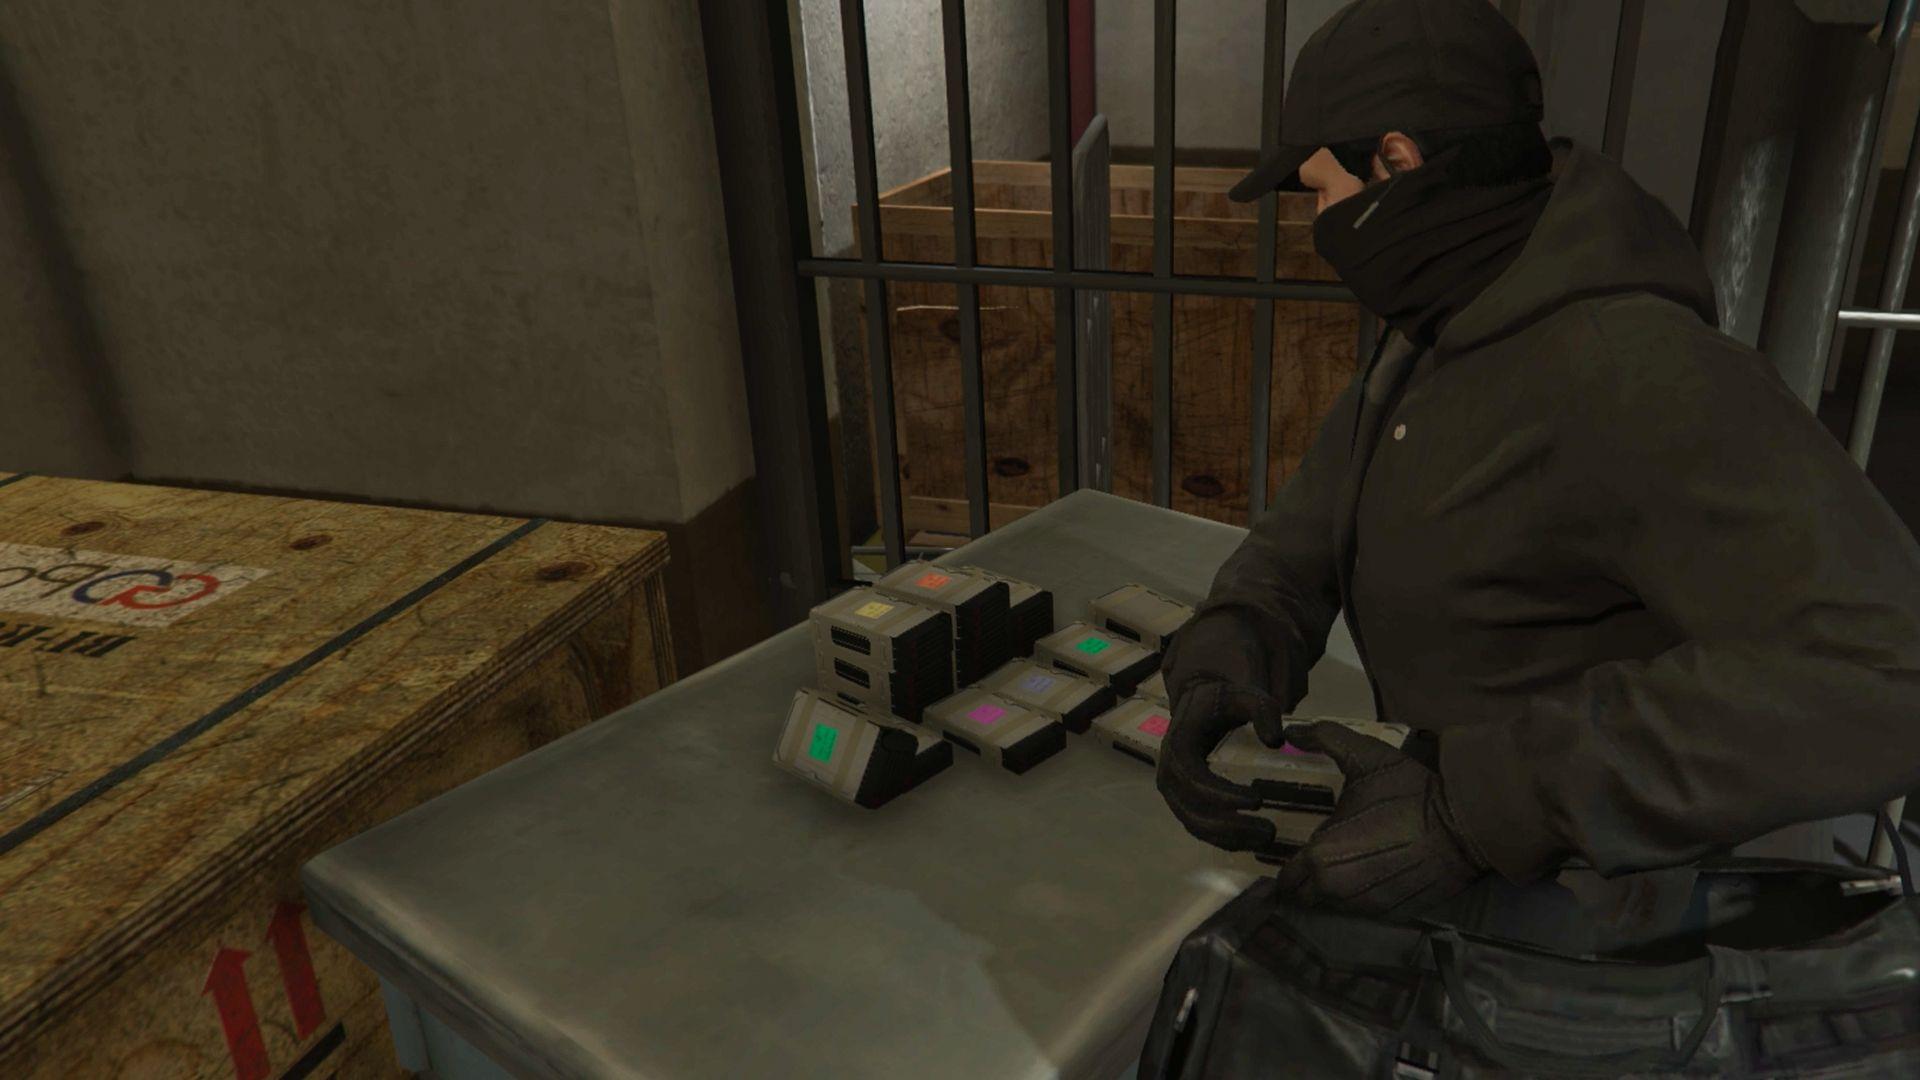
Head to the designated location and take out the security. You need to lower the container and search it for the EMP charges. Jodi will also send you the picture of the correct container, but there's only one container that you can lower, regardless.
Shoot the lock above the container to lower it and climb up to it. Open the container, collect the EMP charges and deliver them to the Garment Factory to complete this mission.
Planning Work: Approach Vehicle
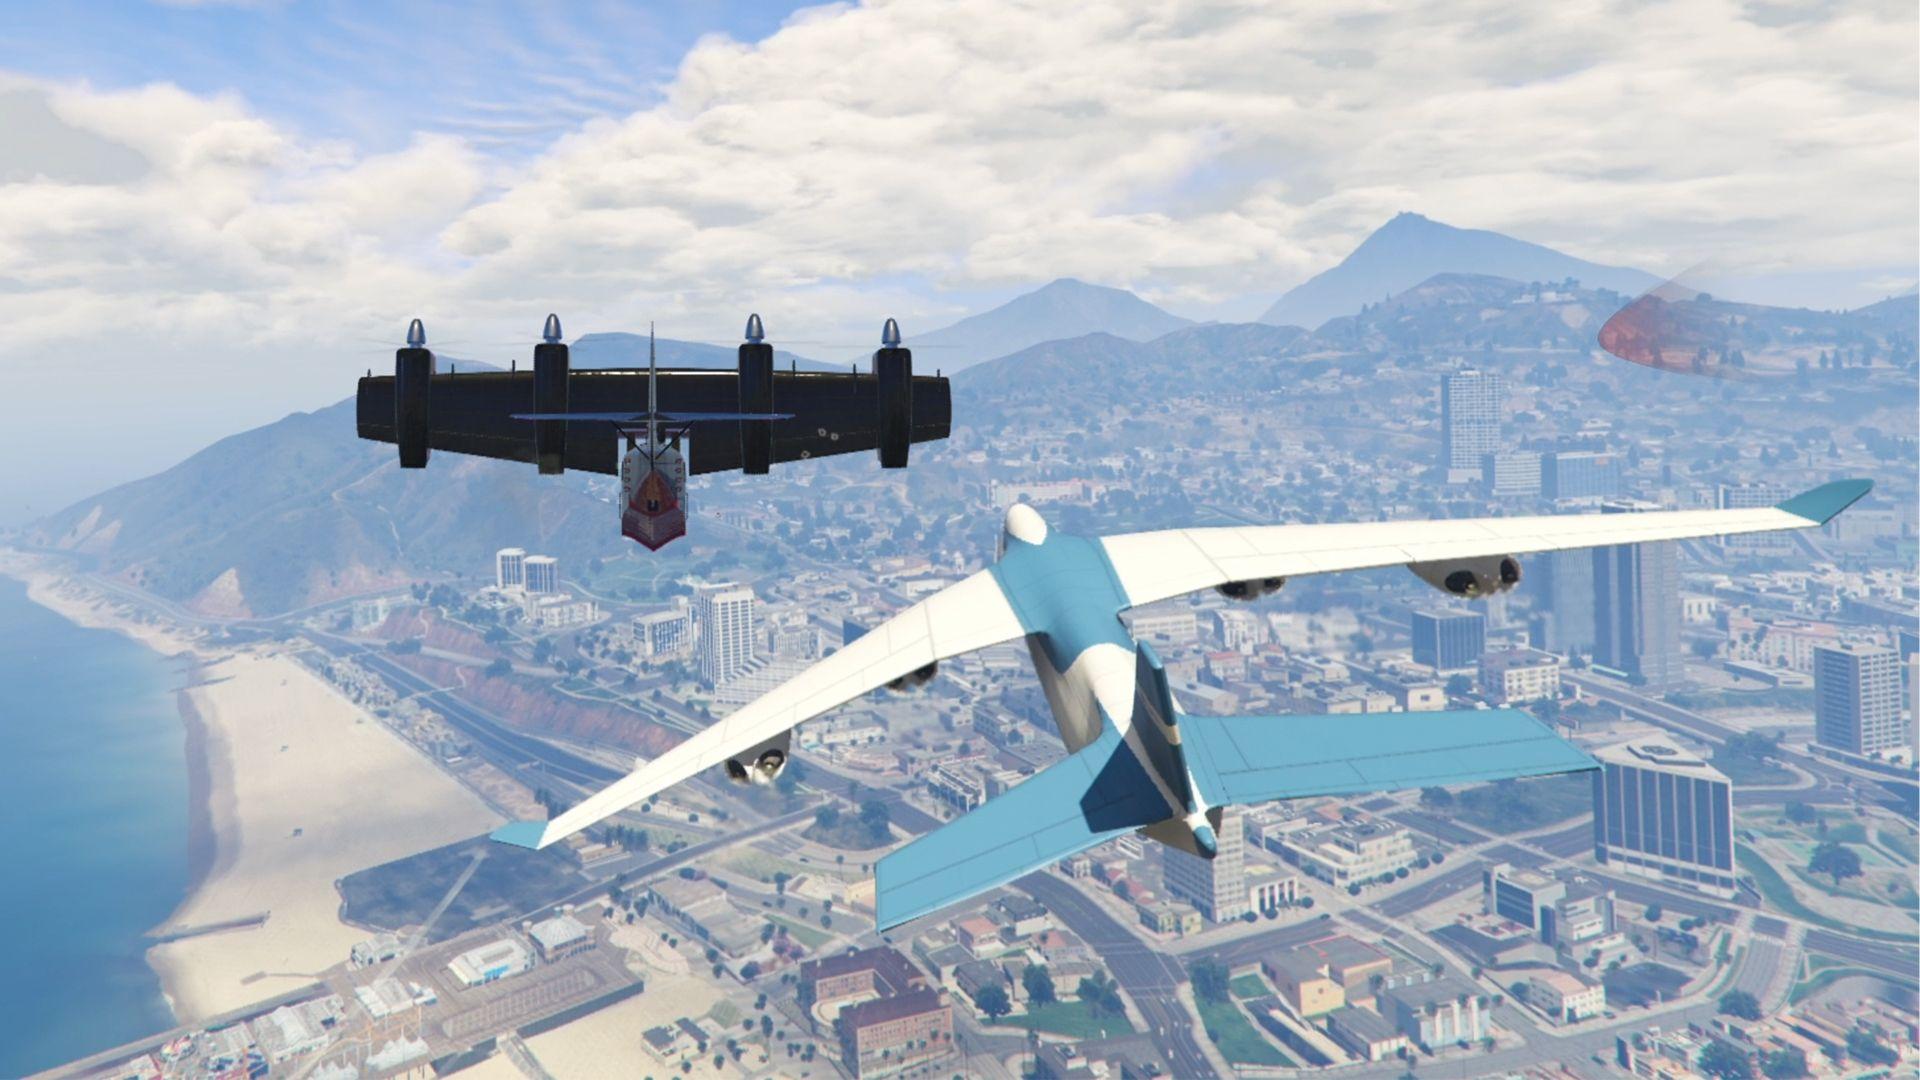
For this mission, you need a flying vehicle which will be your approach vehicle. To get it, head to LSIA and go to the hangar which will be protected by some guards. Take out the security and break into the hangar.
You will enter the hangar from the top and as soon as you enter it, the hangar will be in a lockdown. To lift the lockdown, you must destroy five control boxes.
The control boxes will be highlighted on your minimap, and they're not too hard to find either, as they will have a red arrow indicator on top of them. To destroy the control box, you simply need to shoot it with your weapon.
As you move from control box to control box, make sure you keep an eye out for guards as they can be anywhere in this big hangar. Take your time with it as there is no timer for this mission.
If you position yourself right, you may be able to take out two or even three control boxes from a single point. This depends on your and the control boxes' positions, and the latter is randomized from mission to mission.
Once you've destroyed the control boxes, the lockdown will be lifted. Now, make your way downstairs and steal one of the helicopters. You can steal whichever you like, as they're all good and serve the same purpose of taking you from point A to point B.
Exit the hangar and fly the helicopter to the drop-off point. Once stashed, leave the area to complete the mission.
Planning Work: Facial Recognition
Go to the marked location and take out the guards. Do not use any explosives as it may destroy the target vehicle that you need to search. Once the area is clear, search the trunk of the Felon and steal the surveillance drone.
Take the surveillance drone to the vantage point marked by Jodi so you can find your target using the drone. Jodi will also send you a picture of the target to help you identify him when surveying the party using the drone.
When at the vantage point, deploy your drone and head into the yellow region to look for the target. Once you've located the target, he will have a blue arrow on them. Zoom into their face and scan it.
Once scanned, wait for Jodi to analyze the scan and then leave the area to complete the mission.
The Finale
First, head to the stolen helicopter and enter it to get to the roof of the target location. Once landed, we can begin with our first challenge. The first challenge is to ensure you reach the penthouse undetected.
It is quite easy. Just make sure you've switched to a suppressed weapon and are walking in sneak mode.
As you approach the service room door, you will notice one guard outside. Take him out and continue to the door to hack it.
The hacking is pretty easy. All you need to do is arrange the circuit blocks in a way so that the silver line is connected from left to right in a continuous path. You can move the circuit blocks vertically. You get a total of one minute to solve this puzzle, so remember to press confirm after arranging.
Once you're inside, take out the two guards inside the service room and then plant the EMP charges on the marked locations. You need to plant three EMP charges.
Continue moving forward to go downstairs. As you enter the stairwell, you will find another guard. Take him out and keep going.
While going down the stairs, you'll come across two more guards having a conversation. Eliminate both and proceed to the bottom of the stairs.
At the bottom, you'll receive a prompt to detonate the EMP charges. Detonate the charges and enter the hatch in the room ahead to get to the penthouse. Your night vision goggles will automatically activate once the lights go out.
Once you're inside the penthouse, the guards will be alerted no matter what. Take them out so we can move on to the second challenge, which is locating and flipping the secret switch within 5 minutes.
The switch is easy to find. As soon as you enter the penthouse, look under the small coffee table to your right, near the large pillar. You'll also notice your signal strength bar go up as you get closer to the switch.
Next, you need to hack a control panel to open the final cabinet, where the valuables are located. This hack works similarly to the Cayo Perico fingerprint hack—your goal is to match the fingerprint pattern on the right.
You have only 5 minutes to solve the fingerprint puzzles. Here's an easy method to save time: first, set all the components to match the first component on the right.
Then, adjust each subsequent component, starting from the second one, by increasing the number by one as you go down the list.
Once inside, you can complete the third challenge: looting all the contents of the hidden room. It's important not to take the main target, the bronze idol, first. If you take the bronze idol first, you won't be able to loot the other items.
Start by collecting the items on your left and right. Once those are secured, you can grab the bronze idol.
After looting the hidden room, head to the garage and keep fighting until you find an opening to get into one of the parked cars.
Take a vehicle and deliver the bronze idol to the buyer to complete the mission.
