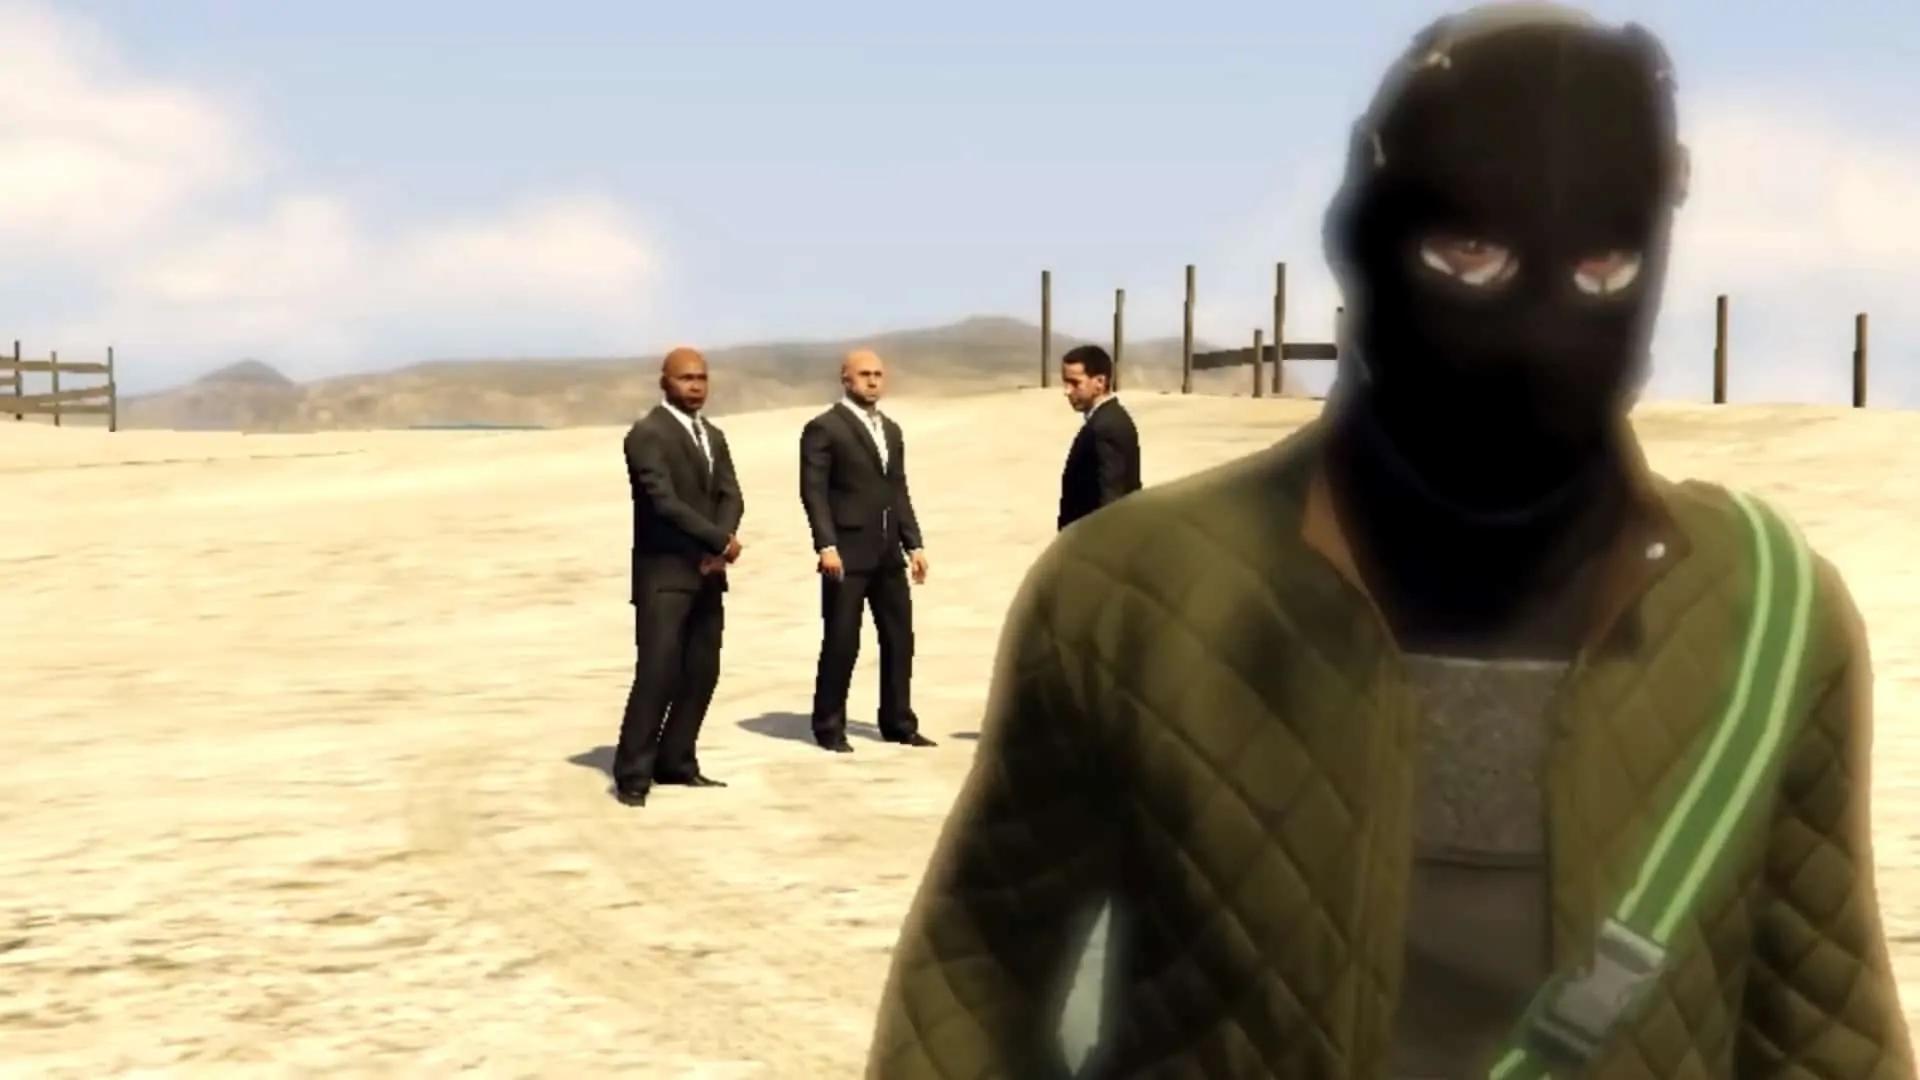
The Aggressive approach for the Diamond Casino Heist requires specific tools for a forceful entry and vault breach. This part of our guide covers the essential approach specific prep missions that allows you to acquire those tools.
You need to do all the approach specific prep missions plus the mandatory prep missions of course. You can skip one mission, however, which is the reinforced armor mission.
If you're already an experienced player, then there's no need to waste your energy on this mission as you will already have maximum health and armor at this point. But if you are a low level player then it is best to complete the reinforced armor mission.
Let's take a lot at the rest of the approach specific missions that you will need to carry out for this.
Thermal Charges
You need to go to a specific location as directed by the game, take out the agents and get the thermal charges from the warehouse. Note that there will be quite a lot of agents so you need to be prepared with snacks and armor in order to easily fight them all.
Once you take out the agents you can look for the Thermal Charges. They will be in a wooden crate. Grab the thermal charges and leave the warehouse delivering the charges back to the Arcade.
We recommend you have another friend with you as doing it solo will require you to return back to the warehouse to carry the second crate of thermal charges back to the Arcade.
Vault Explosives
You should do this mission with a friend. This mission requires you to go to Alamo Sea and search the plane wreckage for vault explosives. However, the area will be crawling with Merryweather soldiers.
There will be several at the little pier of Alamo Sea where you can also find Scuba Diving Gear to put on, in order to search the wreckage, and there will be two helicopters along with some boats at the wreckage site as well. Getting the scuba gear is not mandatory though.
Before starting this mission get some rebreathers from ammu-nation and put them on prior to starting the mission or else you won't be able to put them on. Head over to the site and take out all the guards, then dive in to search for the vault explosives.
Once you get the explosives you will need to head back to the Arcade to deliver it. Now, if you're doing it solo then you will need to come back and get the second crate as well. Every time you come back, you will see the Merryweather helicopters respawning over the wreckage site and you will need to take them out every time.
Also, when you grab the crate and start moving towards the Arcade, the helicopters will spawn again and chase you down. So you need to make sure you have a getaway vehicle or a boat that you can take to the site and use to easily head back to the shore.
Solo Player Specifics
If you a solo player and have an Oppressor Mark II, then head over to the location, take out all the guards and then dive into the water to locate the vault explosive crates. Once you get the crate, you will unfortunately have to swim back to the shore since jumping off of your Oppressor will destroy it as soon as it goes in the water. One you're on the surface after getting the crate, the helicopters will spawn again and come shooting at you. Do not worry about it and let them kill you, but make sure you are swimming above the surface and not underwater when you die. Now your crate will be on top of the water surface instead of deep underwater.
When you spawn back, you will spawn at the shore. Call Mors Mutual insurance and request your Oppressor Mark II again. Once it arrives. Hope on it and collect the crate. You will be able to collect it while you're on your Oppressor. Then simply head back to the Arcade and deliver the first crate. Repeat for the second crate and you are done with it.
You can save yourself the time and effort, spent as a solo player by just doing this mission with a friend.
Boring Machine
This is an optional prep mission but it will make your finale much easier and faster. If you get this boring machine and also take a picture of the Sewer Grates in the sewer tunnel near the Diamond Casino then you will be able to access the casino vault very easily.
You can just put explosives on the wall which leads to the vault security lobby area and then head directly into the mantrap leading to the vault.
You will need to go to one of the construction sites and steal the boring machine. There will be some resistance from the construction workers and guards there but you can easily take them out and get into the truck which is carrying the machine.
You will have cops on you, but a fortunate thing about this heist prep mission is that you can easily lose the cops by calling Lester from your phone (unlike for other missions in GTA Online). After you've lost the cops just head to the sewer, leave the tunnel boring machine there, and you should be done with this prep mission.
You can see the final prep board below showing the missions that can be skipped, missions that are needed to be done and a mission which is not necessary to do, but can make your heist finale easier.
With these aggressive-specific preps completed, you are now armed and ready for the heist finale.
