Now that all your preparations for the Aggressive Diamond Casino Heist are complete, it's time to go loud.
This part of our guide provides a step-by-step walkthrough of the finale.
Final Prep Board
On the final prep board you can choose the entry point, exit point, your buyer, clean vehicle and gunman decoy.
- Entrance: Choose SEWERS as your entrance.
- Exit: You can choose either WASTE DISPOSAL or STAFF LOBBY. The later is our recommended exit strategy.
- Buyer: Your choice but we recommend you choose a HIGH LEVEL buyer for maximum profit.
- Clean Vehicle: Not necessary
- Gunman Decoy: Not necessary
Infiltrating the Casino and Reaching the Vault
As always, head towards the casino but not the side doors, the roof or the main entrance. You will head straight for the sewer tunnels. Once you reach the tunnel there will be a door already set up for you, which will lead you directly to the wall to the vault security lobby.
Head through the door and at the end there will be a mark on the wall where you are supposed to plant your explosives. Plant the explosives and a cut scene will appear in which the wall is blasted open, followed by you and your partner going through it and the wall being shut closed behind you due to debris.
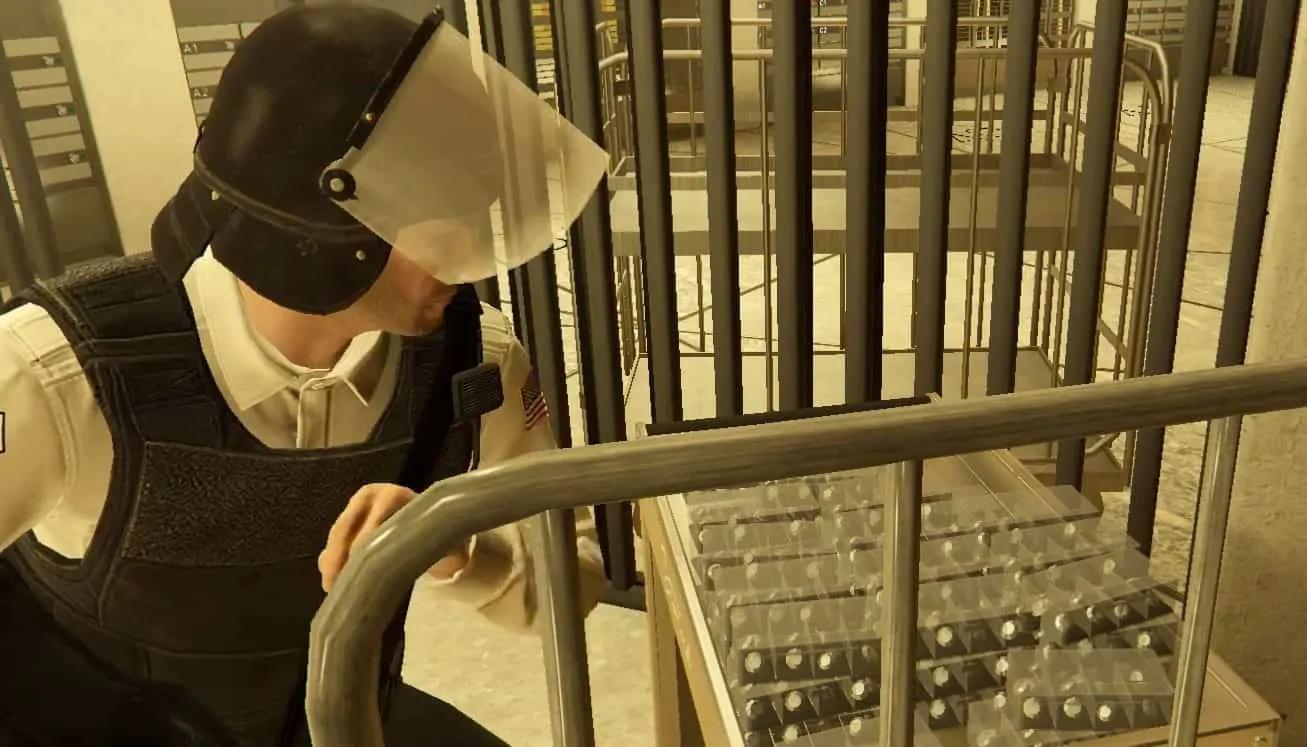
Once you're inside eliminate all of the guards. Since you have already done the Duggan Shipment prep mission, this will be a walk in the park for you. Just take cover, take your time and do not rush anything.
Take them all out one by one and then head for the mantrap entrance. Time the keycard swiping with your friend, open up the mantrap and head to the vault.
Once you reach the vault, plant explosives on the vault. Once that is done a new contact will be added in your phone called 'Detonate Bomb', call that and the explosives will go off, leaving the vault entrance wide open for you.
Once you get inside quickly loot all of it. Since you have thermal charges, you can also open up locked doors using the charges, without having to hack them and saving you some time. After you've looted the vault, leave it when the timer hits the 30-40 seconds mark just to be safe. When a minimum of 25 seconds are left just leave whatever you're looting and head for the exit.
Once you're outside again, you and your friend will have to swipe the keycards simultaneously to open the entrance to the mantrap. Do so and head back the same way you came from. Once you reach the vault security lobby again, more guards would have spawned there by now.
Take them all out while taking cover behind walls and doors. After taking them all out head for the elevator outside. You won't be able to leave the same way you entered the area (via the sewer tunnels) because that entrance is now blocked by debris. Head for the elevator and you will be taken to the staff lobby floor.
While heading to the staff lobby floor, make sure you pre-aim while still inside the elevator and before leaving since sometimes there are guards right outside and holding a shotgun which can instant kill you. But, that shouldn't be the case if you've already completed the Duggan Shipment prep mission as that would have weakened all the guards.
As soon as you are outside the elevator take an immediate right and then another right, heading towards two doors. Take cover and take some guards out before heading through those two doors.
Once you go through the doors take a left and another left where you will come across a long hallway that leads to the staff lobby. There will be a bunch of guards ambushing you along the way. Keep taking them out while carefully pushing forward until you reach the end.
Once you reach the end of the hallway take cover by the double door. This double door will take you directly out into the staff lobby, from where you can finally exit. Take cover here and take out guards in the lobby.
When you think it is safe for you to leave, head straight for the staff lobby exit which is through the metal detectors to your right as soon as you pass the double doors.
As soon as you exit through the staff lobby head straight to the racetrack and run on the right side of the track. Keep running until you reach the end, where the track will descend down towards your right.
Go down and then hop over the fence, out on the street and get a pedestrian car. After getting the pedestrian car head straight towards the sewer tunnels and stay in the middle of the tunnels until you've lost the cops.
These are the same tunnels where you entered the casino vault section from. After the cops are gone, continue through the tunnel and come out of the other end of the tunnel.
Once you're outside the tunnels make sure you do not go near the casino once again. Take a route to the buyer that is different to one which would cause you to go through the highway next to the casino.
So you need to make your own way-point towards the buyer and detour around the highway. Also, for those who don't know exactly where the sewer tunnels entrance is, refer to the picture below.
The red path is the highway which leads to high level buyers. DO NOT TAKE THAT PATH or else you will get 5 star wanted level again. Once you've successfully delivered to the buyer, your heist ends there.
By successfully navigating these escape routes and delivering the goods, you will have completed the Aggressive Diamond Casino Heist.
