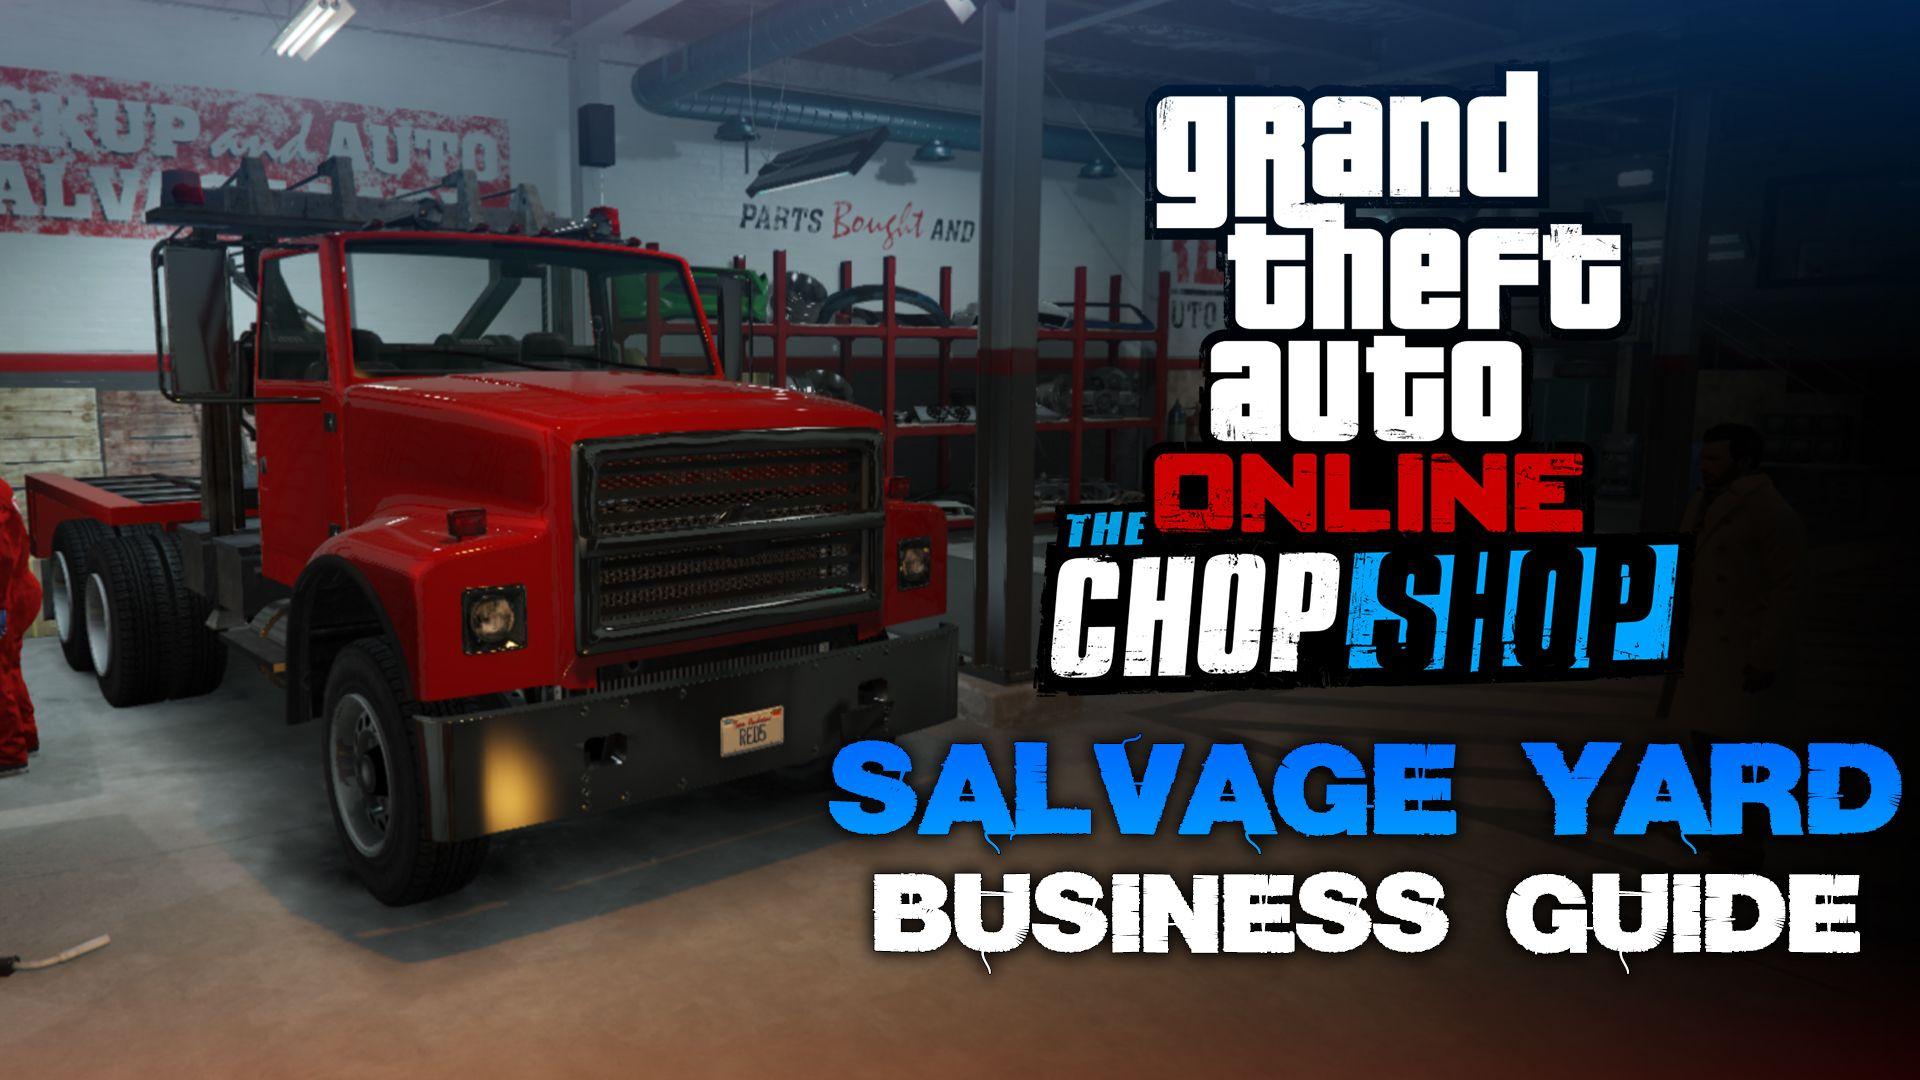
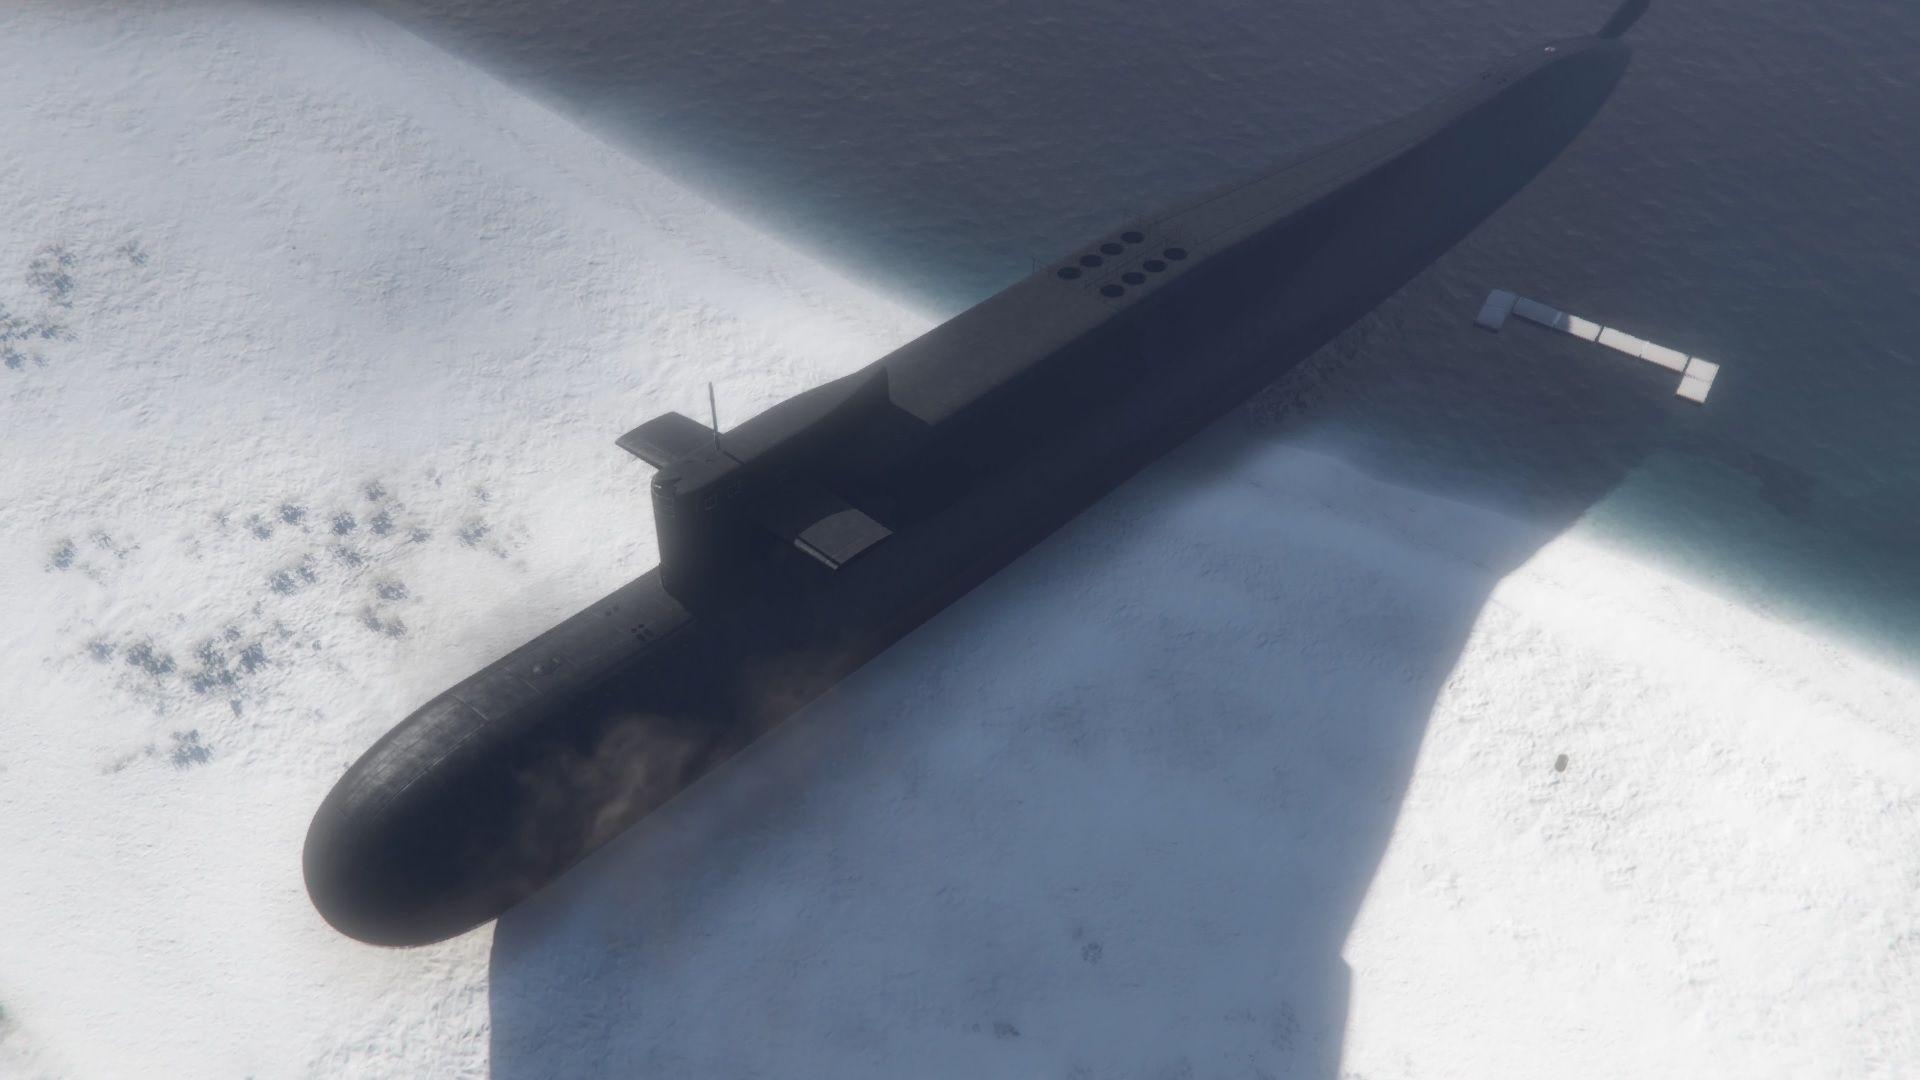
The McTony Robbery is one of the Salvage Yard Robberies in GTA Online's The Chop Shop DLC. The Planning Work missions involve acquiring Tony's Submersible and Sonar Equipment, which is important for the submarine infiltration, as well as an optional mission to disrupt enemy weapons.
Planning Work missions are mandatory missions you must complete to do the robbery. There is always one optional disruption mission that helps make your final robbery mission relatively easier. You can start all your planning work missions from the planning screen by accessing the computer in your Salvage Yard.
As with all the robberies, The McTony Robbery also has two mandatory and one optional planning mission.
Planning Work 1: Tony's Submersible
In this planning mission, you must go to Elysian Island and steal Tony's submersible. This will be used to reach the underwater submarine with our target vehicle in the finale.
When you get to Elysian Island, you will find a lot of security guards.
If you have an Oppressor Mark II, use it to quickly take out the enemies. A Buzzard will also work just fine.
Once you use the switch, the submersible will be released and drop into the water.
Now, you might have an idea of jumping off the crane into the water, but
- do not
do it. You won't make it and will instantly die.
When you get inside the submersible, you will get the drop-off location.
Planning Work 2: Sonar Equipment
In this mission, you must go to a designated location and break into the warehouse to steal the sonar equipment.
Once again, when you get to the location, it is best to take out all the enemies outside the warehouse.
Once you've taken the guards out, head inside the warehouse and eliminate the guards there.
Take out the guards inside so you can search the crates for the sonar equipment.
After taking out the guards inside the warehouse, get close to the wooden crates, and you will get an option to break them open.
There are 4-5 wooden crates, and the sonar equipment can be in any one of the crates. The crate is always random.
Once you've acquired the sonar equipment, deliver it to your Salvage Yard to complete the mission.
Planning Work 3: Disrupt Weapons (Optional)
This is an optional mission. However, we recommend you complete it as it weakens your enemies' weapons during the robbery.
Navigating the narrow spaces of the submarine while fighting your way to the vehicle can get quite hectic and dangerous. It is best to minimize the difficulty as much as possible.
Like the other robbery disruption missions, you only get 10 minutes to complete this mission. It is best to use a Buzzard or an Oppressor Mark II for this mission.
First, you need to break into a lockup. The lockup will have some enemies outside guarding it.
Head inside the lockup, and you will find some more enemies.
Once you've defeated the enemies, use explosives to destroy the weapon shipment inside the lockup.
After destroying the first shipment inside the lockup, you must find a laptop.
Head over to the remaining three weapon shipments and destroy them to complete this mission.
With all planning work complete, you are now fully prepared for The McTony Robbery finale.
