Guide

Los Santos Tuners: The Bank Contract Guide

Learn how to complete The Bank Contract from the Los Santos Tuners update with optimal strategies for solo players.

This is a walkthrough for completing The Bank Contract, one of the Robbery Contracts available in the Los Santos Tuners update for GTA Online. We'll cover the planning missions, followed by "The Bank Contract" finale, focusing on strategies for solo completion. The target is cash from multiple Fleeca Banks, with a net payout of $160,200.

Thermal Charges (Planning Work)

For this mission, we highly recommend you use the Oppressor Mk II. It'll make your life ten times easier. If you do not have an Oppressor, you can also opt for a Buzzard, which is readily available from the VIP section in the interaction menu.

Google preferred source badge

Get GTA BOOM in your News Feed!

Star GTA BOOM as a preferred source so our GTA coverage appears more often in Top stories and your sources.

Flying the Oppressor Mark II to marked the location

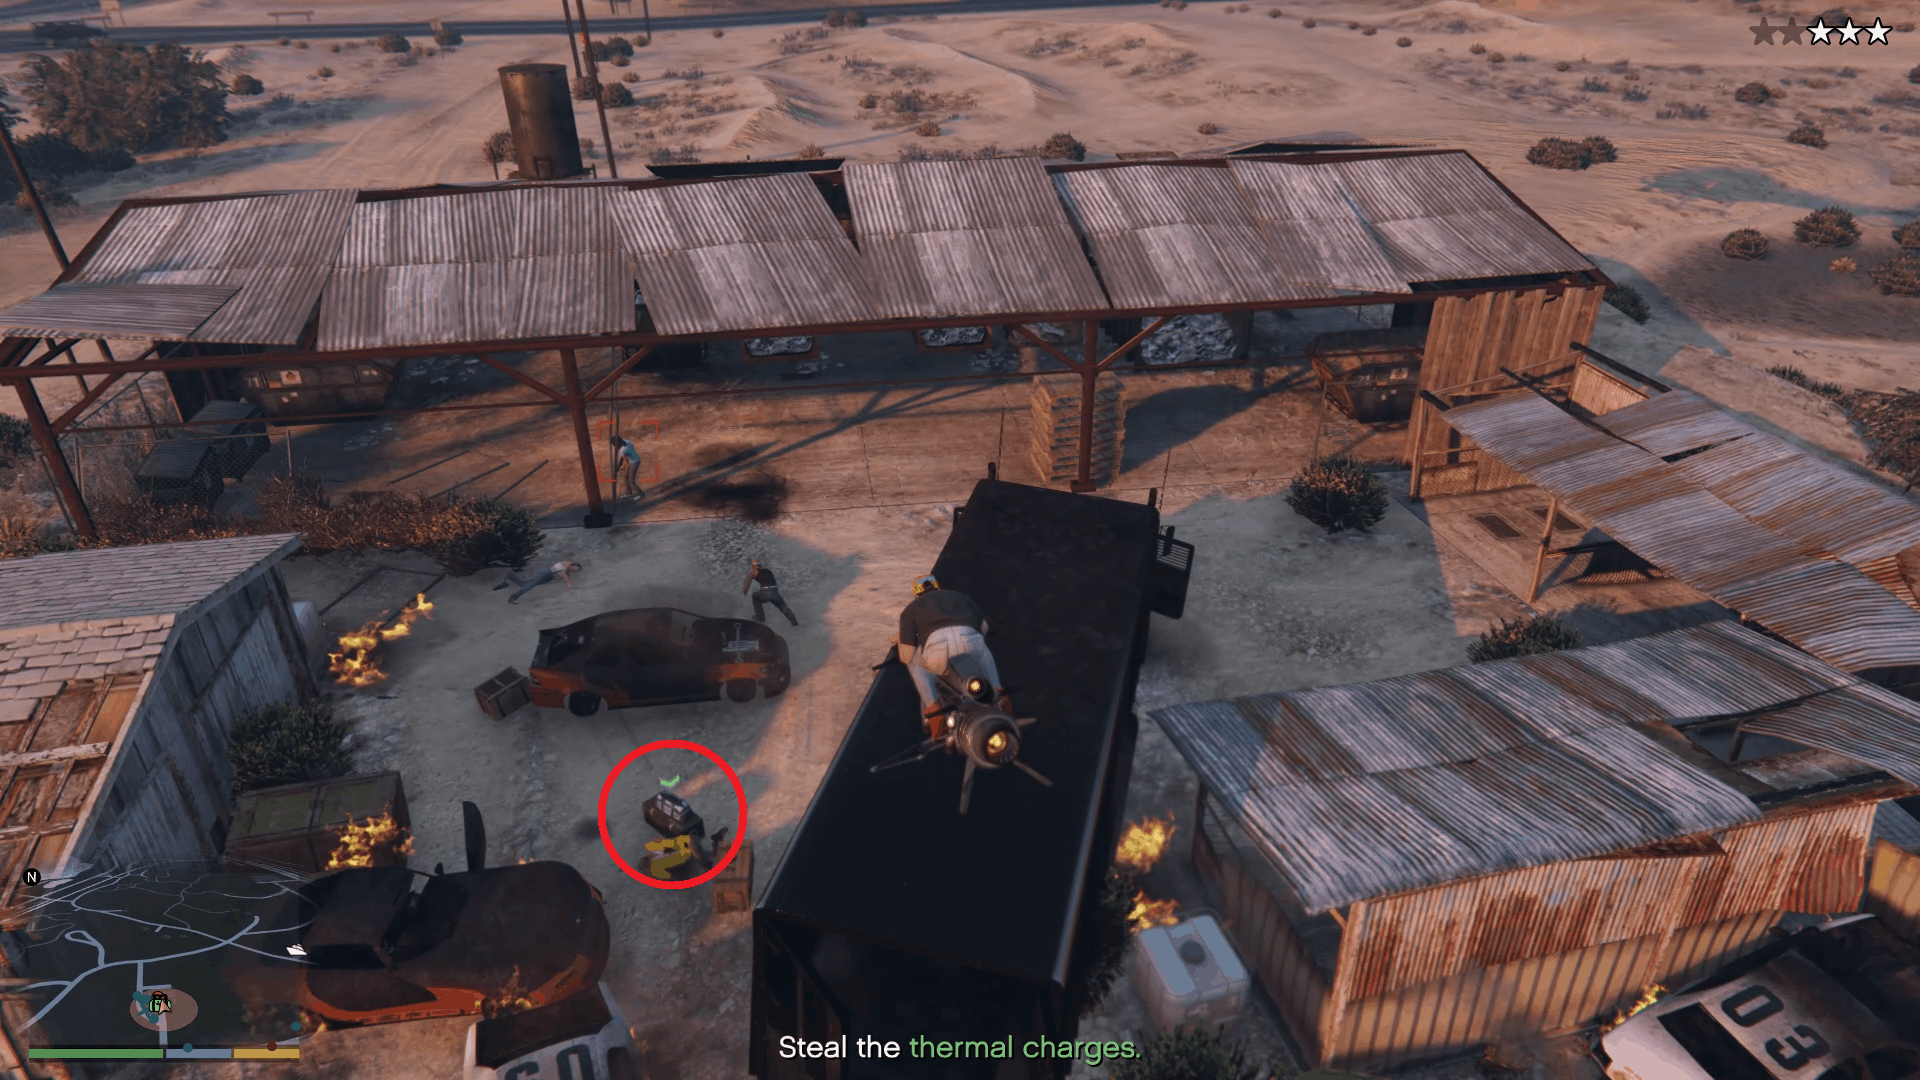
In the Thermal Charges mission, you need to head over to the marked location and steal thermal charges. There will be a stand-off between the cops and some burglars. You can clear some of the cops and enemy NPCs or fly directly towards the charges to grab them.

Stand-off between the cops and the burglars

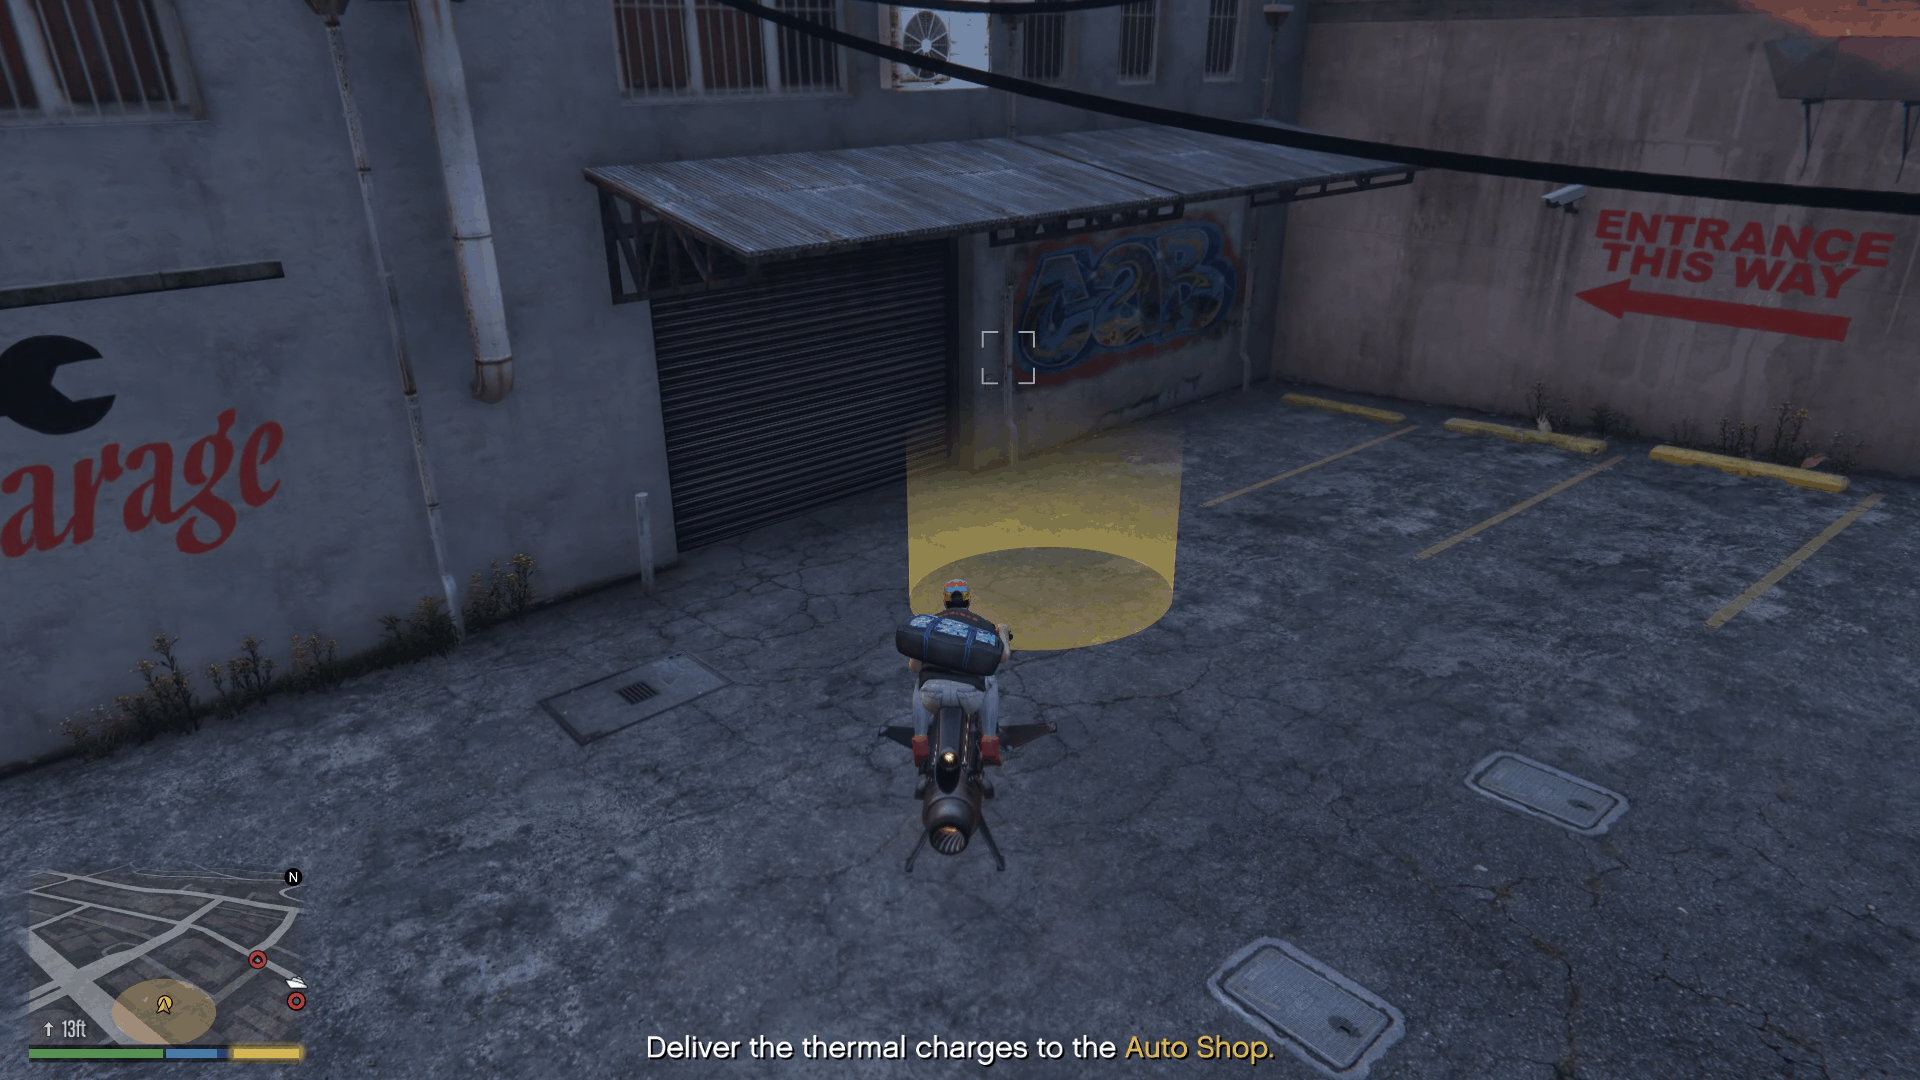
Grab the charges and fly away to lose the cops. After losing the cops, deliver the charges to the Auto Shop to complete this mission. It is as simple as that.

Thermal charges circled in red
Delivering the charges to the Auto Shop

Signal Jammers (Planning Work)

This mission is time-sensitive, and you can only complete it effectively using either an Oppressor Mk II or a Buzzard helicopter. In this mission, you need to install signal jammers at six Fleeca Banks across Los Santos.

If you are doing all this solo though, you only need to worry about installing one jammer at a single bank. Installing jammers will give you more time in the finale without the police coming after you and also delay you getting a wanted level.

First, you need to make your way to the indicated location to get the signal jammers from the trunk of a parked Emperor.

Emperor's trunk with the signal jammers

Once you grab the jammers, wait for Sessanta to contact you, after which a 10-minute timer will start, within which you must plant the jammers.

Timer to plant the jammer starts

When you get to the location, the panel in which you plant the jammer is watched by a CCTV camera. You need to wait for the camera's cone of vision to look away from the panel and then go in for the plant.

Planting the signal jammer at bank 'D'

Covering all six is optional. Even if you cover two or three (or even one if you are solo), that should make you eligible to complete this mission.

Here's a trick when using an Oppressor for maximum speed while in the air: Whenever you're flying, gain some altitude and then press your handbrake button or key once. You'll notice the Oppressor will lose altitude gradually, but it will retain have maximum speed — the same speed it has on the ground.

This trick has been around for quite some time and helped a lot during the Aggressive Heist: Key General Prep Missions#Duggan Shipments
Duggan Shipments
prep mission in the Diamond Casino Heist. You can always go for the ones in the main city first as they all are close to each other. The ones that are far away are the bank on the main highway at Great Ocean Hay (bank 'A') and the one on Route 68 at Grand Senora Desert (bank 'F').

This mission feels like a filler mission to match the "three mission" theme we have with the contracts. If you complete the signal jammers mission, you will get some extra time before the cops are finally alerted, and you get a wanted level.

You can only hit two banks without the wanted level during the finale. But, as soon as you're done with the second bank, the timer runs out, and the cops are on you. You only get a maximum of 2 minutes delay before the cops come. So, doing all six jammers is not worth the effort if you're not going to do the finale with a squad of four.

Either way, even if the cops were on you from the first bank, you will be able to complete this mission with ease as the number of cops spawning is always limited, and they spawn right outside each bank — more on that below.

Once you've successfully hit all six banks and planted the jammers, you are done with this mission. Even if you only manage to plant one jammer, your mission will pass as the timer runs out.

All signal jammers planted

The Bank Contract (Final Job)

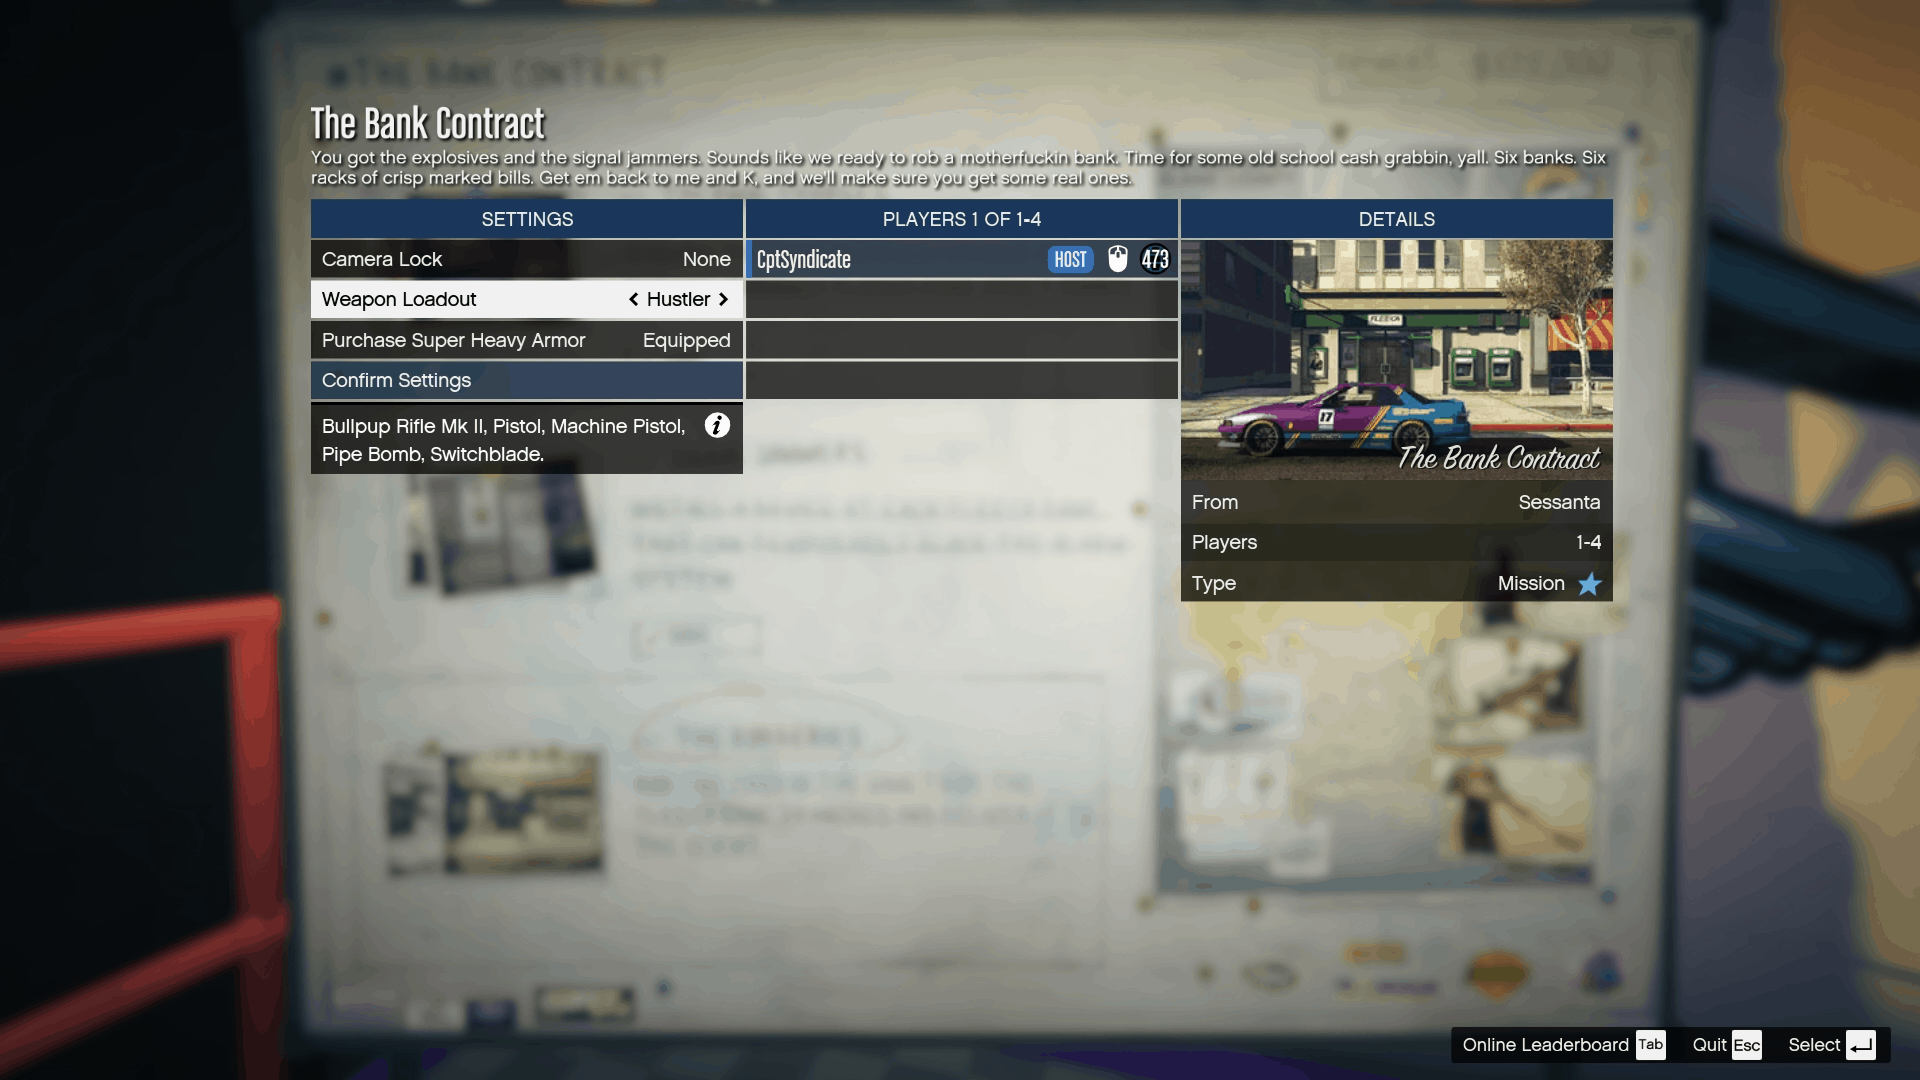
In the final job, you will be required to rob all six Fleeca Banks. To begin, you need to select the 'Hustler' as your weapon loadout. Do not forget to stock up on some armor and snacks as well since you will be getting into some gunfights too.

Selecting the 'Hustler' weapon loadout

Go to the first nearest marked Fleeca Bank, head inside the bank, and place the thermal charge on a locked door leading to the main vault. The alarm also goes off. Usually, the cops arrive, but thanks to the signal jammers (if you've planted them all), you have 2 minutes before the cops show up.

the first fleeca bank (bank 'C')
Planting the thermal charge on the vault door

Wait for a couple of seconds before the thermal charge blows up, opening the door to the vault.

Thermal charge burning through the vault door

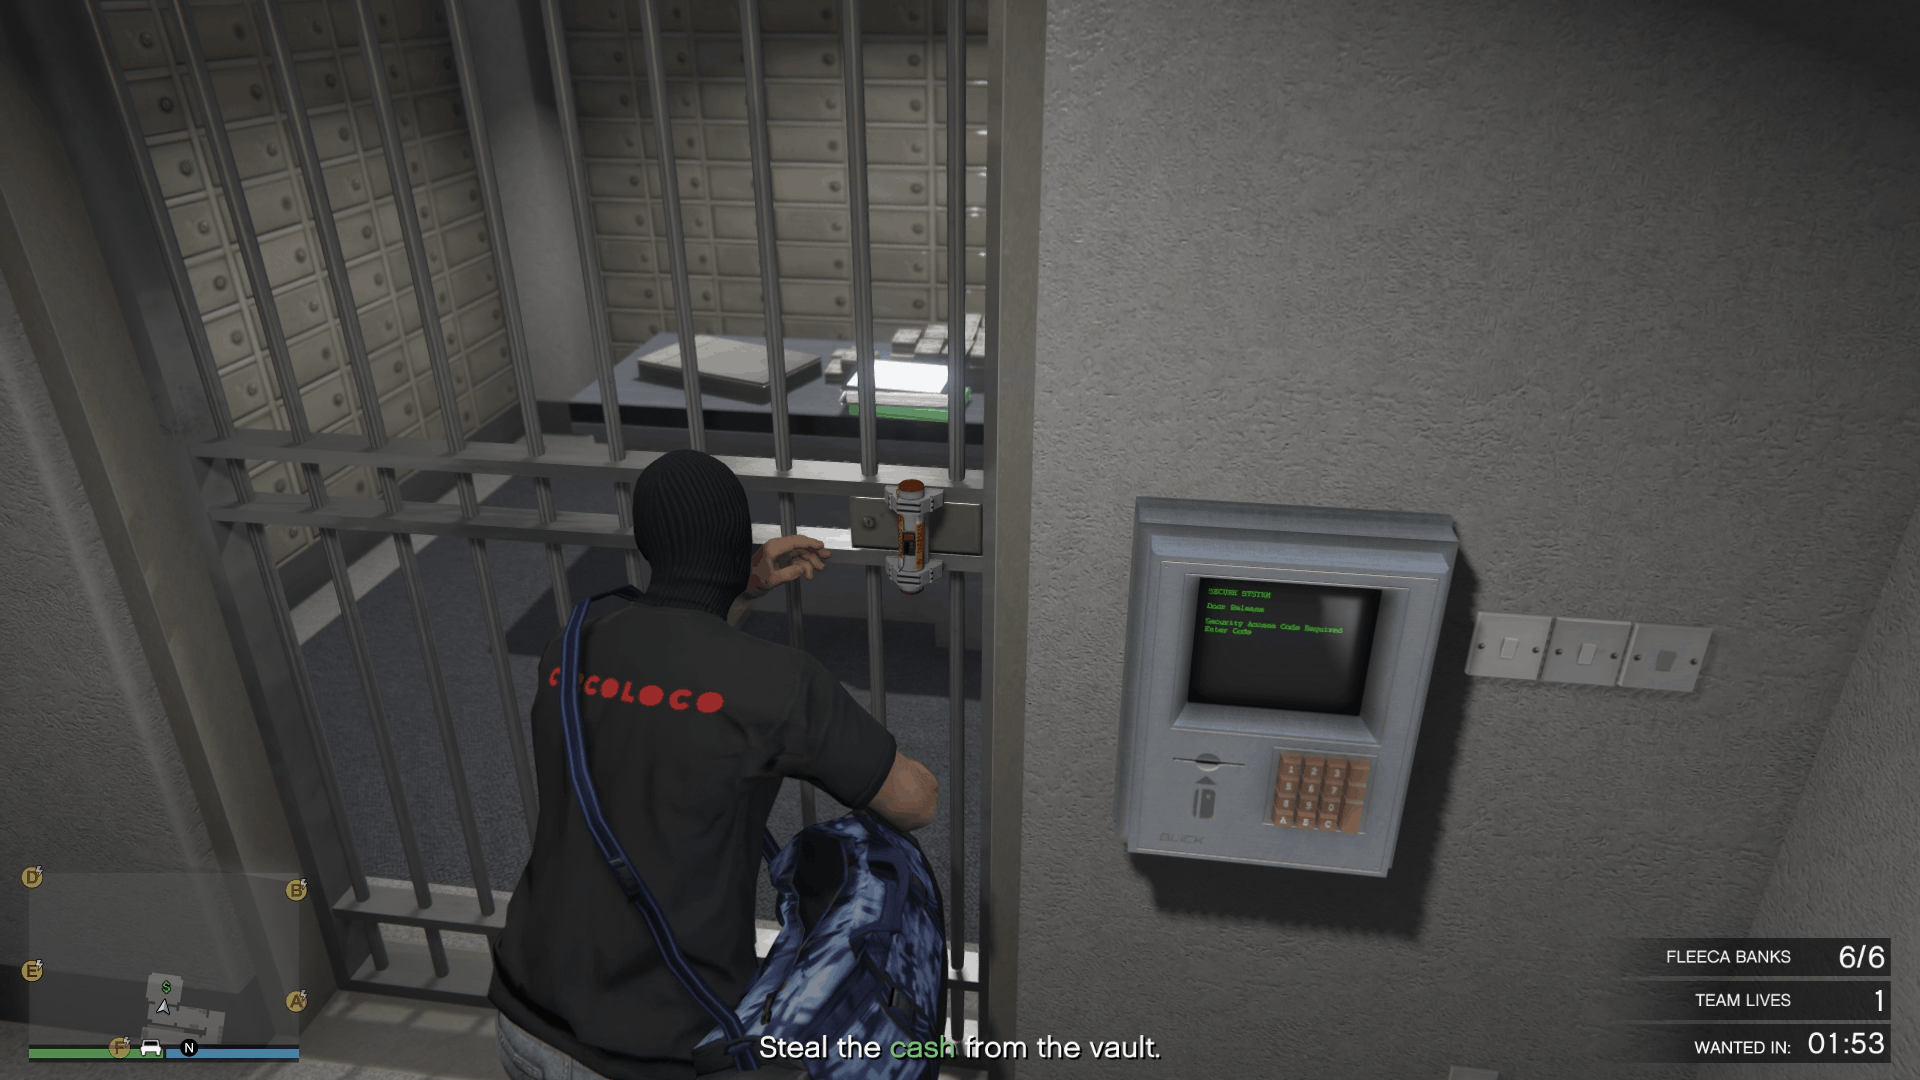
Head inside and you will be able to interact with the cash on the table to pick it up.

Stealing the cash inside the vault

Repeat the same with the other five banks as well, and you should be good to go. When the cops arrive, take your time with them. Do not rush outside the bank with several cops waiting to open fire on you, resulting in instant death.

Use the bank glass door as a cover since it is bulletproof. Shoot the door to open it and fire at the cops outside. When you're happy with the number of cops outside and see an opening, quickly run outside and into your vehicle. Then, drive off to the next bank.

Using the bank door as cover while shooting back at the cops

Speaking of vehicles, make sure you always park the car right outside the bank entrance with the driver's seat facing the bank. This will help you quickly get into your car and drive away amidst all the chaos.
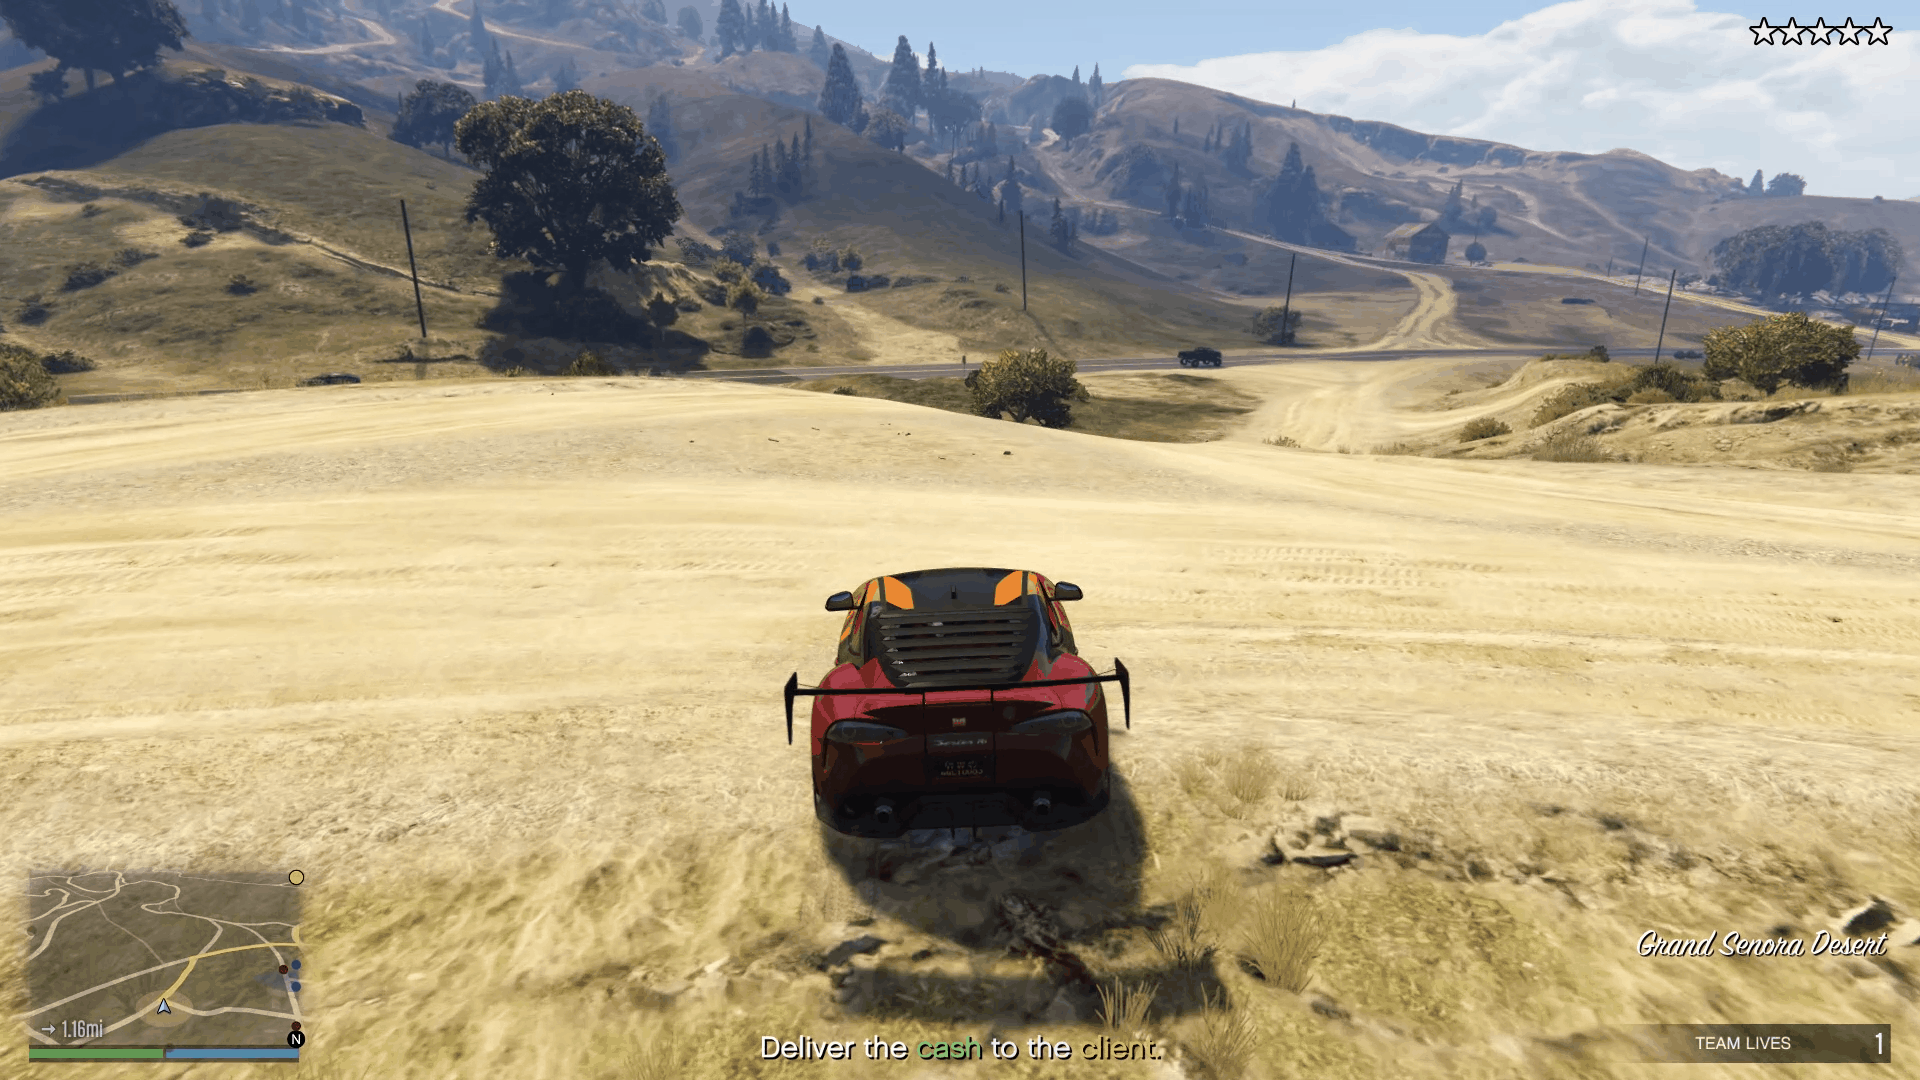
Parking the car with the driver's seat facing the bank's entrance

As stated earlier, repeat the same with all the banks except for one important thing. You need to hit bank 'F' in Grand Senora Desert last as it can help us lose the cops because of the route we take.

After robbing bank 'F,' go west and keep driving until you pass the 'Misfortune' sign on your right.

'Misfortune' sign on Route 68

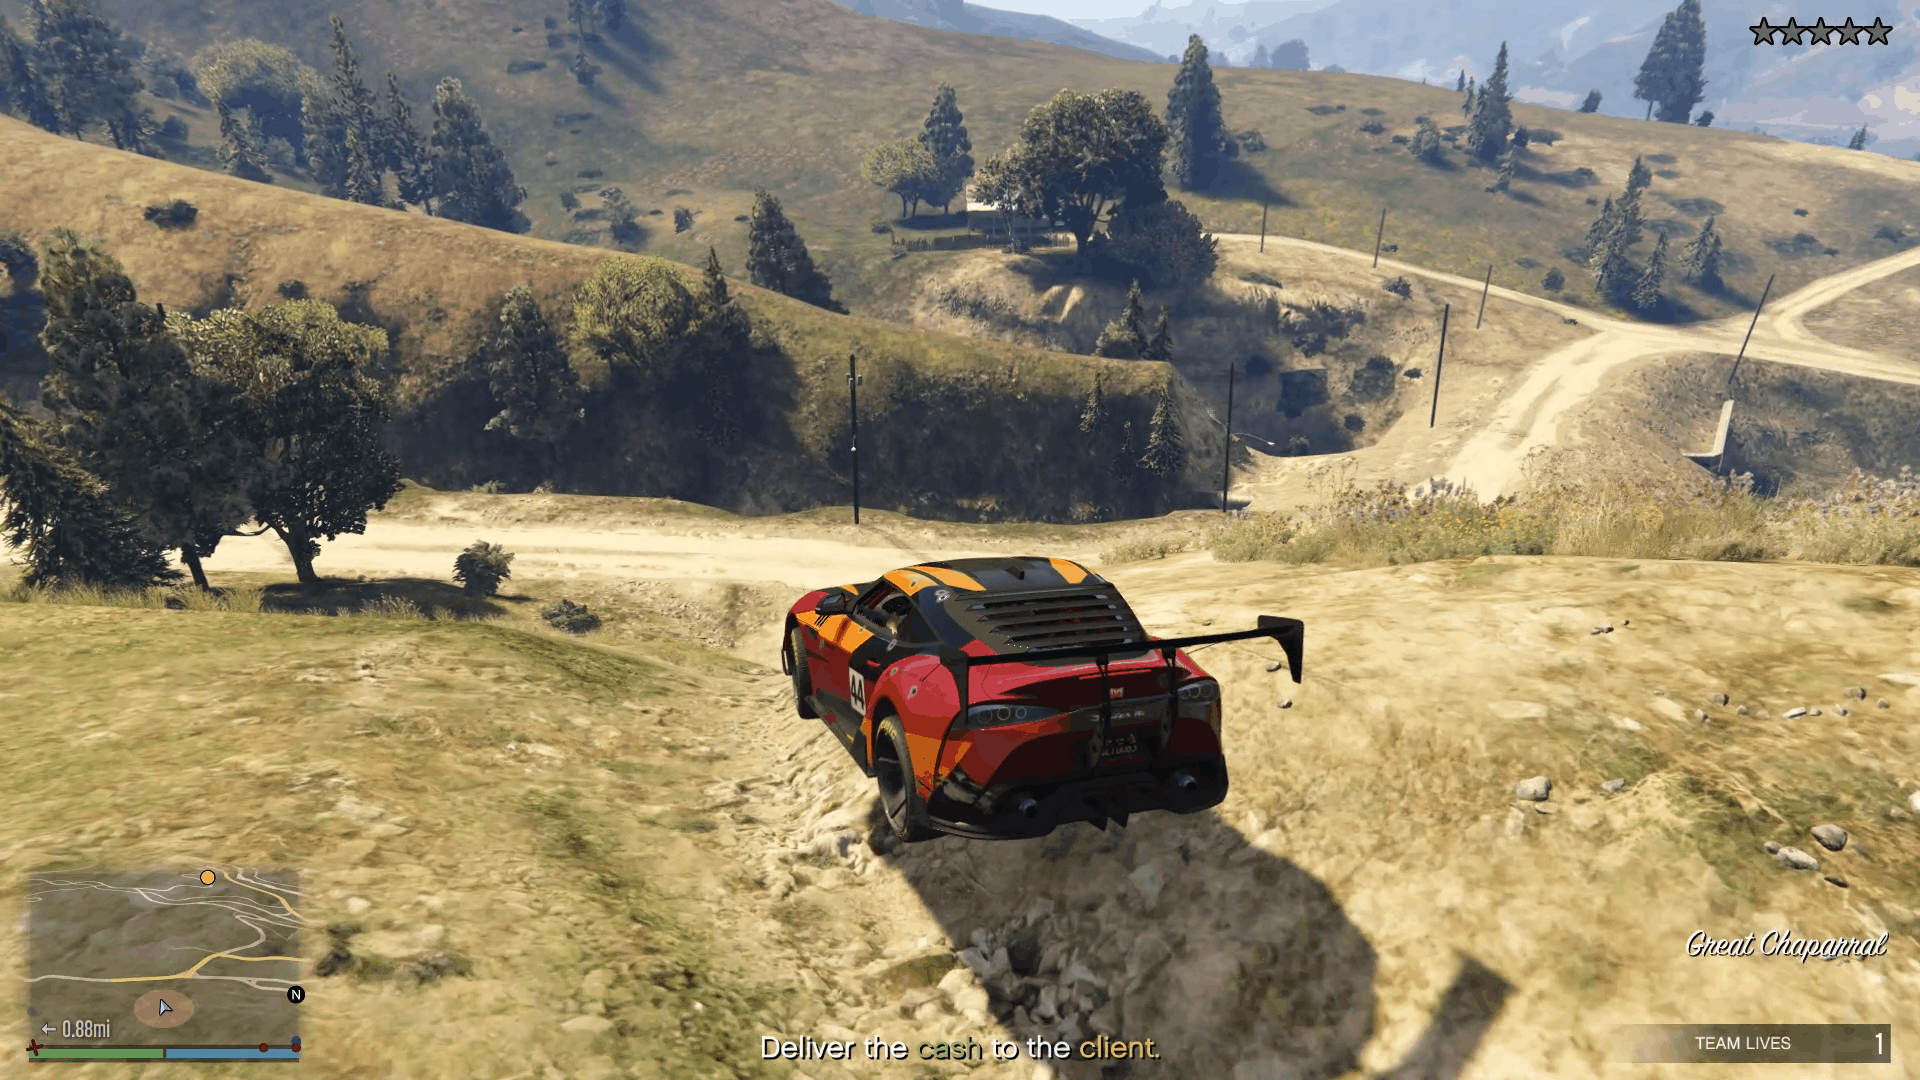
As soon as you pass the sign, turn left onto the dirt road and keep driving towards the client indicated by a yellow marker through this off-road route.

Going off-road right after passing the 'misfortune' sign

You will eventually lose the cops if you stay off-road and continue driving towards the client through these mountains and dirt roads. Refer to our video above to understand the route better.

Continuing the off-road path towards the client

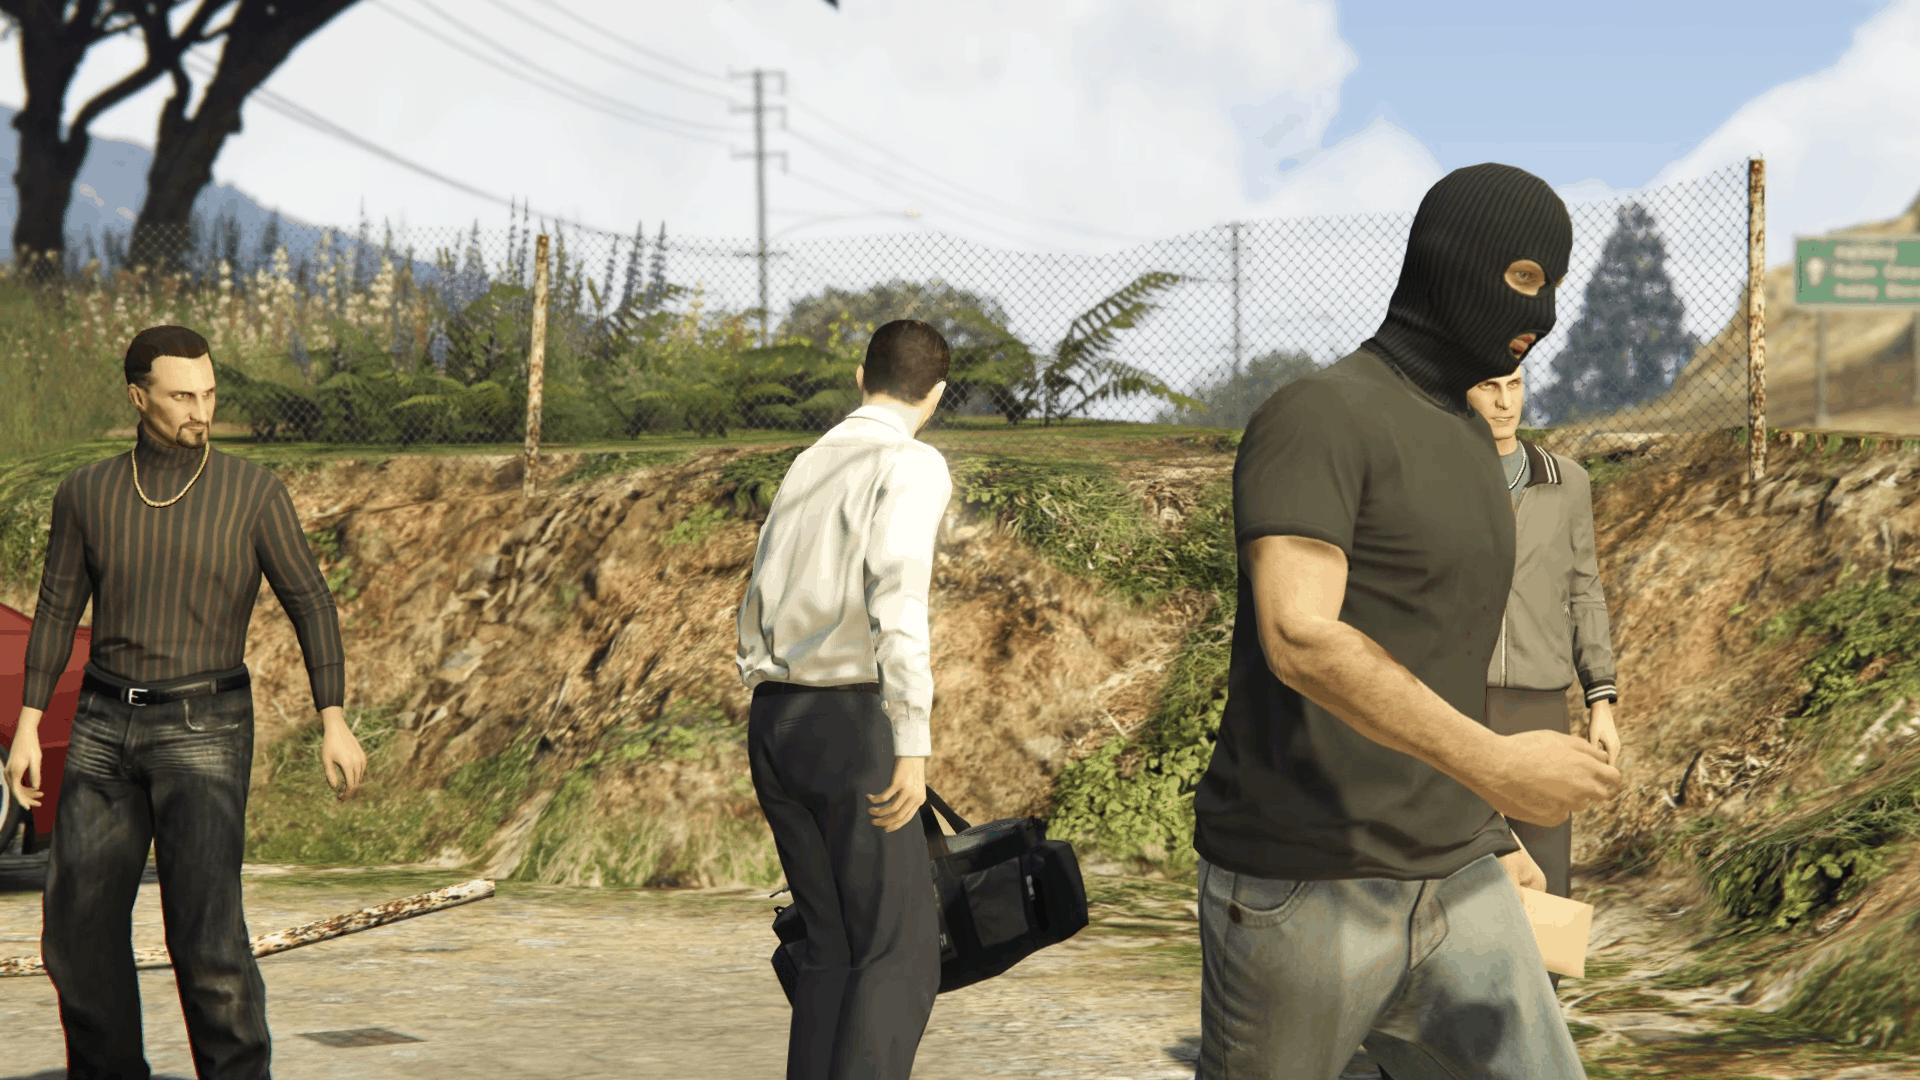
Once you lose the cops, you can drive to the client to deliver the cash and complete this mission.

Reaching the drop-off point
Delivering the cash to the client

Check out our main Los Santos Tuners Contracts hub for more contract missions and dedicated guides on how to complete them.

Topics in this article

Related Stories

More From GTA Guides