Guide

VIP Contract: Data Recovery Guide (Setup Mission)

A step-by-step walkthrough for the Data Recovery setup mission in Dr. Dre's VIP Contract storyline, involving an FIB building infiltration.

This is our walkthrough for Data Recovery, which is an important VIP setup mission for Dr. Dre's VIP Contracts in GTA Online's The Contract DLC. This mission involves infiltrating the FIB building to retrieve a hard drive essential for tracking down Dr. Dre's stolen phone.

After completing the On Course contract mission, you can start doing the setup mission for Dr. Dre's VIP Contract Missions. TO kick this new series of missions off you will get a call from Franklin.

Google preferred source badge

Get GTA BOOM in your News Feed!

Star GTA BOOM as a preferred source so our GTA coverage appears more often in Top stories and your sources.

Data-Recovery-1.png

Once the call ends, return to your Agency, and a cutscene will play.

Return to your office after the cutscene ends and access the computer to start the setup mission.
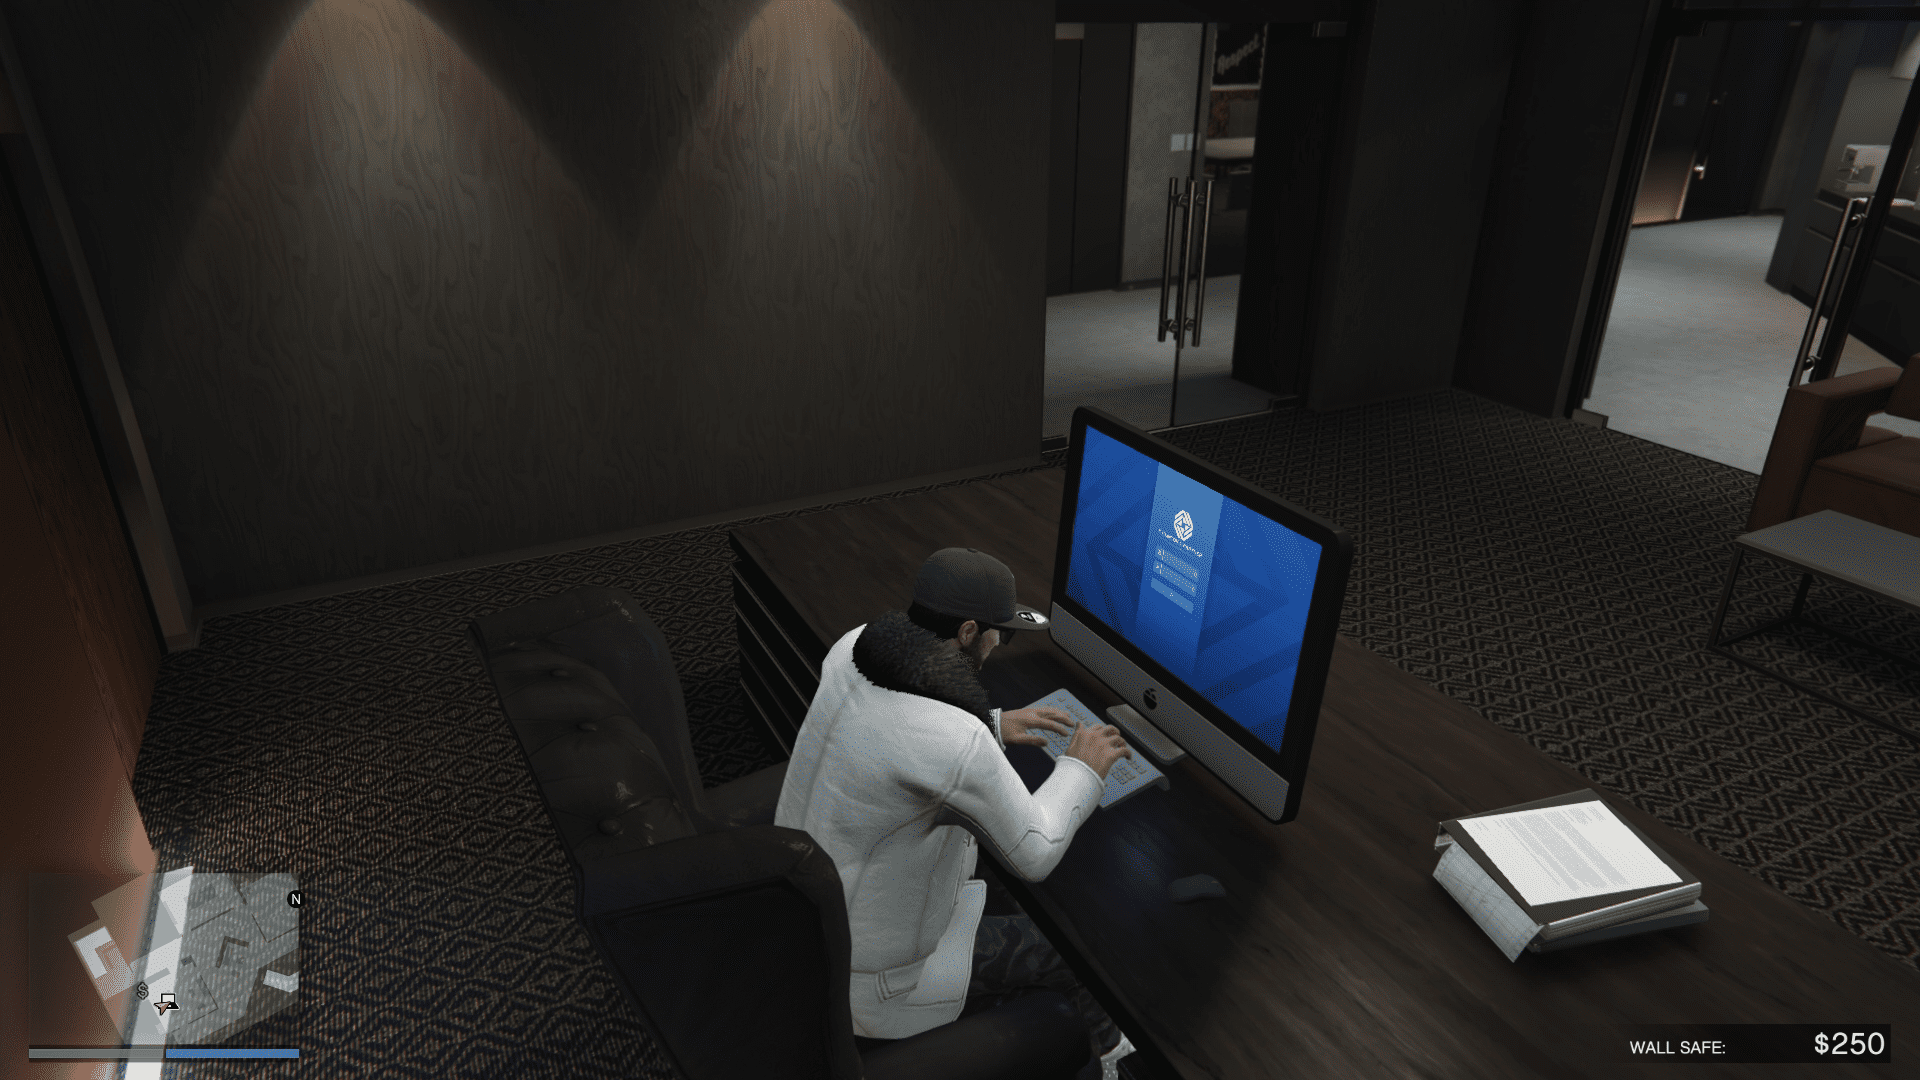
Data-Recovery-3.png
Data-Recovery-4.png

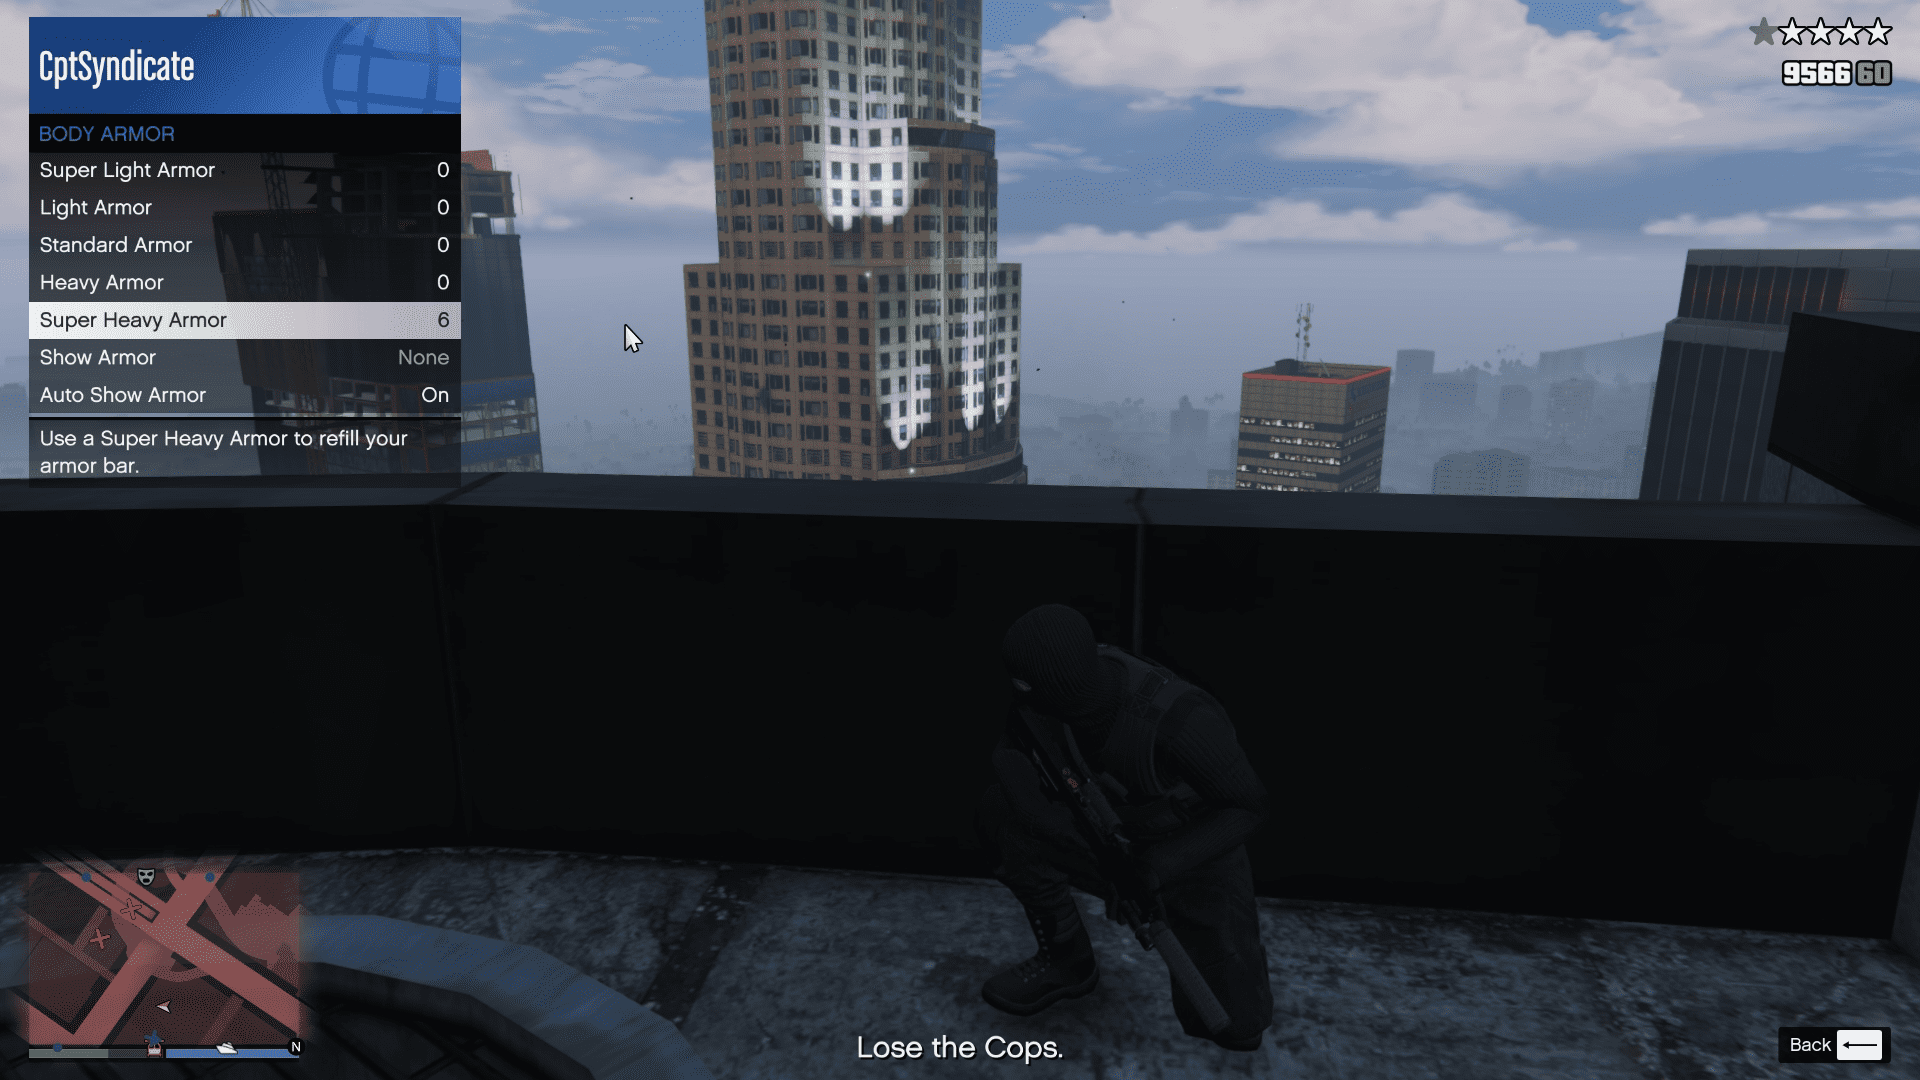
Before you start the mission, buy armor and snacks. Like all the missions in this DLC, many gunfights revolve around this mission.

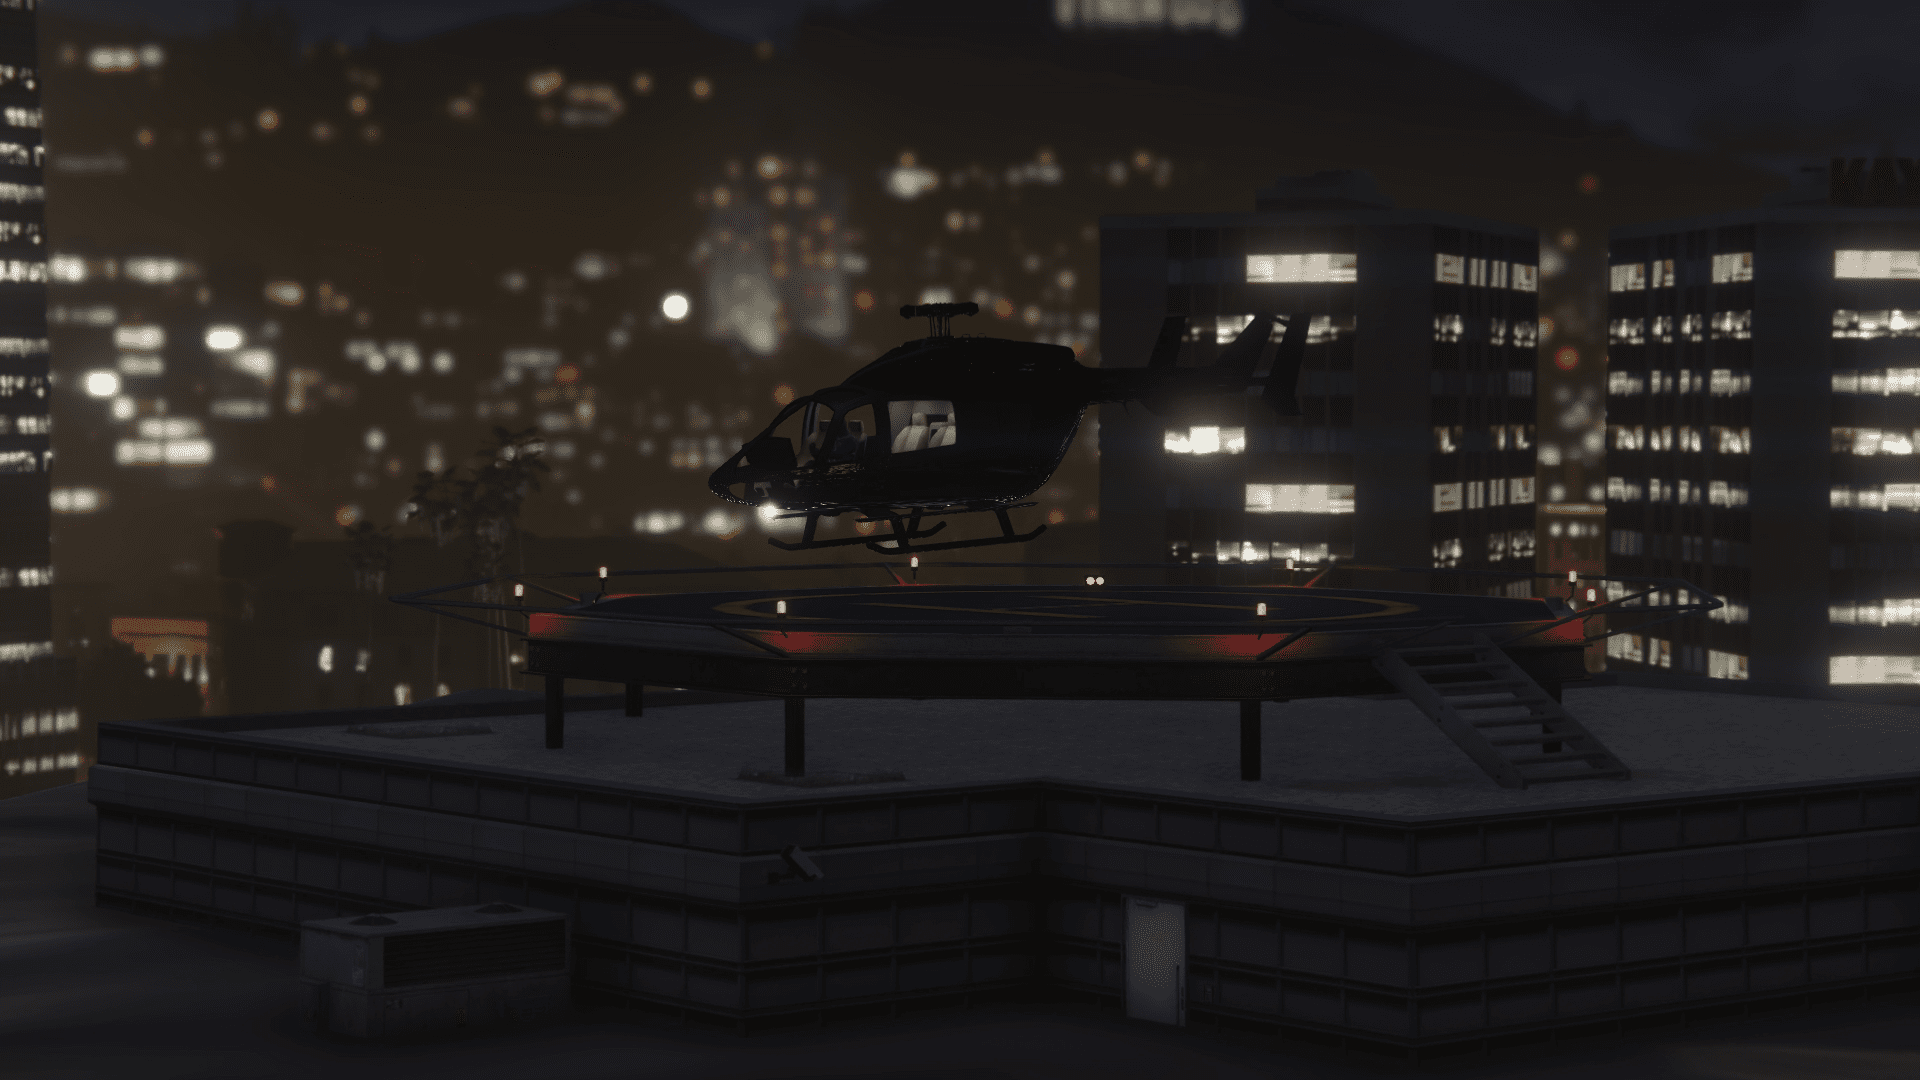
You will automatically exit the Agency via your agency helicopter when you start this mission.

Data-Recovery-5.png

Make your way to the FIB building as indicated and land on top of the building.

Data-Recovery-6.png
Data-Recovery-7.png

Use your infiltration gear to break open the skylight and enter the building.

Data-Recovery-8.png
Data-Recovery-9.png

Once you're in, go to the eastern corner of the building. To make it easier, it will be the communications room at the far left corner of the building when you drop in.

Data-Recovery-10.png
Data-Recovery-11.png

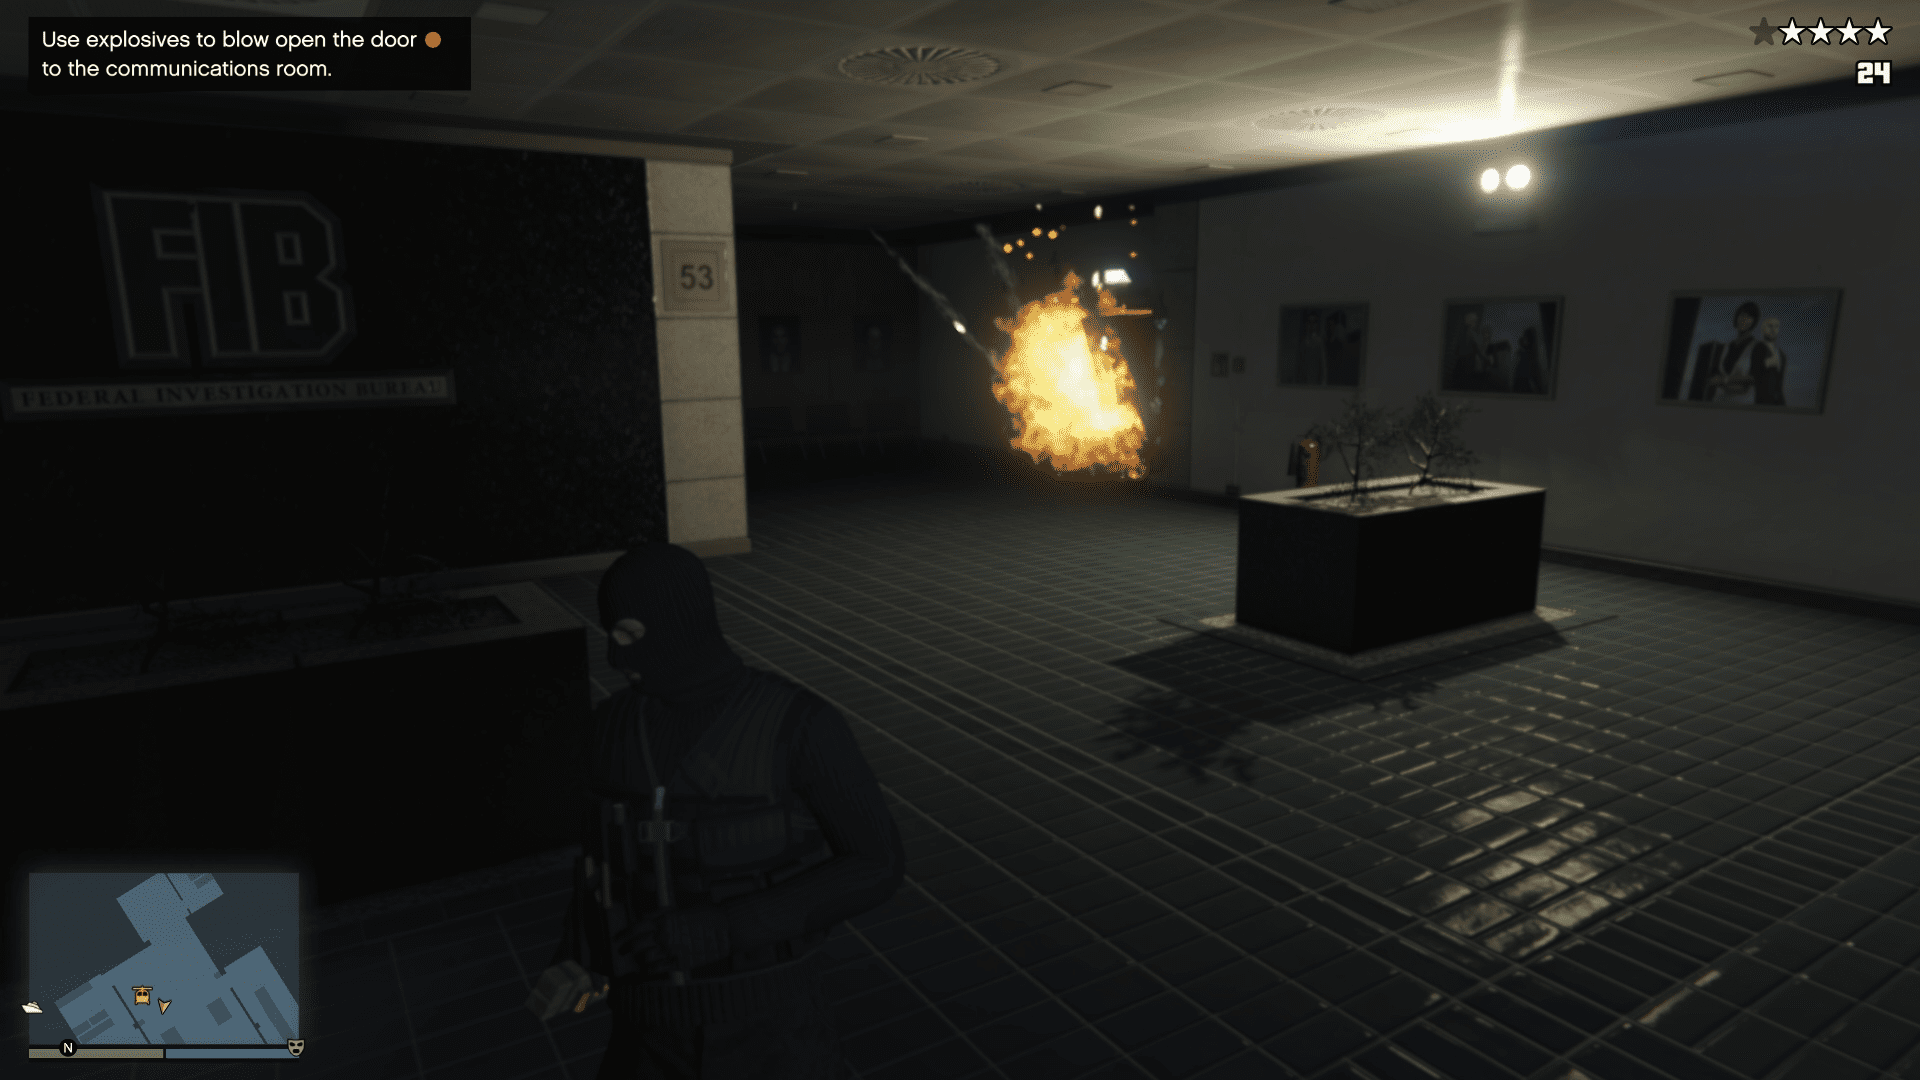
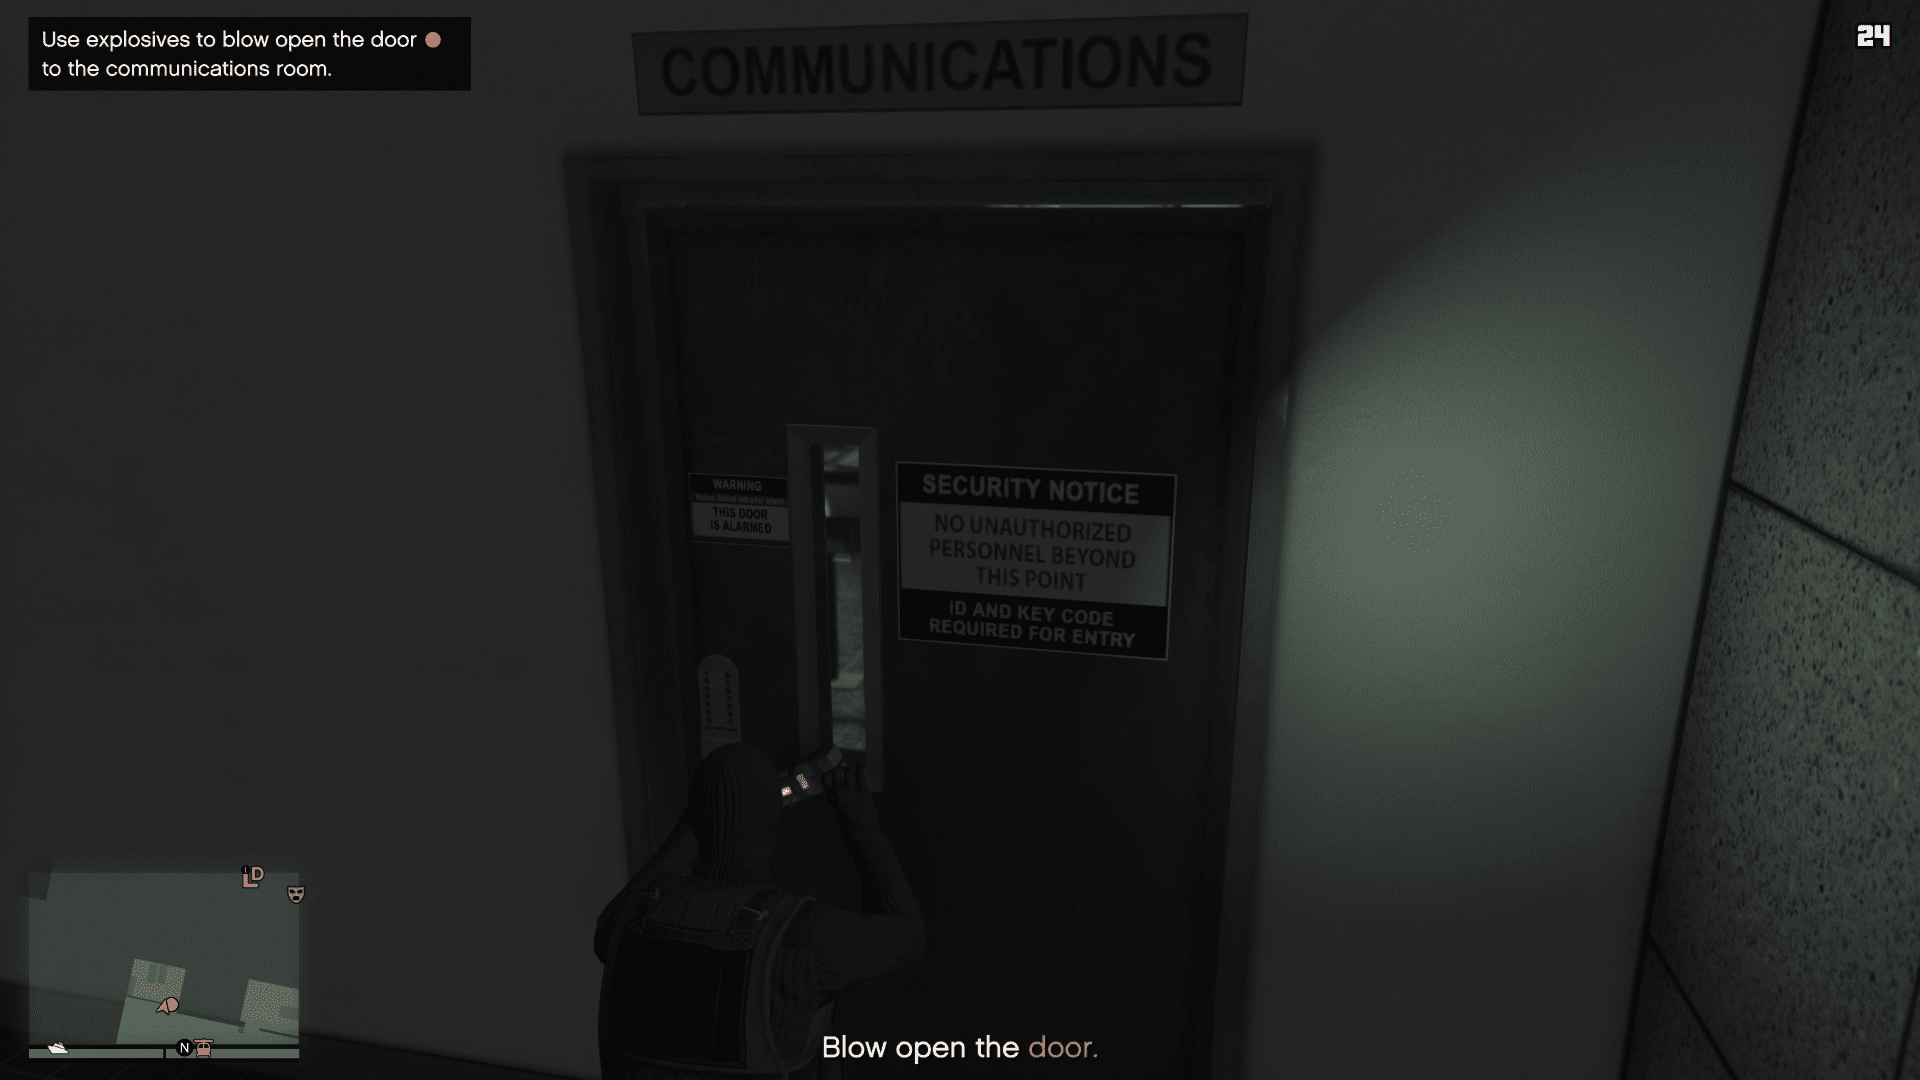
After locating the room, you need to use explosives to break open the door. You can use sticky bombs to blast through the door. Either throw the sticky bomb at the door or stand close enough to plant it.

Data-Recovery-12.png

After planting the bomb, stand clear of the explosion radius and detonate the bomb.

Data-Recovery-13.png

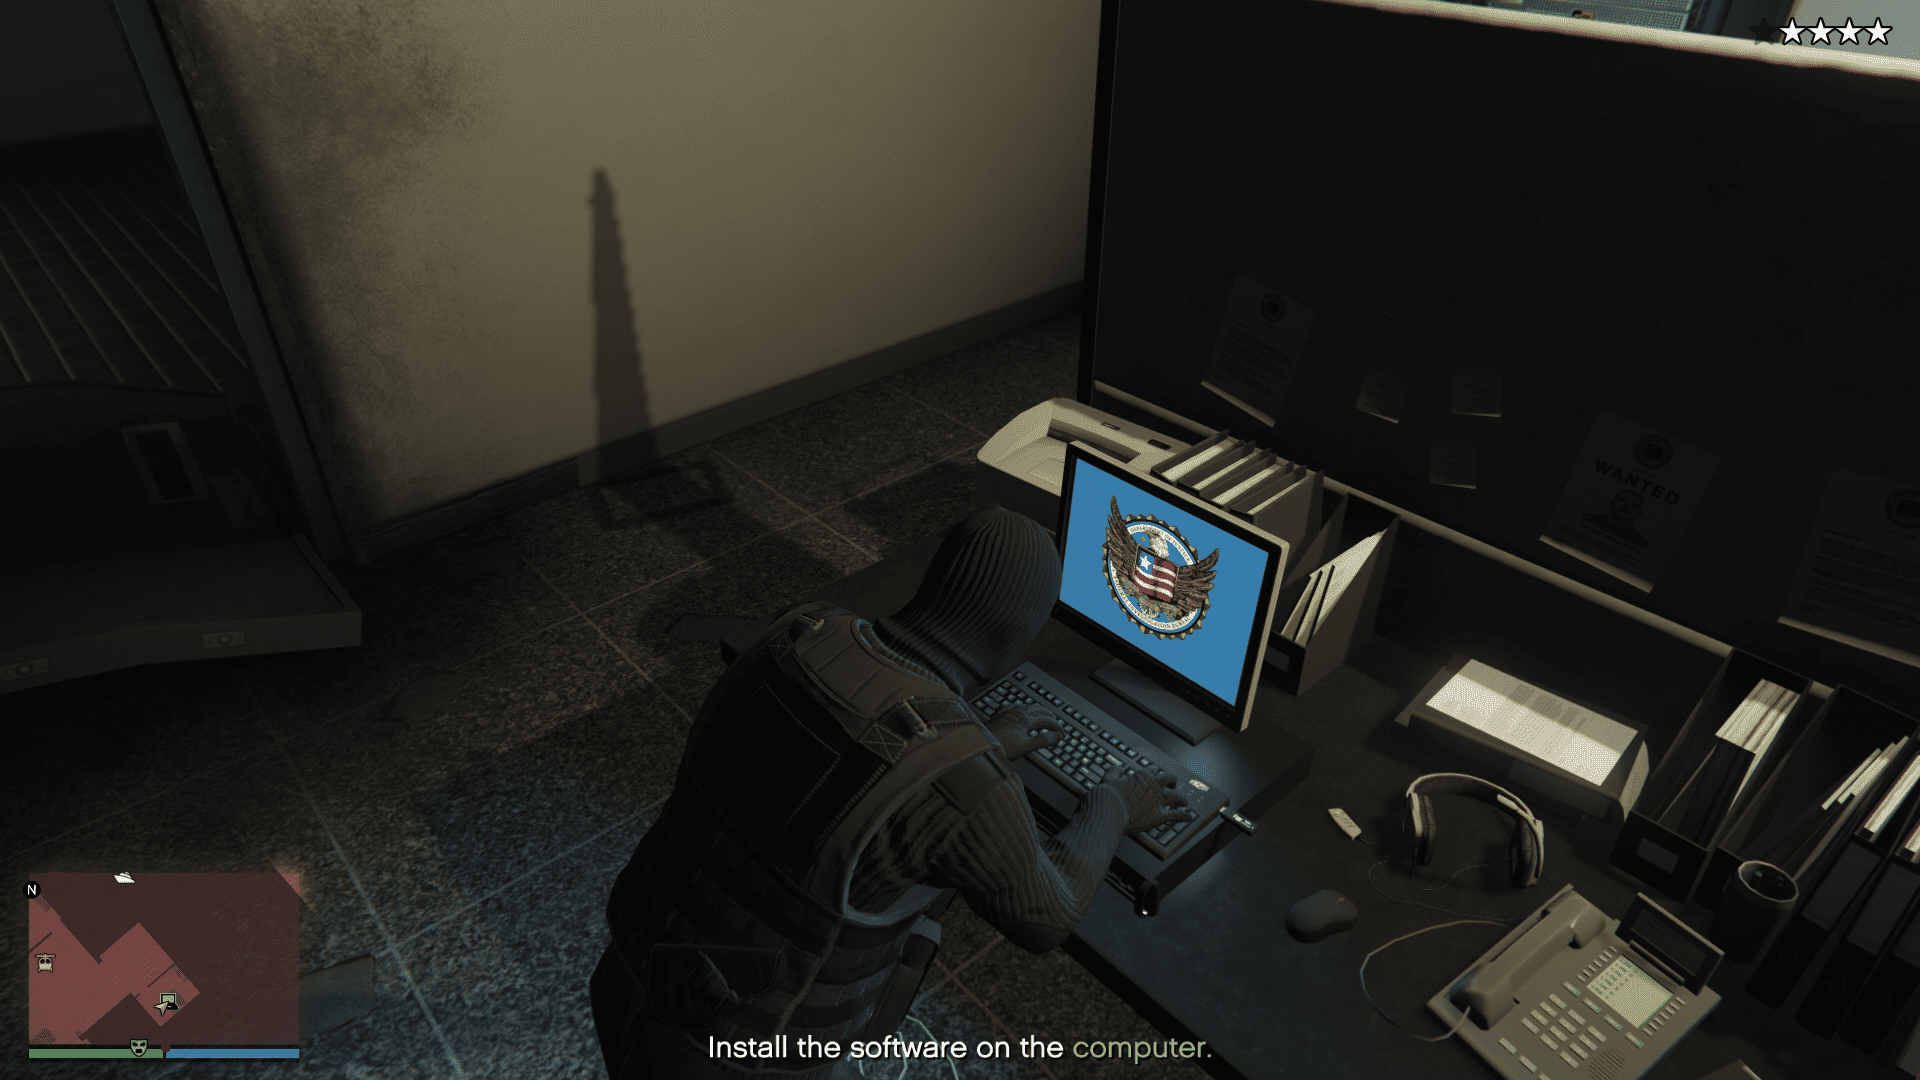
Go inside the room and install the software on the computer. Interact with the computer to insert the USB stick.

Data-Recovery-14.png

You need to fend off the FIB agents while the software installs on the computer. You can keep track of the progress by looking at the progress bar at the bottom-right corner of the screen.

Data-Recovery-15.png

The best way to do this is to take cover by the wall just at the entrance to the communications room. You can take out all the agents from here, and there are no blindspots here.

Data-Recovery-16.png

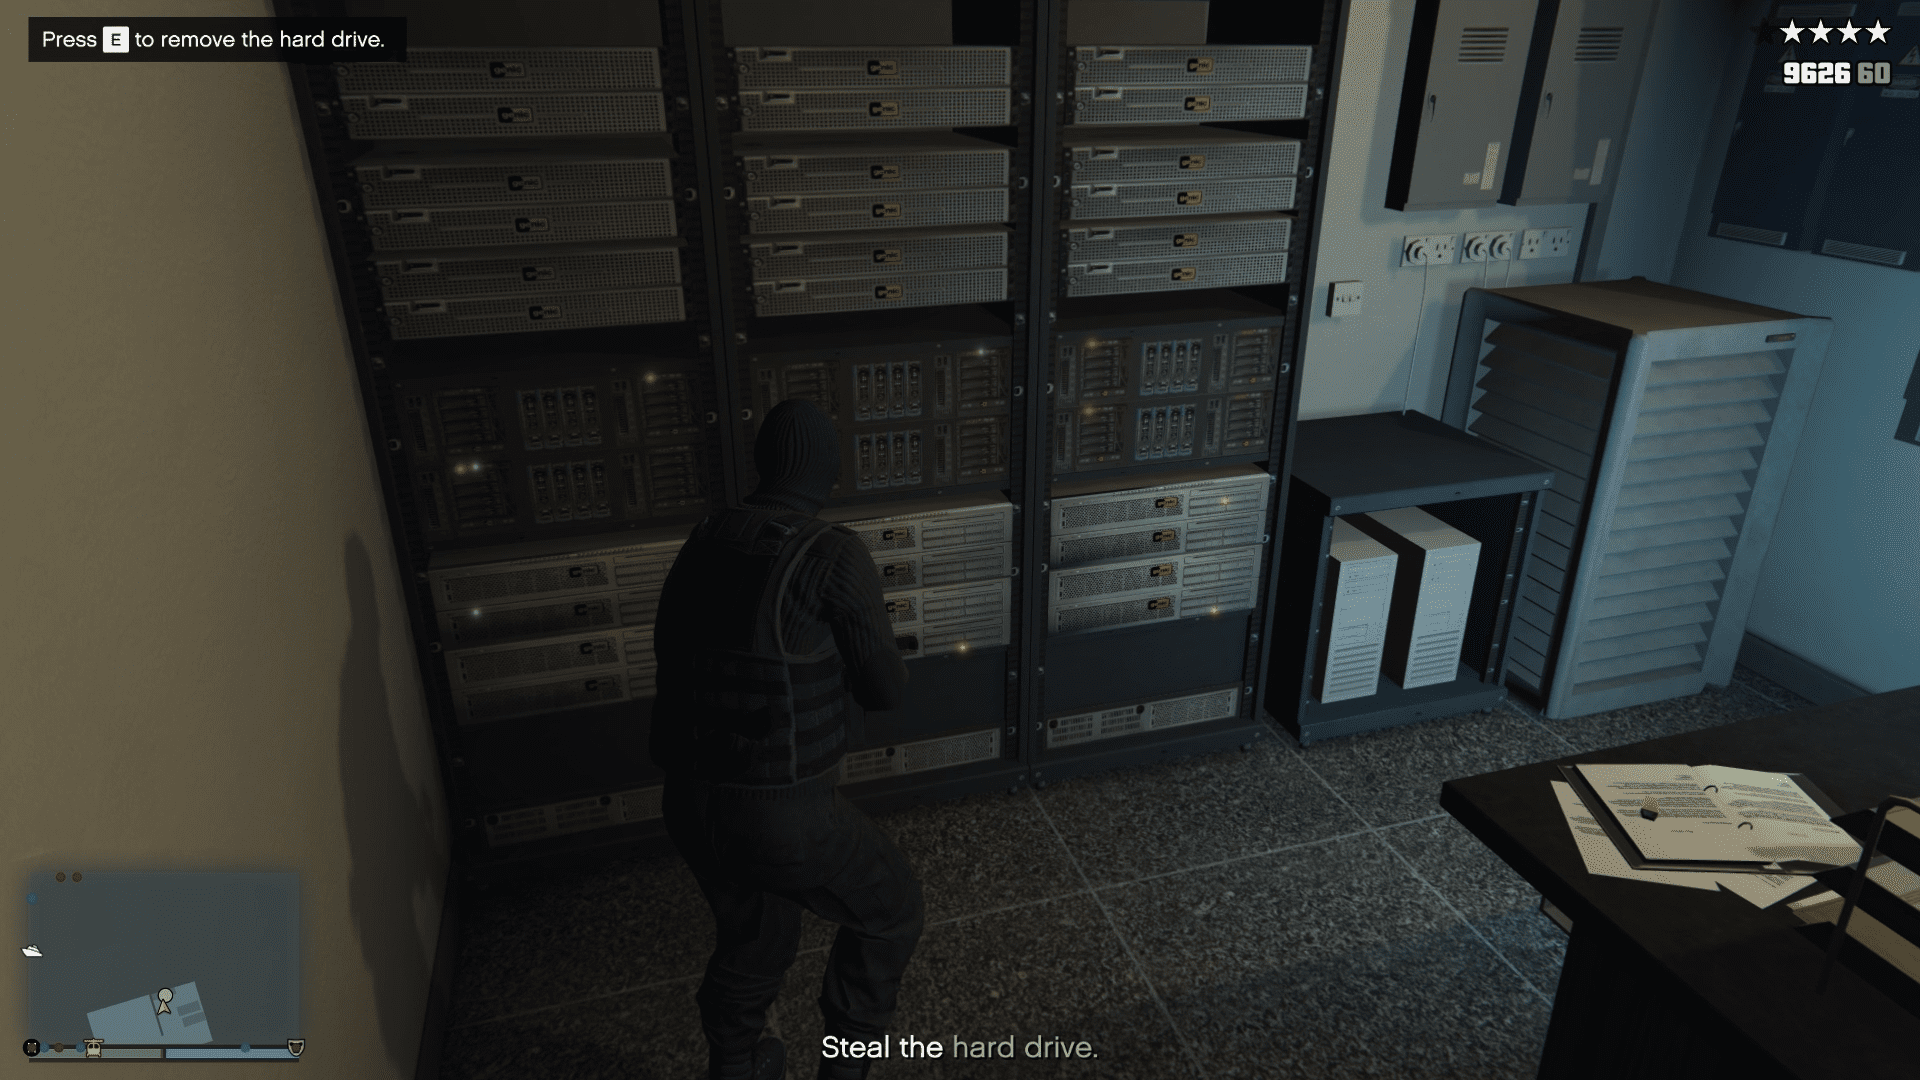
Once the software installation completes, head back inside the room and steal the hard drive.

Data-Recovery-17.png
Data-Recovery-18.png

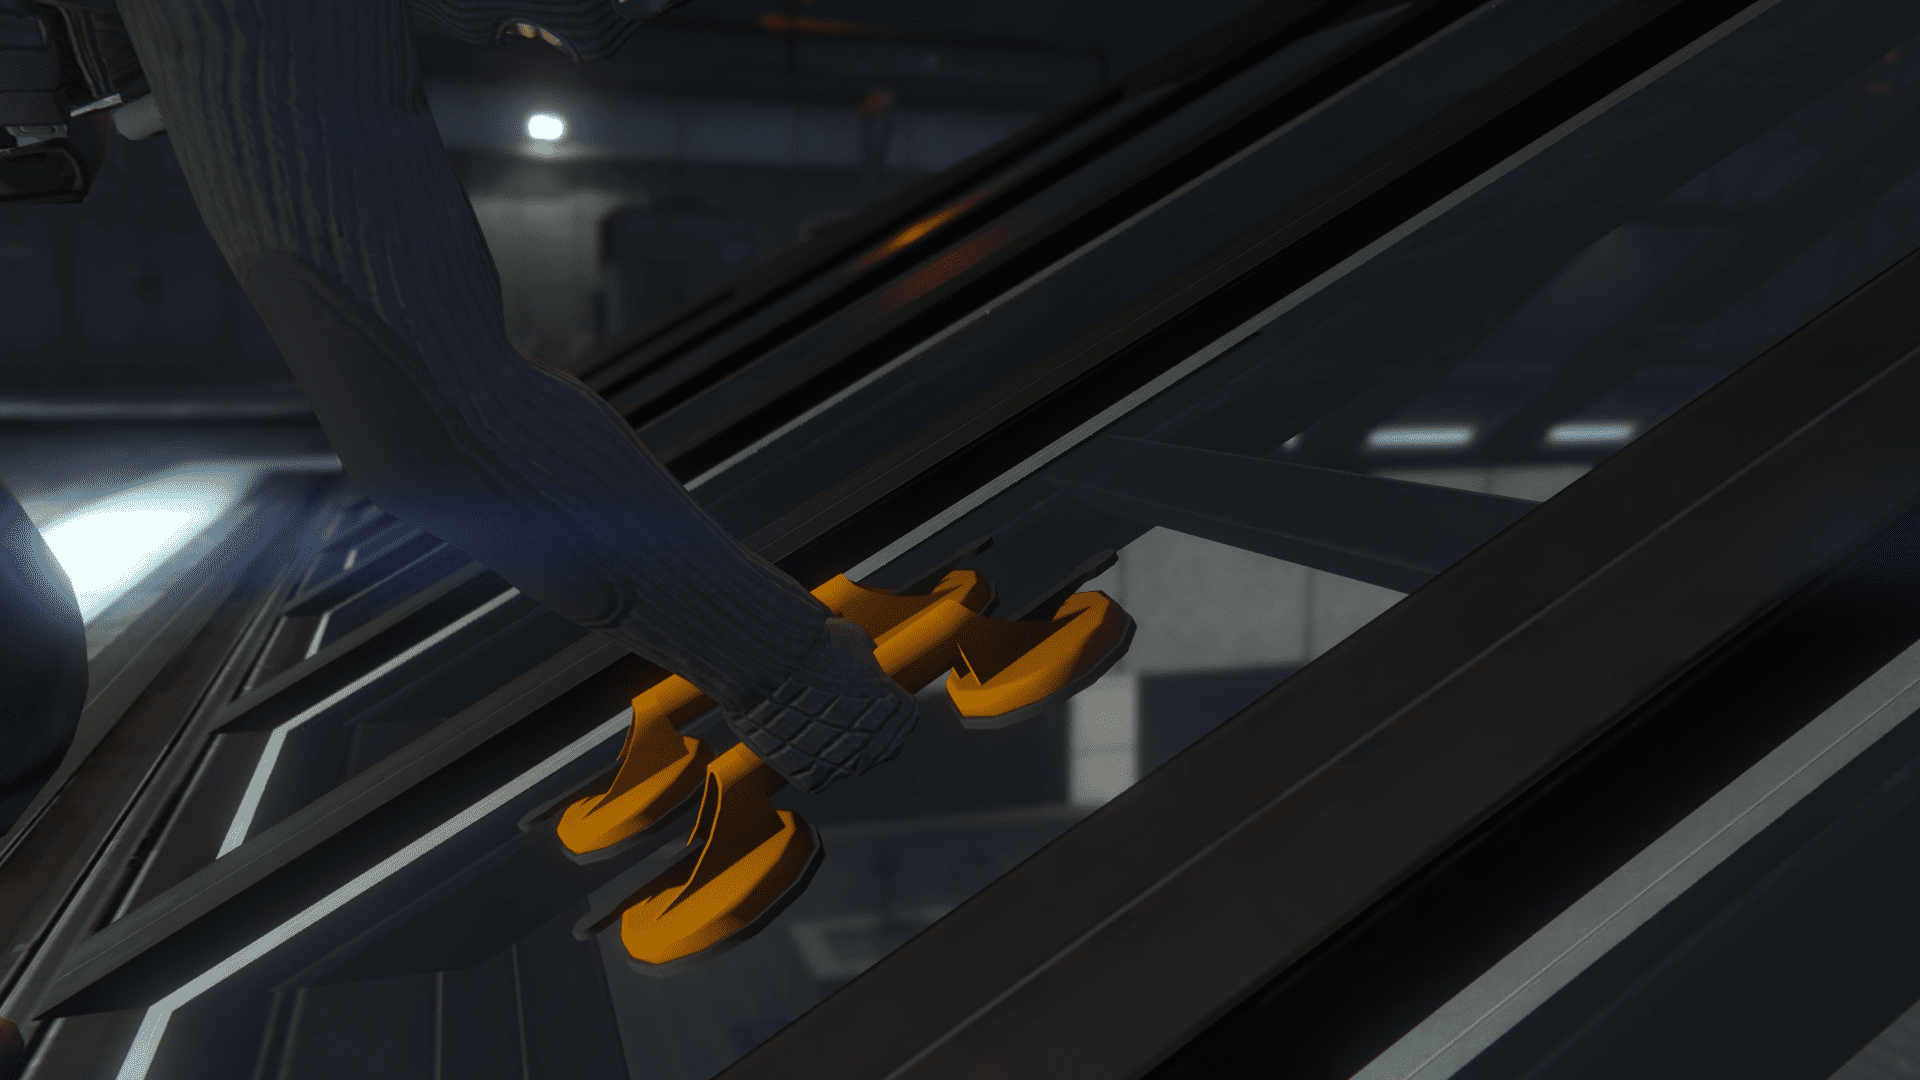
Now you must make your way to the roof to escape. To do that, run to the other end of the building first. Make sure to take cover and clear the incoming agents before moving forward.

Data-Recovery-19.png

When you see a clearing, go to the yellow marker on the other side of the building by the door that takes you directly to the roof-side balcony.

Data-Recovery-20.png

There will be multiple attack helicopters outside. Take them out as you move towards the top roof. If you have a homing launcher, it will be easy to take them out. If you don't have a homing launcher, you can always use the classic mini-gun, which is just as effective.

Data-Recovery-21.png

Always get in cover, heal up, and then proceed.

Data-Recovery-22.png

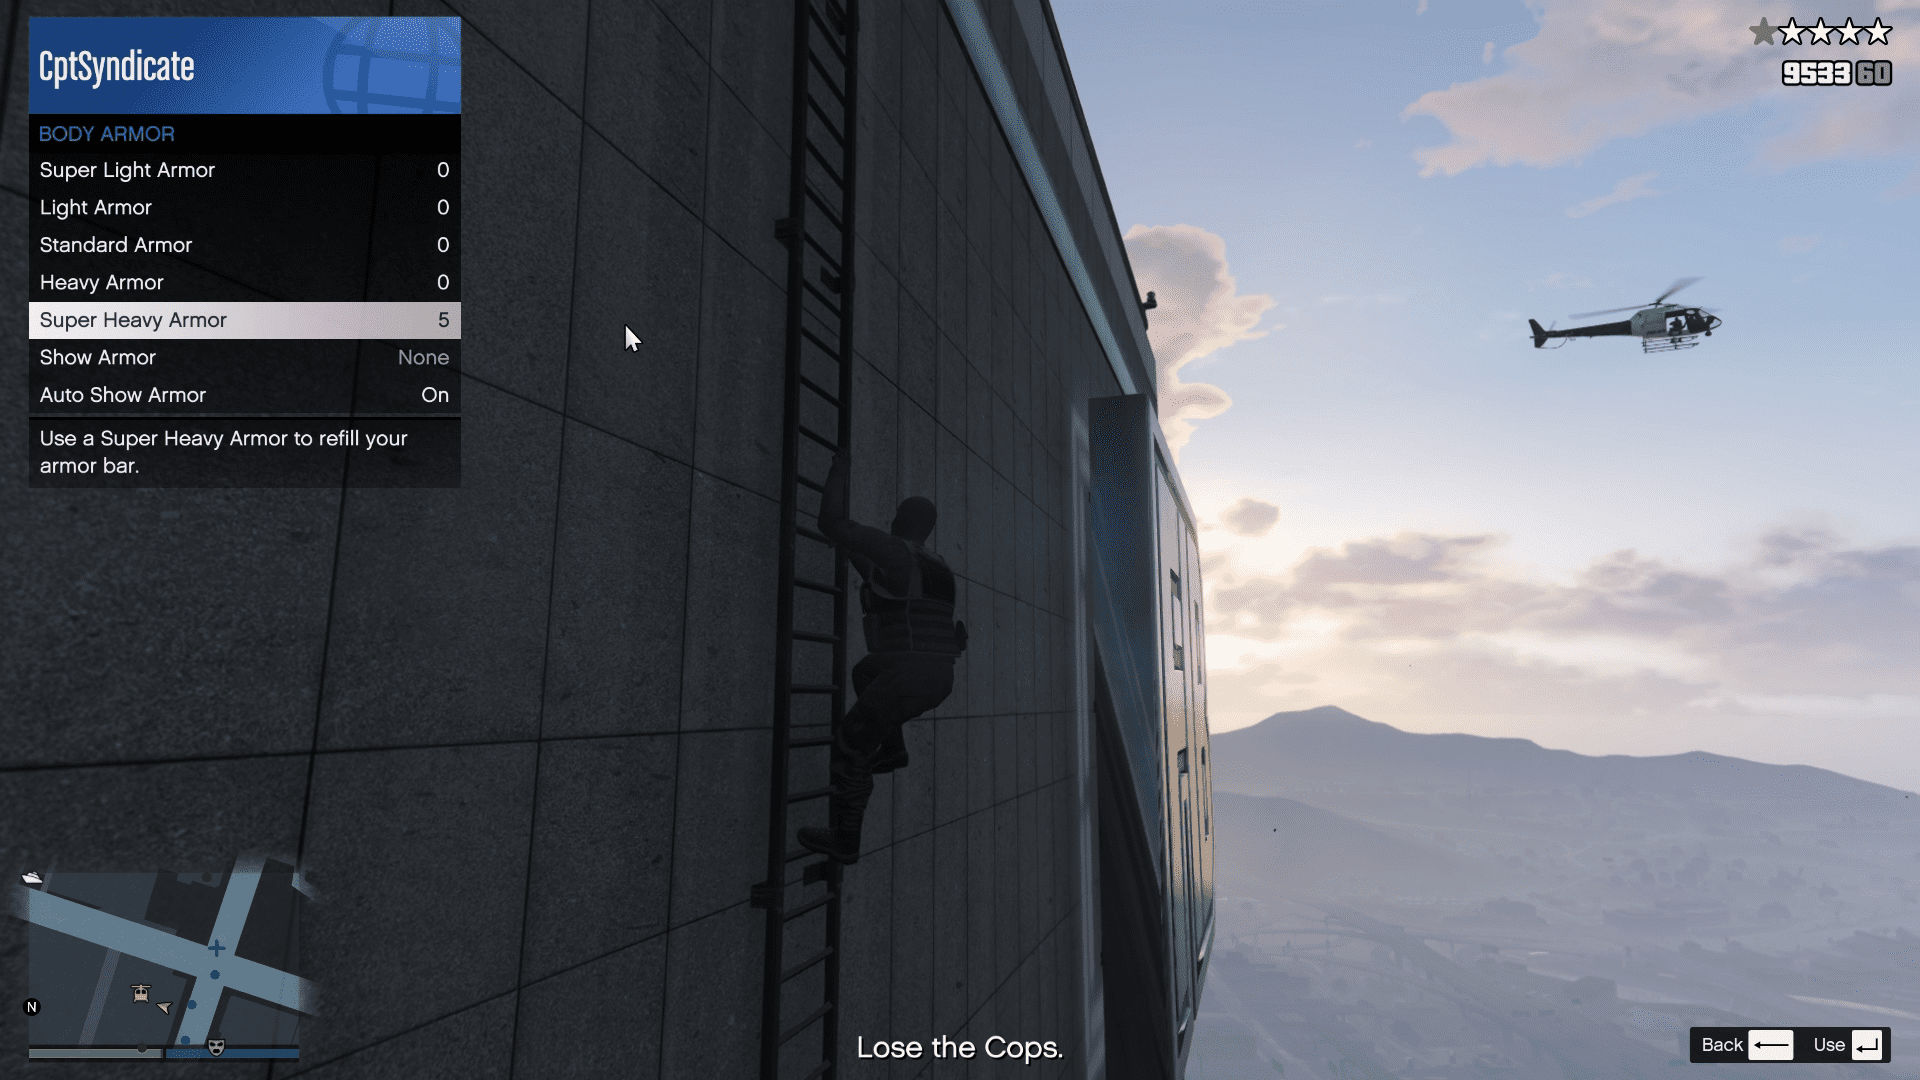
As you move forward, more armored NOOSE members will come your way in hopes of stopping you. You can shoot them down from the ladder and move up.

Data-Recovery-23.png

A tip here is to have your armor or snacks menu open when climbing the ladder, in case you get shot by the incoming helicopters.

Data-Recovery-24.png

Once you're back on top, get into your helicopter, fly away and lose the cops.

Data-Recovery-25.png

Once you've lost the cops, deliver the hard drive to the agency to complete this mission.

Data-Recovery-26.png
Data-Recovery-27.png

With the hard drive secured, you're ready to start tracking down the leaks. The first one is the Nightlife Leak.

Topics in this article

Related Stories

More From GTA Guides