Guide

The Gangbanger Robbery: All Preparatory Tasks Guide

A complete guide to all mandatory and optional preparatory tasks for The Gangbanger Robbery, including securing your getaway vehicle, weapon stash, stun guns, and masks.

Details on all the preparatory tasks required for The Gangbanger Robbery in GTA Online's The Chop Shop DLC. The tasks include securing a getaway vehicle, stashing weapons and stun guns, and optionally acquiring masks. Completing the tasks is essential before moving on to the main Planning Work.

Tasks are mandatory preparatory missions that you must complete in order for your robbery to go through. You also get some optional tasks, but you can skip those if you're not interested in them, as they have little to no effect on your robbery.

The tasks are found on the map in your free roam lobby. A green duffle bag indicates them.

You can complete them in any order.

You will see a green highlighted circle when you get to the task location.

Google preferred source badge

Get GTA BOOM in your News Feed!

Star GTA BOOM as a preferred source so our GTA coverage appears more often in Top stories and your sources.

Walk up to the circle and interact with it to call Jamal to start the task.

Task 1: Getaway Vehicle

Once you've carried out the jailbreak, which is the first part of the robbery during the finale, you need a getaway vehicle to escape the cops and deliver King Tiny to Los Santos International Airport.

Although we have a trick where you won't even use this vehicle, it is a mandatory mission and must be completed to proceed with the robbery. We will get to the trick later. It is optional, but it will make your life much easier.

For the getaway vehicle, when you start the mission, you will be asked to break into a garage and steal the vehicle.
Breaking into the garage.

When you're inside the garage, eliminate all the enemies. Take cover by the boxes or the toolbox and start shooting.

Eliminating all the gang members inside the garage.

Once you've taken them all out, you can choose the vehicle you'd like as your getaway vehicle. There are multiple options to choose from, and it doesn't really matter which vehicle you choose.

As stated before, choosing a vehicle for us is not an issue as we won't use it during the jailbreak. However, we selected the Annis 300R sports car.

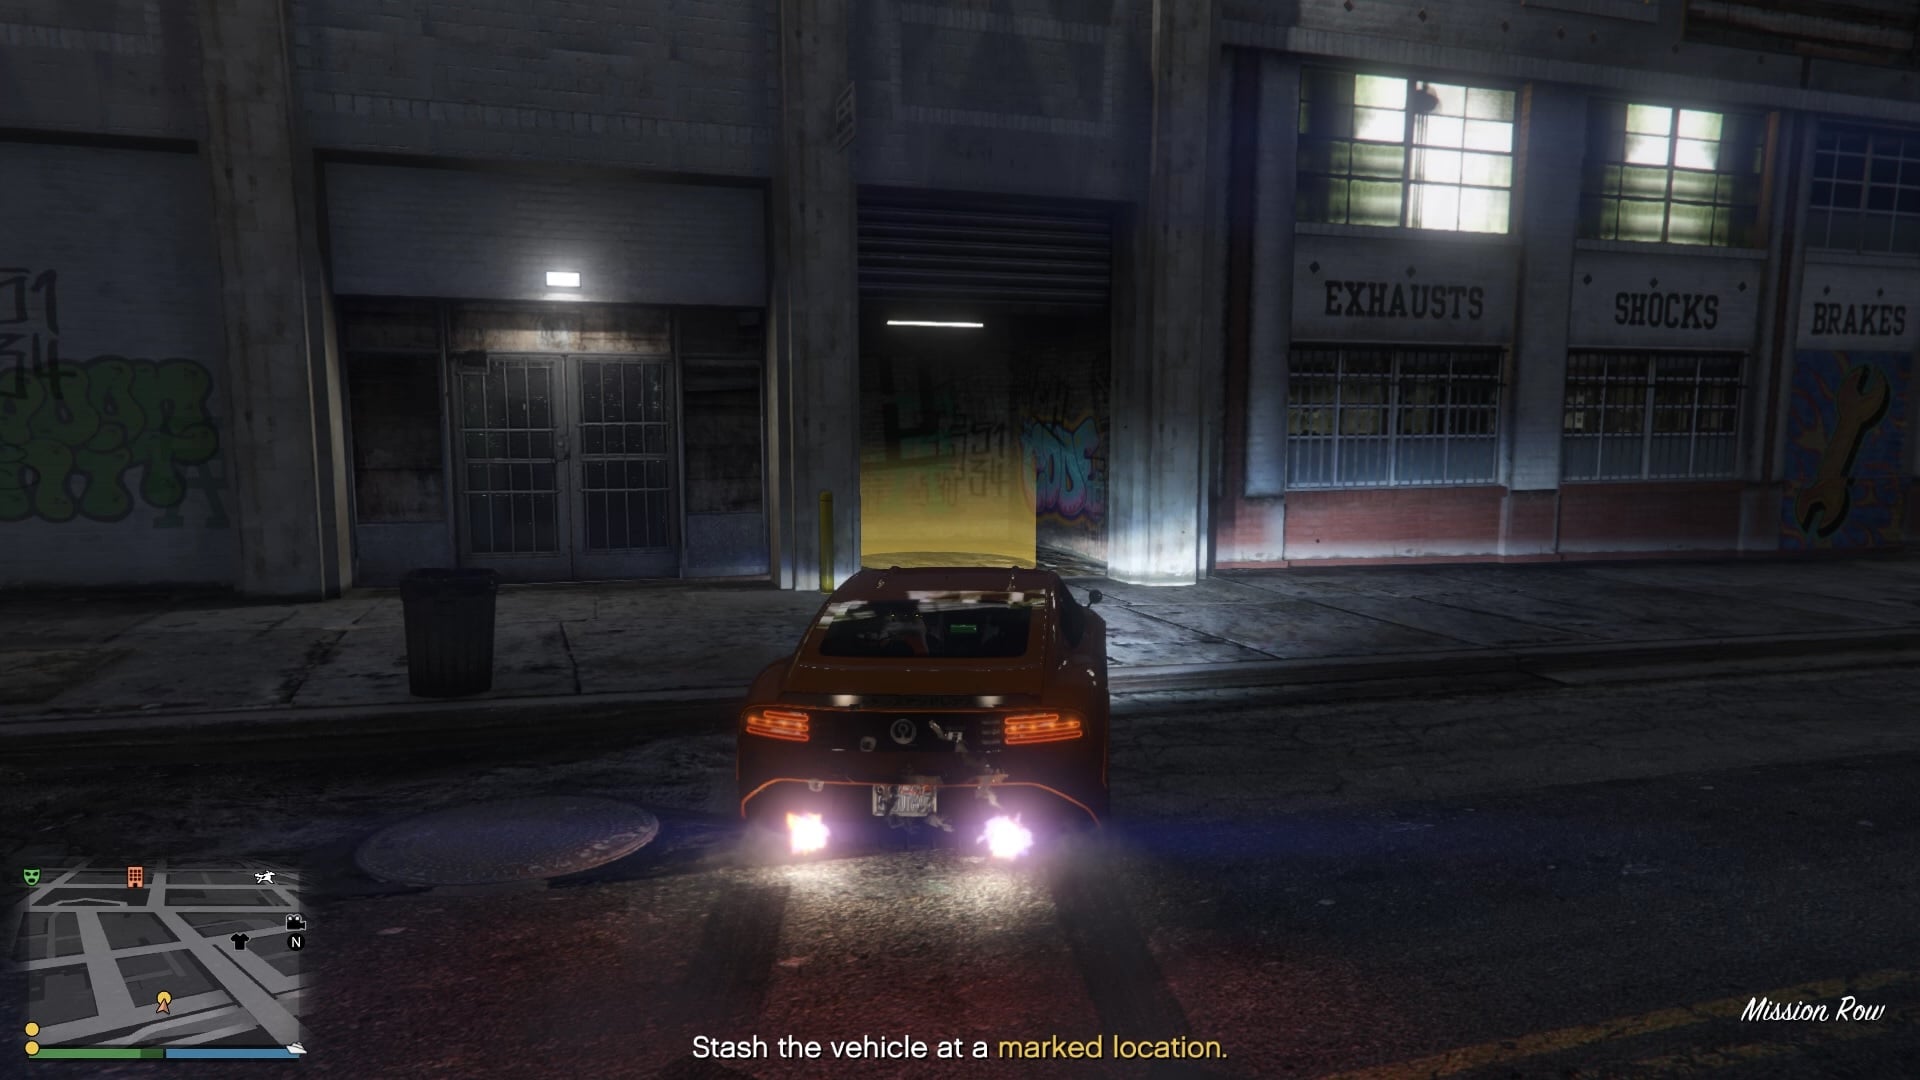
When you're in your getaway vehicle, exit the garage and drive it to one of the three marked locations on the map.

You will find some enemies trying to chase you. You can ignore them as long as you focus on driving to one of the three marked locations.

You can choose any of the locations as all of them are near the station.

However, this spot is the best as it is directly next to the rear exit, where you will come out during the jailbreak.

Ultimately, if you want to use this vehicle as a getaway vehicle, this is the best spot to stash it.

But if you go with our method of not using it, it doesn't matter which location you stash it in.

Once you've stashed the vehicle, leave the area to complete this task.

The-Gangbanger-Robbery-Guide-16.jpg

Task 2: Weapon Stash

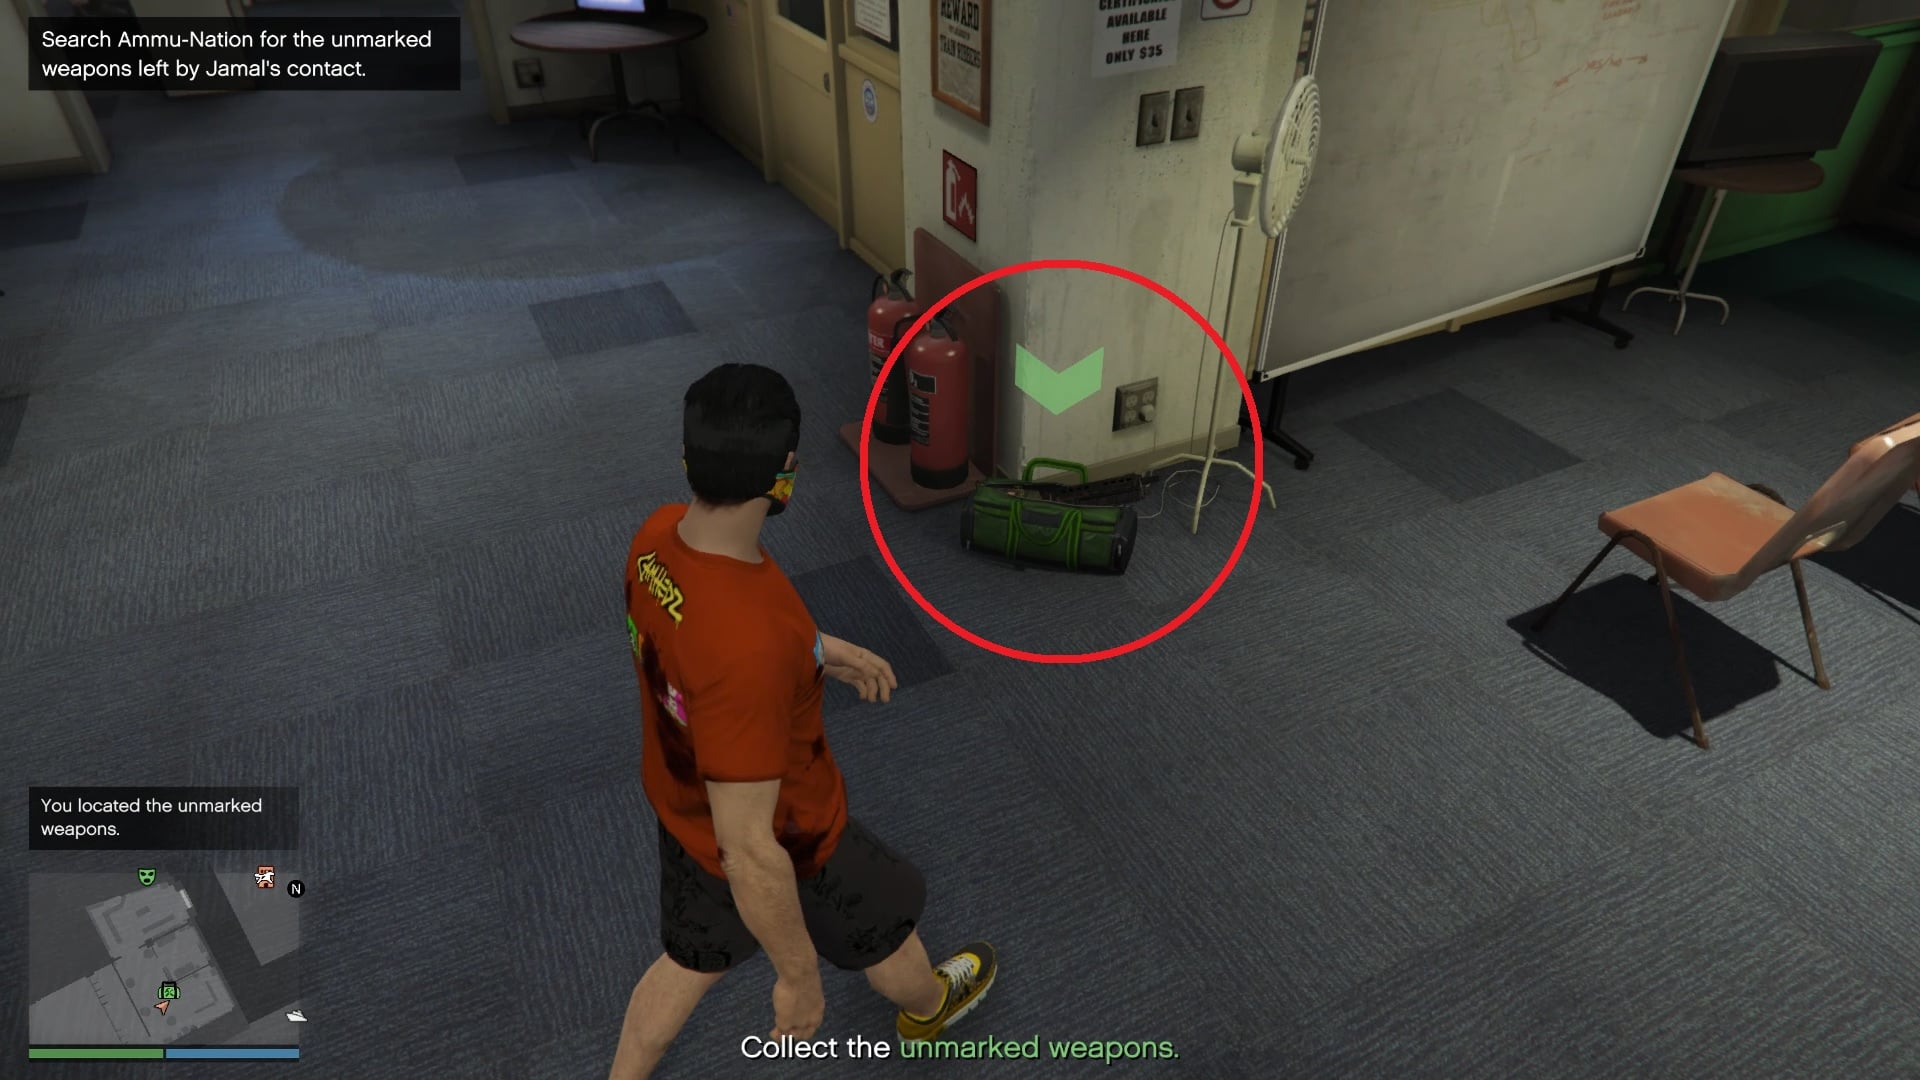
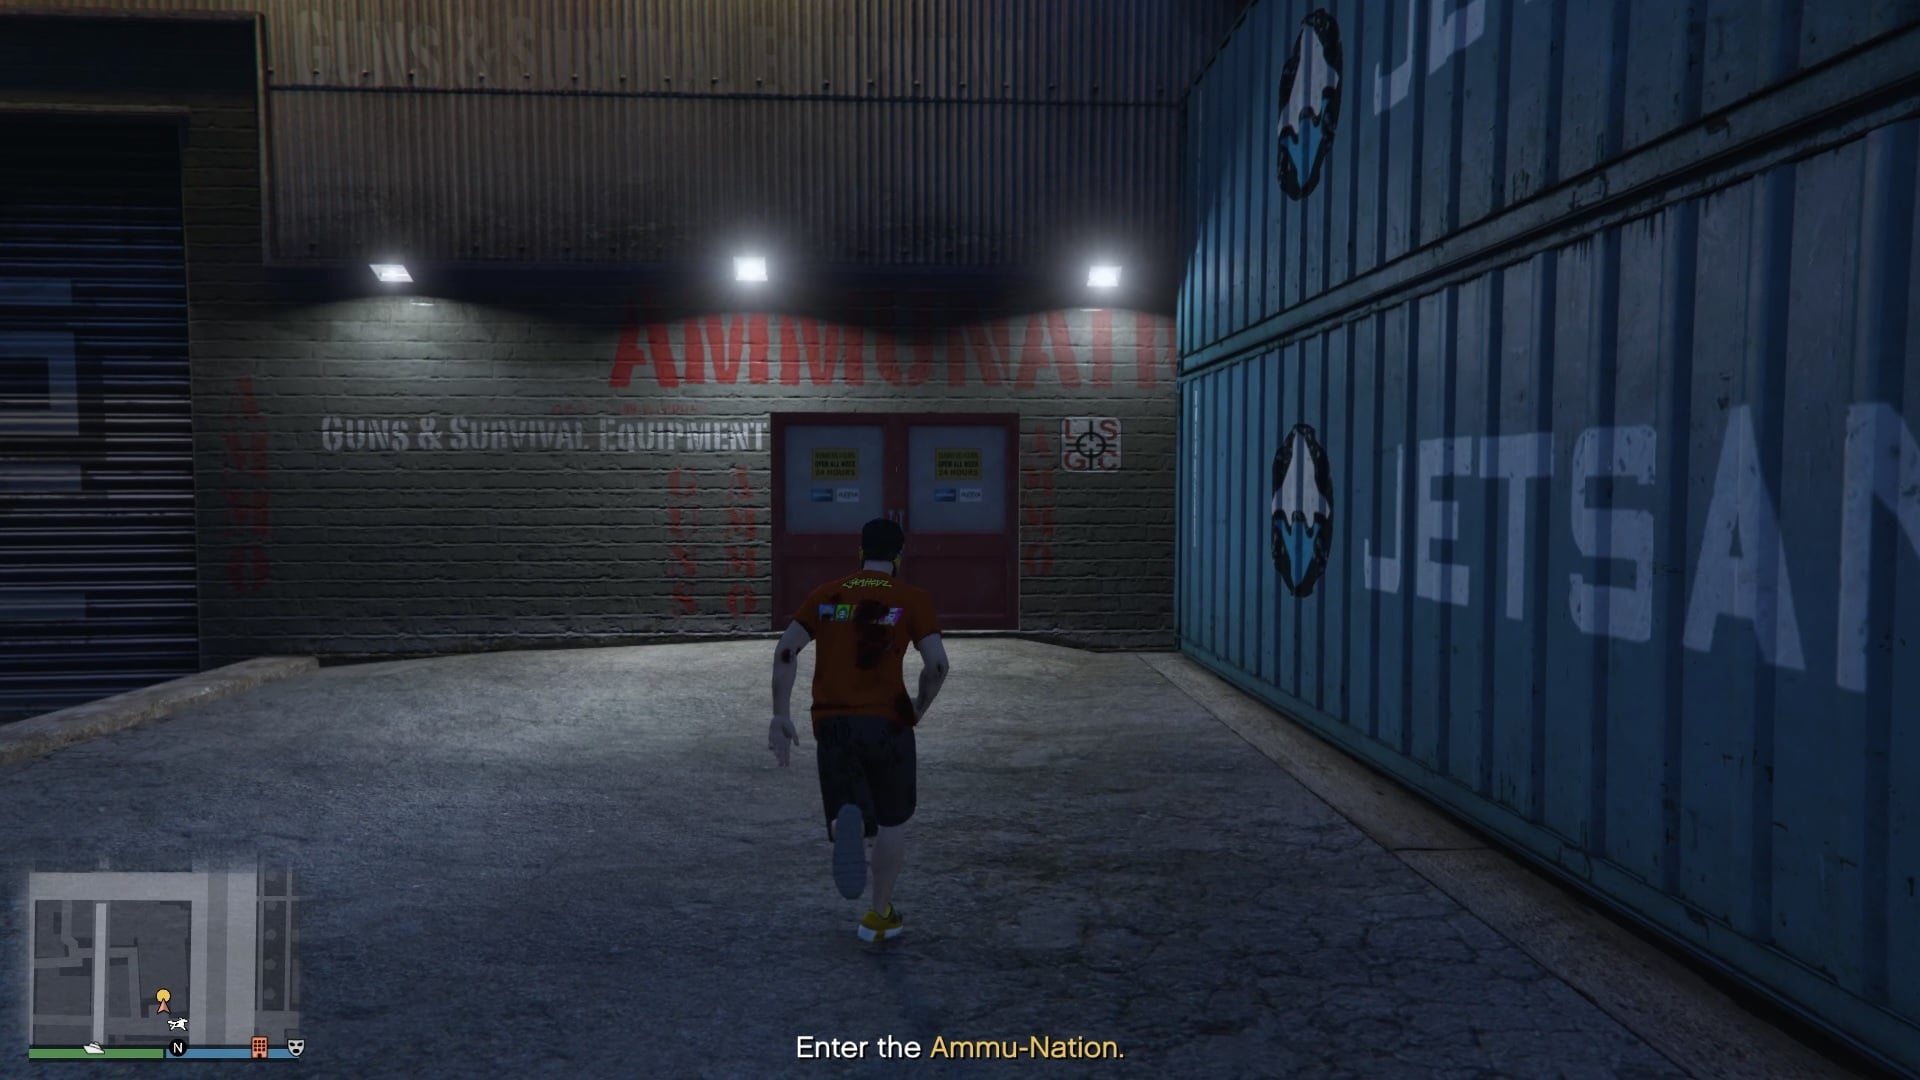
In this task, you need to head inside an Ammu-Nation and look for a duffle bag with some weapons.

They can be anywhere inside the Ammu-Nation but are quite easy to find.

The unmarked weapons will be indicated on your minimap when you get close enough.

Green duffle bag with the unmarked weapons.

Collect the weapon stash and go to the police station to stash them there.

You're required to stash it under a dumpster next to the rear exit door.

When you go through the automatic sliding door, you will see a suspicion bar at the bottom-right corner of your screen.

Suspicion bar.
Suspicion bar.

You need to be quick about it. Quickly get to the dumpster, stash the weapons, and leave the place.

If the bar is full, you will get a wanted level, and the cops will be after you.

Once stashed, leave the area to complete this task.

The-Gangbanger-Robbery-Guide-22.jpg

Task 3: Stun Guns

One of the bonus challenges of this robbery is to ensure you don't kill any cops. And that is done by incapacitating the cops using stun guns.

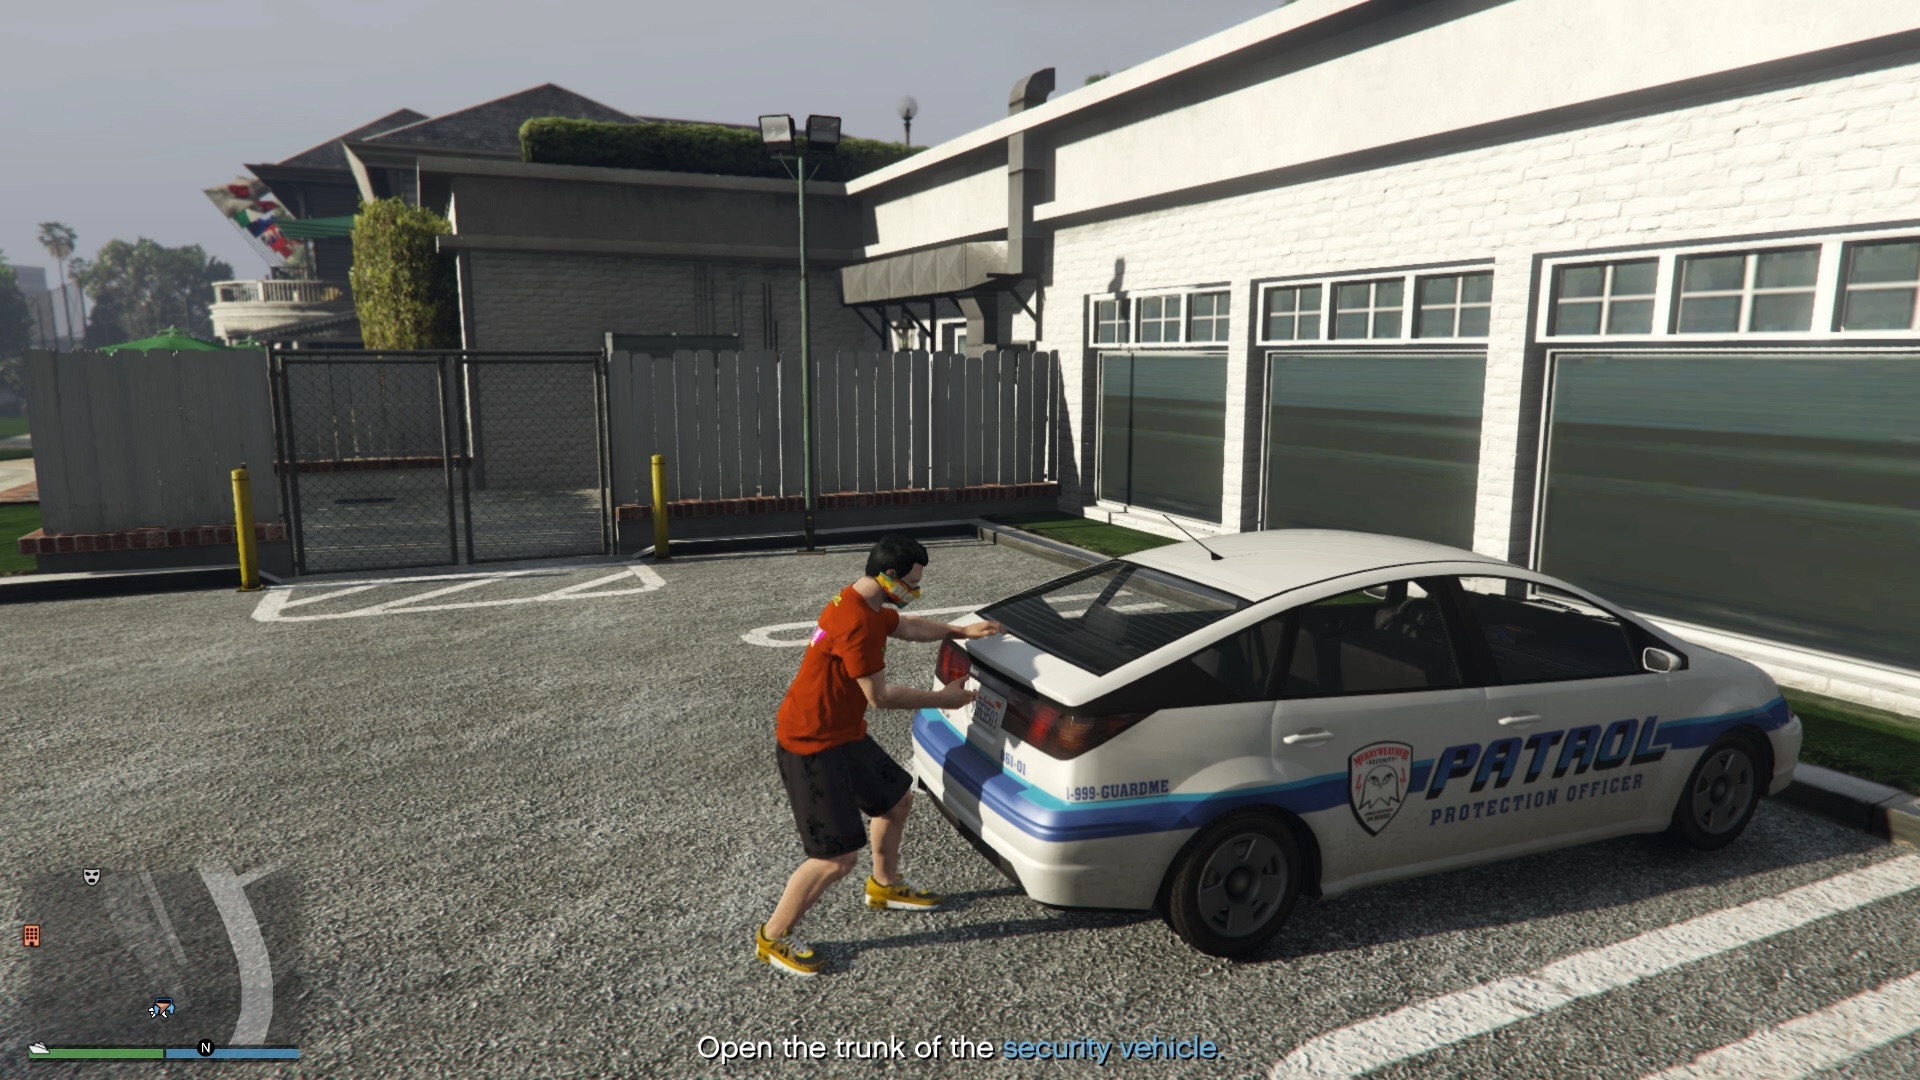
When you start this task, you must search a parking lot for a security vehicle.

Although Jamal will send you the number plate, so far, only one security vehicle spawns, and it has a big "Patrol" sticker on the side of it.

It is hard to miss the vehicle. You need to search the yellow highlighted area for this "Patrol" vehicle.

Once located, go to the trunk of the car and open it up to get the stun guns.

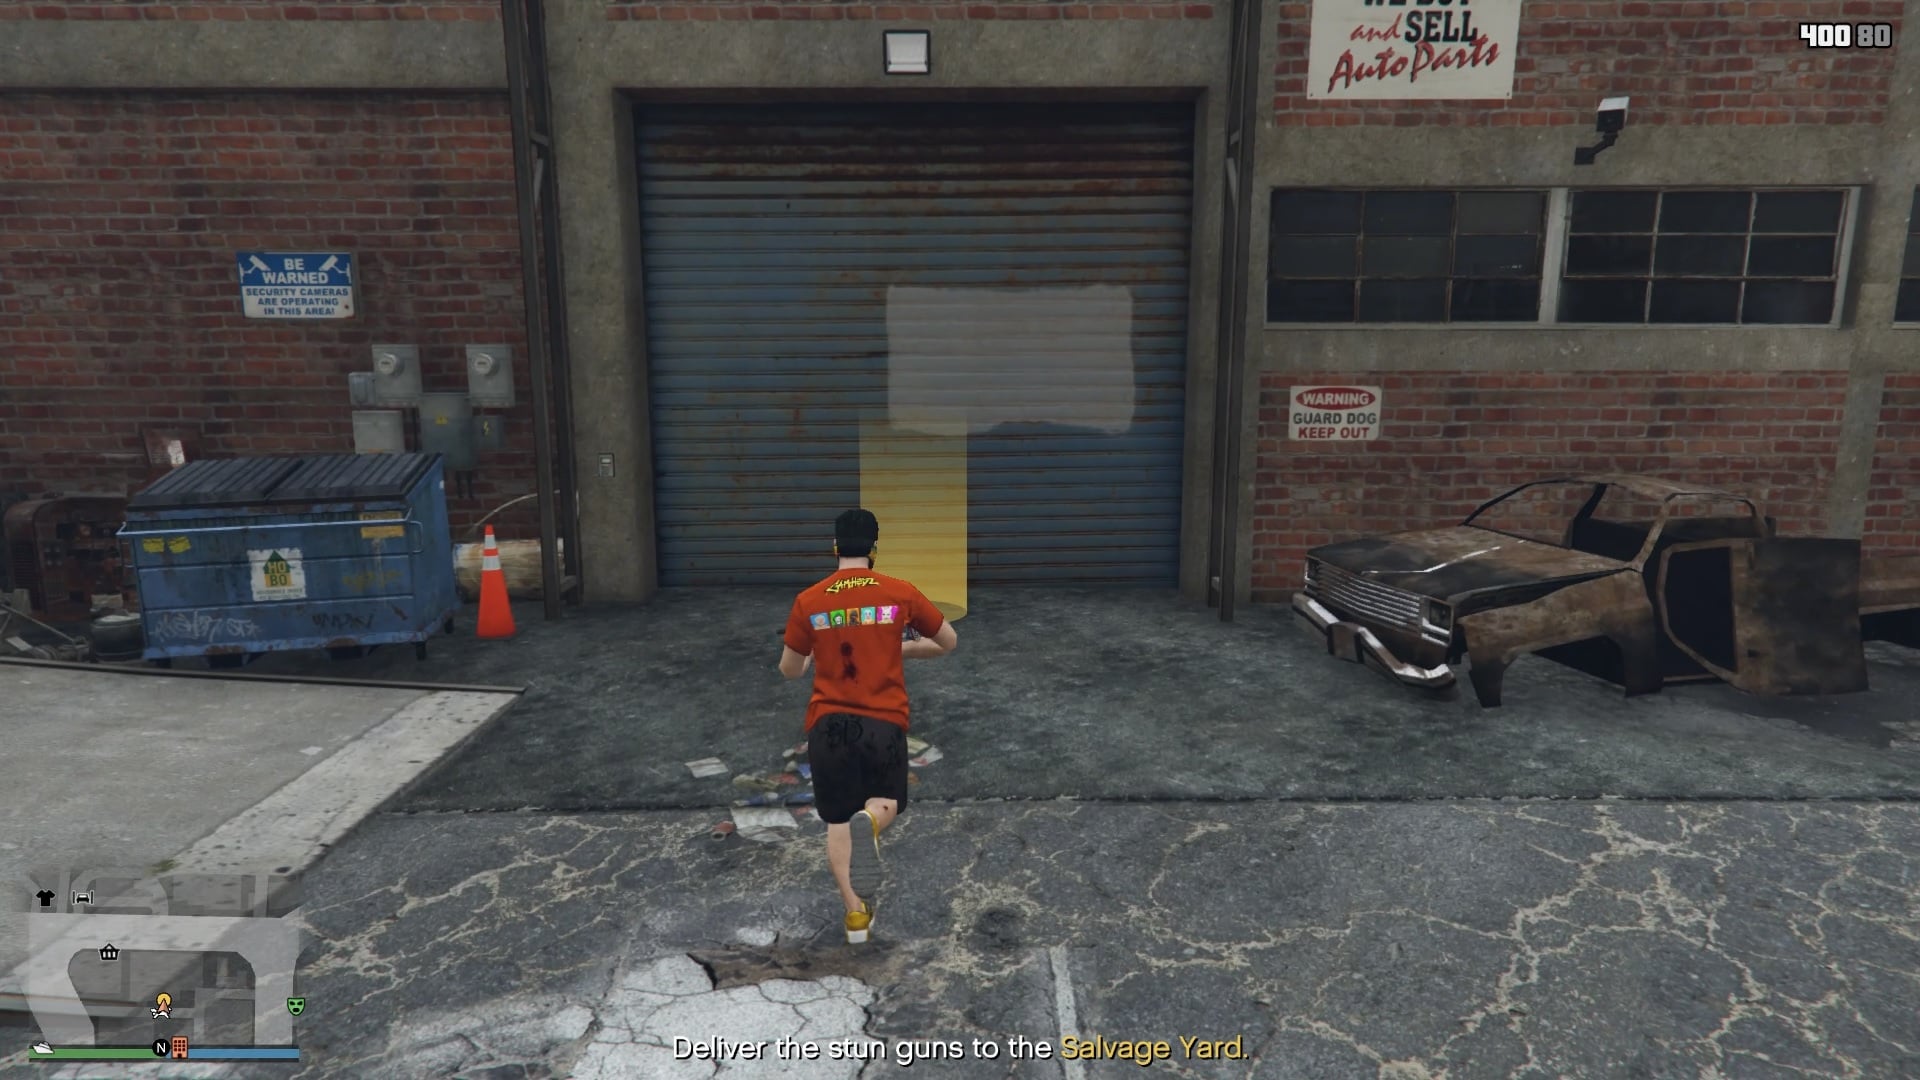
Deliver the stun guns to your Salvage Yard to complete this task.

You will get some resistance, so make sure you're ready to make a run for it as soon as you grab the stun guns.

Task 4: Masks (Optional)

The masks play little to no role in this robbery and are completely optional.

If you'd like to skip this part to save some time, feel free to do so.

Essentially, all you need to do is to go to the mask shop at Vespucci Beach and purchase any mask set for this robbery to complete this task.

Any set would work.
Any set would work.

With these initial tasks completed, you are now ready to proceed to the more involved Planning Work missions.

Topics in this article

Related Stories

More From GTA Guides